Leather Jackets Part 3: Cutting Down and Recycling Zippers

Designer: Randa Roberts
Email: info@socomfydesigns.com
---------------------------------
Hello again! It’s so great to have you along for post 3 on how I turn a leather jacket into a custom crossbody bag. So far, we’ve selected the perfect jacket to upcycle and taken it apart.
This week I’ll be showing you how I will reuse the zipper salvaged from the leather jacket. I’ll be installing a fresh Pinking blade on my OLFA Ergonomic Handle Rotary Cutter and then use it to finish off the zippers for a professional look.


I bet you didn’t know that pockets were invented around 1670. Before that, a “purse” was something that you’d use to carry coins around in, and were usually circles of leather with a drawstring that was tied to a girdle, or belt. They remained that way for centuries, until the late 1800’s when luggage designers started making smaller travel bags. In the 1930’s handbags as we know them were introduced, and today there isn’t a style you can’t find, or have custom made.
While I laugh at the image of Henry Tudor unzipping his purse, most of us love the modern convenience and security that zippers add to our bags. That was one of the deciding factors when I was choosing a leather jacket to upcycle – a beautiful and useful zipper to reuse. So, let’s get it ready for its new life!

Tools:
- Measuring Tape
- Side Cutters
- Zipper Top and End Stops
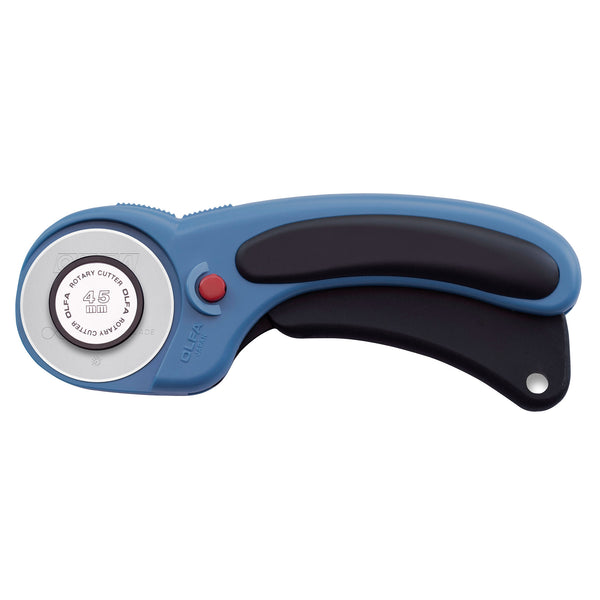
- OLFA 45mm RTY-2DX/PBL Ergonomic Rotary Cutter, Pacific Blue
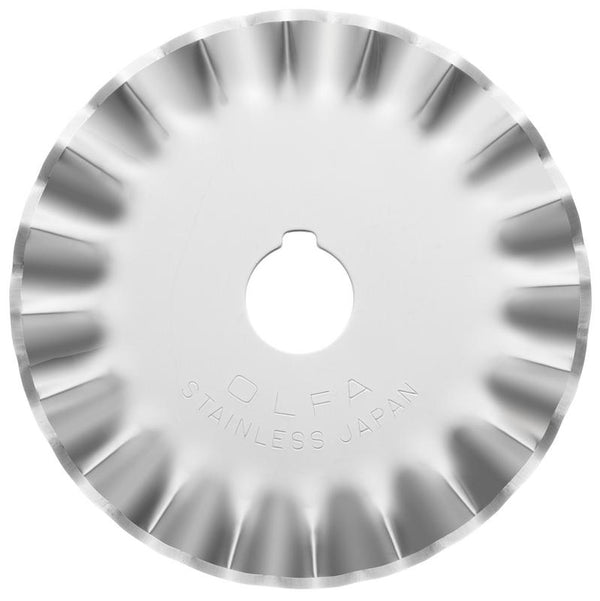
- OLFA PIB45-1 Stainless Steel Pinking Blade, 1pk
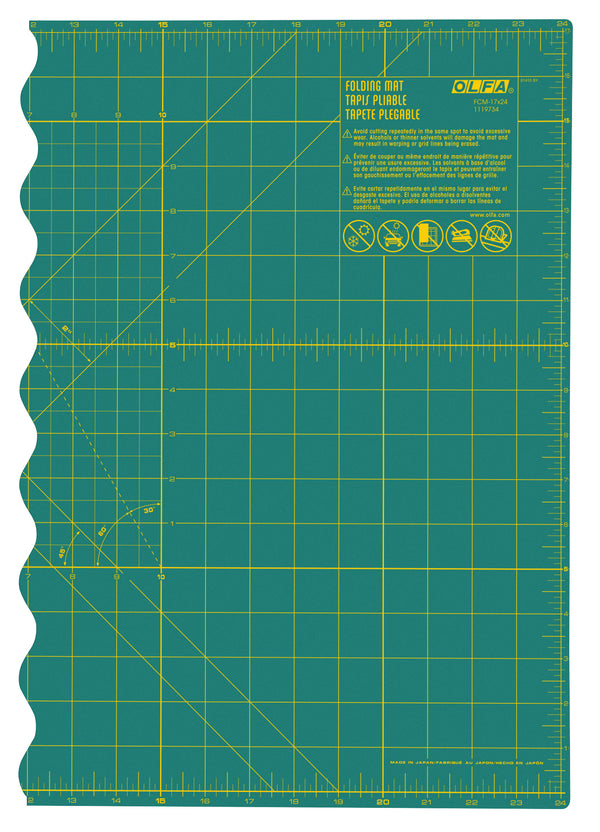
- OLFA FCM-17x24 17" X 24" Folding Cutting Mat
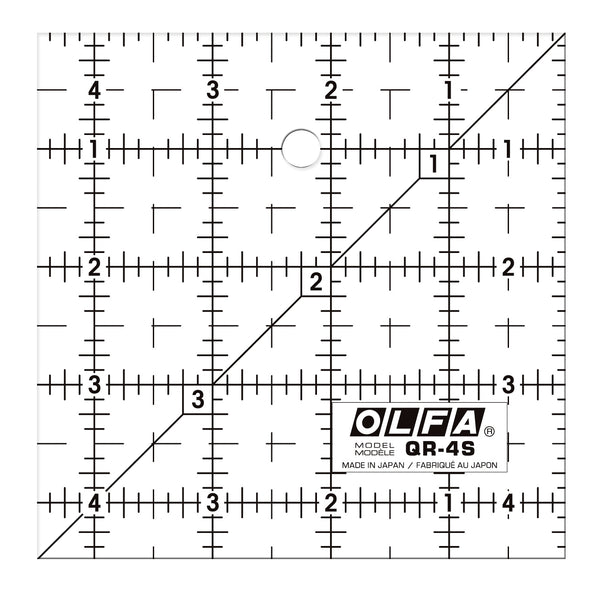
- OLFA QR-4S 4 1/2" Square Frosted Acrylic Ruler

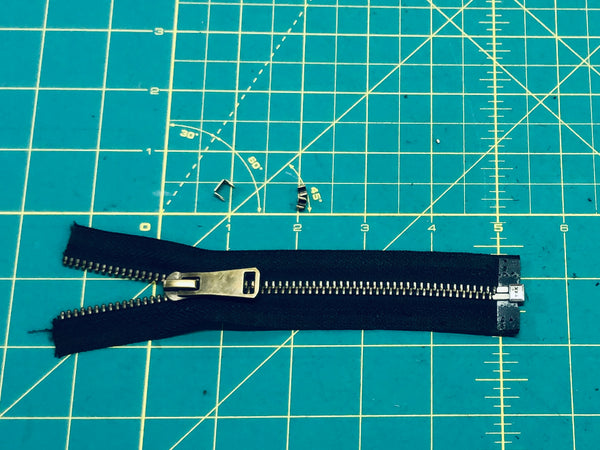
Before: a 24” salvaged zipper that we will be splitting into two. One for the opening of the bag, and one for a pocket inside. Confession: it’s actually only a 20” zipper because I sliced through the tape during takedown, so I’ll start the zipper there.


Snip, snip! I measured out to the 14” mark and used my side cutters to snip the zipper into two pieces.
Here’s where things do get difficult, and maybe even a little dangerous. Some of those metal teeth need to come off, and they don’t like to. WARNING: I advise you to put on a pair of safety glasses before you start cutting zipper teeth off because they can fly. It takes a lot of pressure to remove the teeth and they tend to fly off. The other problem is that it’s a little too easy to cut into the fabric and can look messy. A quick hit with a lighter flame will create singed edges.

Once those pesky teeth are gone, it’s time to install end and top caps. I find these in bulk at my favorite online sewing shops in Canada, but they are available via Amazon.
It’s important to have an end stop, so I’ll put one in now. See how I push the end stop over the closed zipper and coax the prongs around it? I like to use a flat head screw driver to flatten the prongs once the end stop is properly seated. Then, the remaining teeth will have to come off.
For the top stops, I repeat the same steps to cut the teeth off for 1.5” length. That’s enough to sew in later. After I have them in position, I give them a firm but gentle squeeze with my side cutters.


To make a new zipper out of the small remnant, I just need a #5 zipper pull. Tip: you can usually find the zipper size on the bottom of almost any zipper pull. Handy to know if you need a replacement.
Once I have added the zipper pull, I need to cut off the useless end and follow the steps mentioned above to add stops and cut the teeth off.


Now the finishing touch. A simple slice with my OLFA Rotary Cutter with Pinking Blade to stop fraying and give it a professional look. But before I do, I’m going to change the blade. A fresh blade will make a big difference in our future steps working with a polyester nylon lining.
Tip: OLFA has a quick instruction guide on the back of all of their packaging. The pinking blade will ONLY go on the OLFA Ergonomic Handle because it’s equipped with a disk to make the blade run smoothly. This video shows how I actually lay out the pieces and put them back together in order.
Here we have two zippers ready to be sewn into a bag, but not today. That’s going to have to wait until the next post. Recycling the zipper contributes to the authenticity of any upcycled bag, and better yet, has avoided the landfill! You’ll love how they look on the finished product. Next blog post will have me sewing a zippered pocket in the lining. Until then, back in the bin! See you again soon!