
Leafy Wreath

Designer: Amanda Brown
-----------------
Category: Home Decor
Size or dimensions: Approx 23” diameter
Skill level: Beginner
Create a beautiful dimensional fabric leaf with a decorative edge blades. This project combines quilting cotton, scrap batting, and wire to make leaves with bendable structure to attach to a wreath base.

As a quilter I always seem to have an excess of long, narrow strips of batting leftover from trimming up quilts. Figuring out ways of using these scraps sometimes occupies more of my creative brain space than designing my next quilt. There’s something so satisfying about watching my batting scrap pile shrink. I designed the leaves for this project to use up a bunch of these batting scraps. If you don’t have batting scraps you can always substitute felt or fleece for the middle layer.  If you have a covered porch or a protective doorway this wreath could be used outside. I have neither so this is going to be an indoor wreath. The ribbon is simply tied on so it can be easily swapped out as the seasons change. I may even add in some extra decorations for a dash of whimsy.
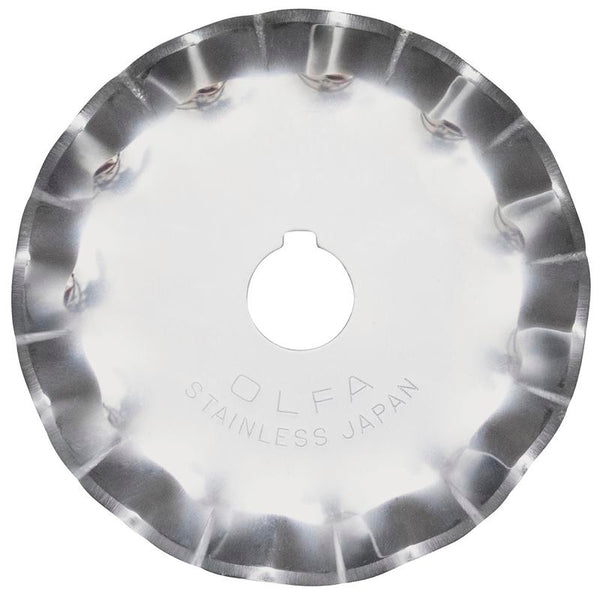
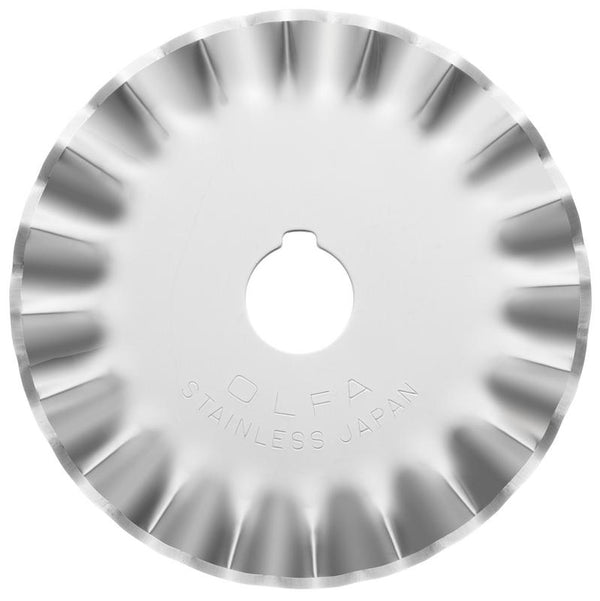
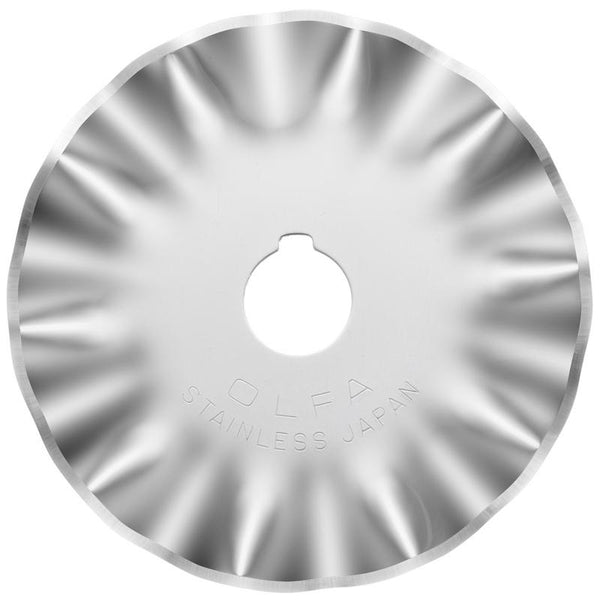
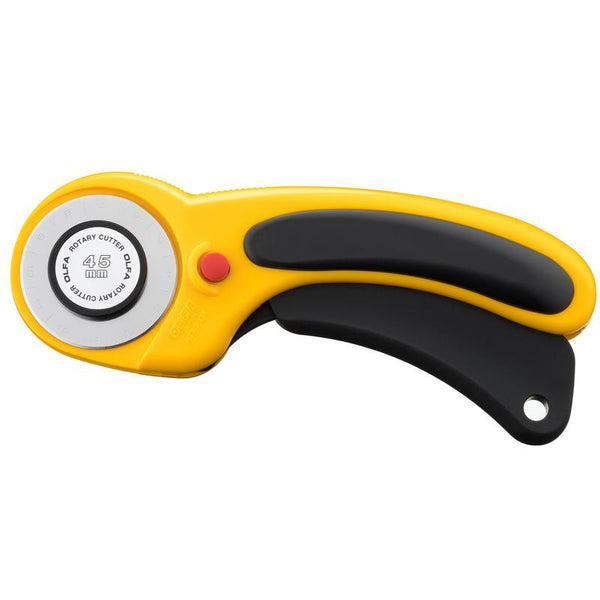
In this tutorial I’m utilizing all 3 of OLFA’s decorative blades. I also have the luxury of having multiple 45mm Ergo handles so I have a different blade in each. You could use one blade only or switch it up. The beauty of these decorative blades is that it prevents your woven fabrics from fraying. If I had cut the leaves with a straight edge you could expect significantly more fraying to happen with handling of the leaves.

The blue handle is the Pinking Blade, pink is the Scallop blade, and the yellow is the Wave blade.
Materials:
• (12) 4.5” WOF strips of various green quilting cotton (approx. 1.5 yards total)
• (6) 4.5x44” strips of quilt batting
• 22 gauge floral wire
• Green Thread
• Erasable Marking Tool of your choice
• 16” Grapevine wreath base or similar
• Ribbon (optional)

Tools:
• Stainless Steel Scallop Blade SCB45-1
or
• Stainless Steel Pinking Blade PIB45-1
or
• Stainless Steel Wave Blade WAB45-1
• 45mm Ergonomic Rotary Cutter, RTY-2/DX
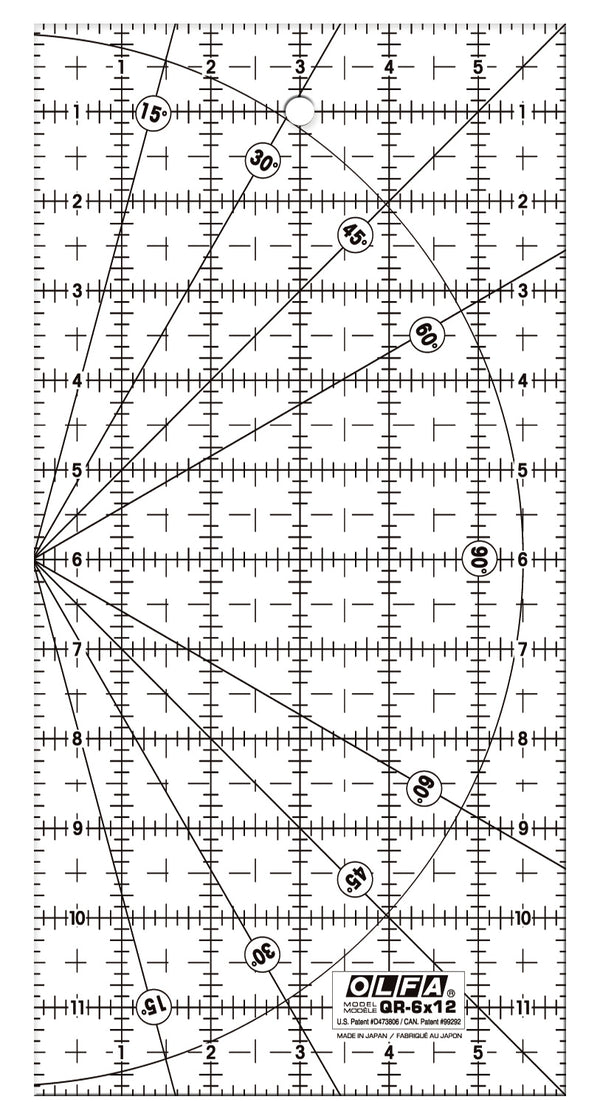
• 6" X 12" Frosted Acrylic Ruler QR-6x12
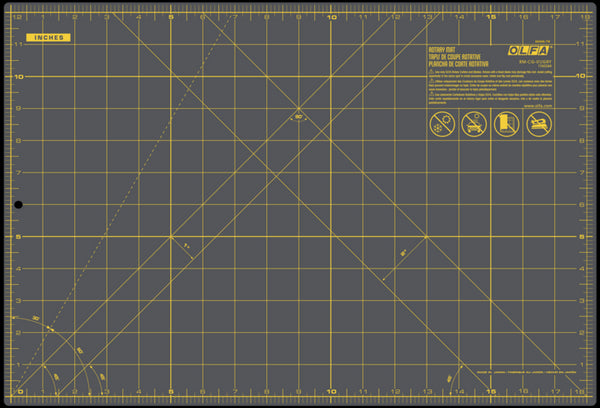
• 12" x 18" Double-Sided, Self-Healing Rotary Mat, Gray RM-CG-01/GRY
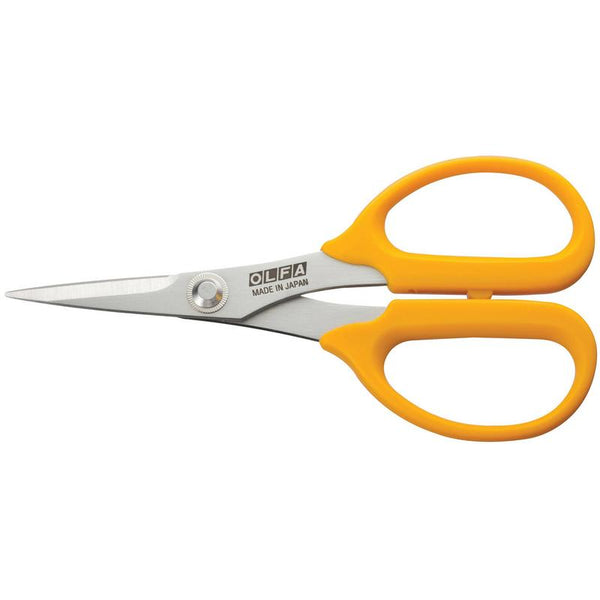
• 5-Inch Precision Applique Scissors, SCS-4
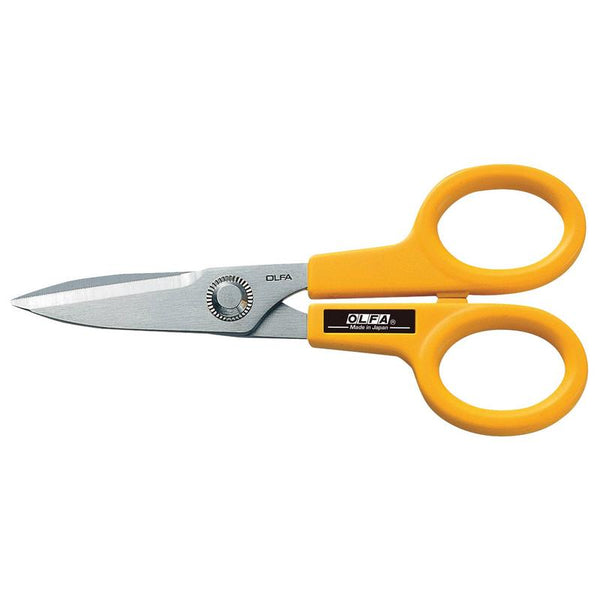
• 5-Inch Serrated-Edge Stainless Steel Scissors, SCS-1
• Sewing Machine

Steps:
Cut Fabric and Batting
Using your straight blade in your 45mm Ergo Rotary Handle and your 6x12” ruler cut twelve 4.5”xWOF strips of green quilting cotton. Feel free to use scraps in a range of greens.
Cut your batting scraps in 4.5” strips and trim to the length of your fabric strips.

Prep Fabric for sewing
· Place batting in between 2 pieces of green quilting cotton with the right sides facing out
· With marking tool mark a line parallel to the short side 1.5” in from one end
· Mark lines every 3” along the entire length of sandwich

Quilt Fabric
· Set up your machine for straight line quilting (using a walking foot if you have one) and a stitch length of 3.0
· Sew along each of the lines drawn on the quilt sandwiches

· Starting at one corner sew a slightly downward diagonal line to the first vertical stitch line
· With your needle in the fabric pivot and sew a slightly diagonal line upward to the next vertical line

· Keep pivoting at each vertical line and changing directions until you reach the end of the sandwich
· Using the first zig zag line as a guide sewing another line approx. ½” apart
· Keep repeating this until the sandwich is filled

Rotary Cutter Setup
Let’s get your OLFA Scallop Blade onto your 45 mm Ergo Rotary Handle. OLFA’s decorative blades only work on the 45mm Ergo Handles. The set up for adding in the blade is a little different than with a regular rotary blade. The plastic washer moves between the blade and the handle to allow clearance for the scallops. See the pictures below for the set up.


Cut out Leaf Shape
Draw or trace out leaf shapes on each sandwich. The vertical lines are the midline for each leaf, typically leaves have the veins (diagonal lines) pointing up towards the top of the leaf. Leaf shapes are all over the place so have some fun with this.

You can precut out these shapes with your applique scissors or go straight to your 45 mm rotary cutter with the decorative blade. Both work but I went straight to cutting with my decorative blade. I found it easy to cut one half of the leaf and then cut the second side.

 Outline Leaf
This step is optional, but I liked how it finished off the leaf and secured the quilting. On your sewing machine sew a line around the leave approx. 1/8” from the edge. Try to start/stop this line along the edge of the leaf, not at the bottom.

Add Wire
The wire will give your leave some shape and is how you will attach the leaf to the wreath.
• Using your 5” Stainless Steel Serrated scissors cut the floral wire into 6” lengths
• Try to flatten out the wire and keep the cuts on a straighter section of the wire
• Starting at the bottom of each leaf insert the wire between the layers and run it along the middle sewing line of the leaf.

• To give the leaf more shape fold the leaf in half along the stem and making sure the wire is out of the way, sew a short line parallel to the wire.


Assemble Wreath
Now comes the fun part, just start adding in leaves all over the place.

At first I just placed leaves through the wreath without worrying about securing them. This let me adjust locations of leaves without a lot of work. Once I was happy with the placement then I turned the wreath over and twisted the wire ends in place securing them.

Then take some time to adjust the leaves final shape location until you are happy. Add a bow and other decorations and adjust until you are happy. I cut a longer piece of wire to tie the bow onto the wreath.

Display your wreath with pride and marvel over how many of your batting scraps you have used up.
I can’t wait to see all your Leafy Wreaths!
Happy Sewing!
~ Amanda