"Jam" Roll Race without Precuts!

Designer: Erin Kroeker
Website: www.theblanketstatement.ca
Instagram: @theblanketstatement
-----------------------------------------------------
Finished Size: approx 50” x 64”
Skill Level: Beginner

Have you ever made a Jelly Roll Race Quilt? Let me tell you, it is like a breath of fresh air for your creative mojo! It's all about ditching the stress of intricate designs and just diving into the fun of quilting. No need to overthink things—just enjoy the process!
This quilt comes together with easy-peasy steps and a repetitive yet satisfying process, all without any intense brainstorming or decision-making. And when you’re done, you've got yourself a gorgeous, cozy quilt with a scrappy vibe. It's a breeze to whip up, proving that anyone, from beginners to seasoned pros, can create something that looks like it took ages but was actually a piece of cake!
This quilt can easily be accomplished with a 2.5” precut bundle. However, perhaps you are like me and often don’t have one of those on hand. Not to worry, you can just cut your own!

To make a throw size quilt, measuring approx 50” x 64”, you will need 40 strips cut at 2.5” x WOF (width of fabric). It takes a smidge less than 3 yards total for the quilt top, but this is a great way to use up leftover fabric, scraps and random off-cuts!
When it came time to pick out fabrics for my quilt, I opted for colors that scream spring! Pretty peaches, sunny yellows, and lush greens—all the shades that make you want to frolic in a field of flowers. I tossed in some soft white to keep things light and airy.

I chose 10 different colored fabrics and 1 soft white. From each color, I cut 3 WOF strips, totaling 30 strips. I then cut 10 WOF strips from the soft white to bring my total to 40 strips.
You can use solids, prints, bright colors, soft colors, and everything in between! The sky’s the limit!

Tools:
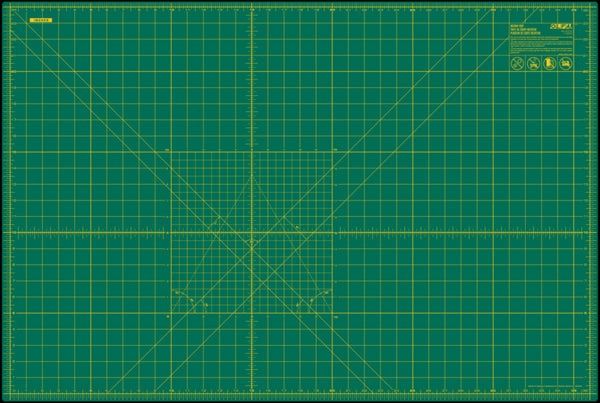
OLFA 24” x 36” Self Healing Rotary Mat
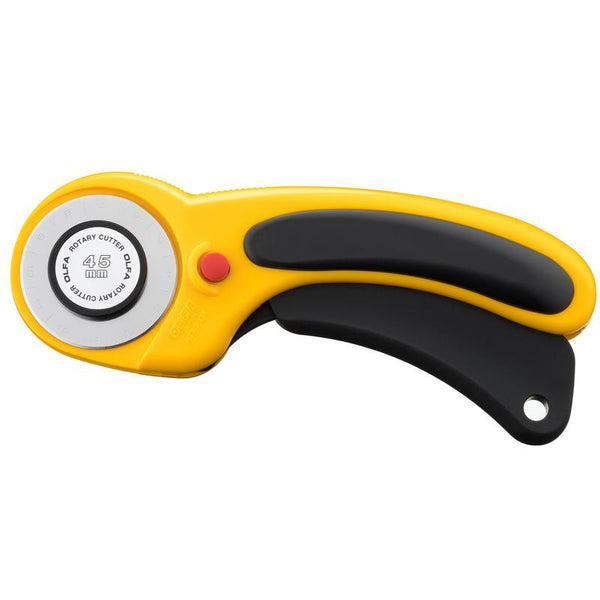
OLFA 45mm Ergonomic Rotary Cutter
OLFA 45mm Blades
OLFA 6” x 24” Frosted Acrylic Ruler
OLFA 5-Inch SCS-4 Precision Appliqué Scissors
Thread
Iron and Ironing Board
Sewing Machine
Fabric & Supplies:
Approx 3 yards of assorted fabrics or (40) 2.5” x WOF strips
3.25 yards Backing Fabric (4 yards if using a directional print)
½ yard binding fabric - (7) strips 2 ½” x WOF; join each strip on a 45-degree angle RST, fold in half lengthwise WST (wrong sides together) and press.
54” x 68” piece of batting

Step 1: Cutting
From your selected fabrics, cut a total of (40) 2.5” x WOF strips using your mat, rotary cutter and 6” x 24” ruler. Trim off selvedge edges.
Tip! If you’re new to cutting, make sure to check out this blog post all about How to Square Your Fabric - Cutting Tips & Tricks!


Step 2: Sewing Strips Together
The final quilt design is completely random and it’s very hard to predict how the strips will land in the final arrangement. Therefore, it’s not worth stressing over the order in which you sew the strips together. Personally, I would avoid sewing two of the same fabric/color side by side, but other than that… just go for it!

Take the first two WOF strips and place them RST (right sides together), aligning the short ends. Sew together using a ¼ inch seam allowance along the end to join the strips together.


Continue adding strips in the same manner until you have sewn all the strips together into one super long, mega-strip!
Press the seams open or to one side.


Step 3: Sewing the Rows
Fold the strip in half widthwise, RST, try your best to ensure the long strip is not twisted.

Sew along the long edge to create a long tube of fabric. Stop sewing ⅛” from the fold and backstitch.
Tip! I don’t pin when I’m sewing these together, I just take my time and adjust as needed.


Cut along the fold and open. You will now have a long strip with two rows.


At this point you can decide if you want to press your seams as you go or wait until the end and press the entire quilt top.
Now you will repeat this process four more times. Continue folding in half, sewing the long edge and cutting the fold until you have a quilt top of the desired size. Each time you fold and sew, the strip will double in width, creating a visually interesting pattern.
(The quilt top will go from 1 row to 2 rows, then 4, 8, 16 and finally 32 rows!)
I


Press all the seams open or to the side based on your preference.

Step 4: Squaring the Quilt Top
Once you have given the quilt top a good press, use your ruler to square it up by trimming any uneven edges.

Step 5: Finishing Your Quilt
Prepare your quilt backing to be approx 4” larger on all sides than your finished quilt top. Tip! It’s a good idea to measure your completed quilt top because each one is unique!
Baste using your preferred method.
Quilt and bind as desired.
Enjoy your beautiful new quilt!


