How to Square a Quilt!

Designer: Erin Kroeker
Website: www.theblanketstatement.ca
Instagram: @theblanketstatement
------------------------------------------------------
Skill Level: Beginner

If you’ve ever made a quilt before, you know that once the quilting is done, you need to trim off the excess batting and backing fabric in order to attach the binding.
The quickest way to do this is by trimming the edges using the quilt top as a reference. However, this approach may not always give you the most polished finish.
Even if you basted your layers perfectly, the quilting process can cause slight shifting or distortion, especially with dense quilting designs. Plus, your quilt top might have uneven seam allowances, wonky blocks, or other imperfections that come with being handmade.
Squaring up your quilt is an essential step if you want to ensure it lays flat with straight, consistent edges. Making sure that each corner forms a perfect 90-degree angle and that the edges are even will not only make binding easier but also give your finished quilt a more professional look.

Tools:
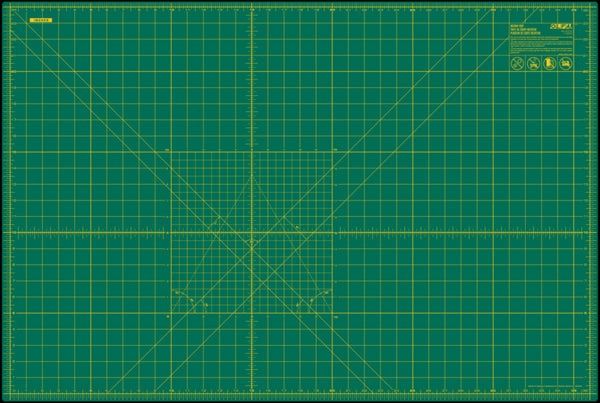
OLFA RM-MG-01 24" x 36" Green Double-Sided, Self-Healing Rotary Mat
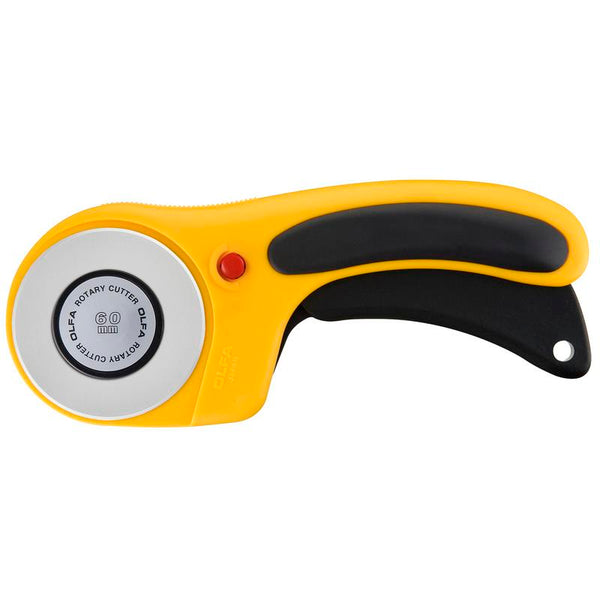
OLFA 60mm RTY-3/DX Ergonomic Rotary Cutter
OLFA 60mm RB60H-1 Endurance Blade, 1 or 2 Pack
OLFA QR-6x24 6" x 24" Frosted Acrylic Ruler
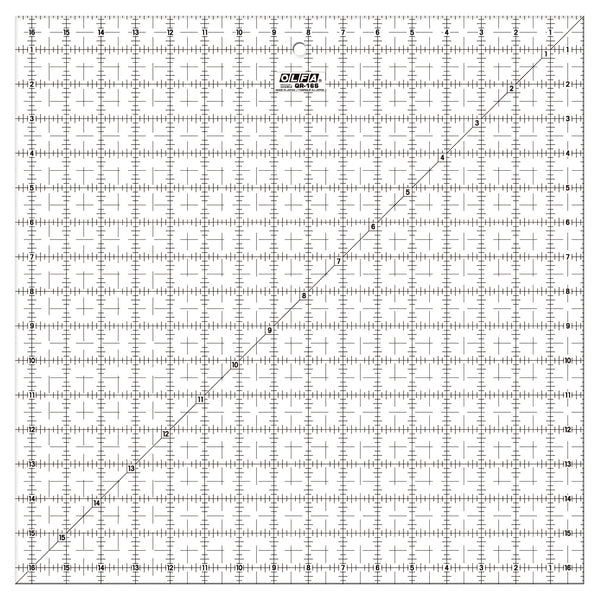
OLFA 1QR-16S 16 1/2" Square Frosted Acrylic Ruler (or largest square ruler you have!)
Supplies:
Quilted Quilt
Iron and Ironing Board
First you will want to give your quilt a good press to remove any wrinkles or creases. For stubborn wrinkles, you can use a little steam or lightly mist with water.

Place your cutting mat and quilt on a large, flat surface, making sure the quilt is spread out, smooth and not folded.
Personally, I prefer using the floor! While crawling around on the floor may not be ideal, it gives me the best results. If you’re using a table, try to keep as much of the quilt supported as possible. Letting the quilt hang over the sides can cause the edges to distort due to the weight.
Starting in one corner, place your square ruler on the quilt, aligning it with both the horizontal and vertical edges of your quilt top. You can double check that you are square with the lines on the ruler. For example, I used the 45-degree, diagonal line on the ruler to ensure it intersected the points of my quarter square triangles.

Using your rotary cutter, trim off the excess batting and backing along both edges of the ruler. This creates a clean, squared corner.
Repeat for the remaining three corners. You can either move the quilt or the cutting mat, whichever is easier!


After trimming all four corners, you will need to trim the sides. Place your 24" ruler along the edge, starting from the corner you just trimmed. To ensure accuracy, overlap the ruler by a few inches with the edge you previously trimmed.
You can also leave the square ruler in the corner while placing the long ruler along its edge for extra accuracy and confidence!


Using your rotary cutter, trim the length of the quilt along the edge of the ruler. If your quilt top is very large, slide the ruler along the edge, again overlapping the ruler by a few inches. Always make sure the cutting mat is underneath your quilt and move if necessary!


Repeat these steps for all four sides of your quilt and then marvel at your squared masterpiece!


Your quilt is now ready for binding... and I’ve got a hot tip for you! All those strips of backing fabric you just trimmed off are perfect for binding! It's a cute and easy way to tie the front and back of your quilt together—and it’s a fantastic way to reduce waste!


