How to sew a stretch knit Collar

Designer: Marcia Spencer
Instagram: @keechiibstyle
--------------------------------------

I love garments made from knit fabric, but sometimes they can be tricky to sew. Especially for those who are not used to sewing stretch fabric. Often the seams will stretch when sewing and leave your finished garment ill shaped and unflattering. In this tutorial I will show you how I sew a collar for a stretch knit project sharing some of my tips and tricks for stretch fabric sewing.
For this tutorial I will be using Simplicity pattern S9740 and showing you how I keep the collar from stretching when I construct this pattern.

Tool & Supplies needed:
Fabric 1 .5 yards
¼ yard interfacing
Clips/Pins
Stay tape or Knit stay tape
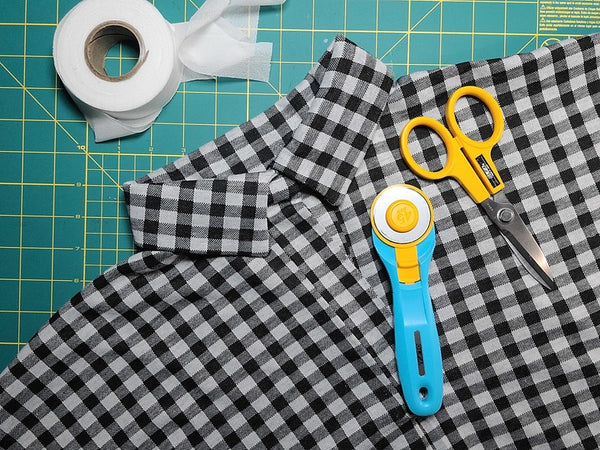
Olfa 24 X 36 Self Healing Rotary Mat
Olfa 45mm Quick Change Rotary Cutter
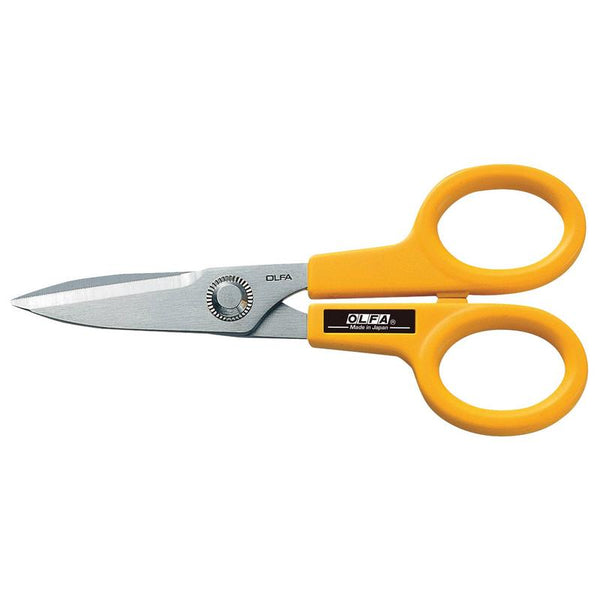
Olfa 5 Inch Serrated Edge Scissors
Cutting & Prep

Cut all your fabric pieces and interfacing to the pattern using your Olfa rotary cutter.

Go ahead and assemble your shirt piece and stay-stitch the neck edge. If you are creating the Simplicity pattern S9740 this would be steps 1-12.
Collar Construction

- Apply interfacing to the wrong side of one of the collar pieces.

- Press the seam under ⅜ inch on the lower edge of the interfaced section, to create the facing.

- For the remaining collar piece, use your stay tape or knit stay tape and apply to the wrong side along the edges and bottom edge of the collar. ( this will keep the collar from stretching at the seams when you sew it.


- With right sides together, pin the collar facing to the collar matching any notches or dots, Then stitch the outer edges of the collar leaving the lower edge open.


- Trim the seams and clip any curved corners.

- Next understitch the collar as far as possible,


- Turn the collar inside out, paying attention to corners. Then give the collar a good press.


- Pin the loose edge of the collar to the neck edge, matching the centers and dots at the shoulders. Clip the seam of the neck line to the stay-stitching where necessary making sure to keep the press edged free. Trim the seam.


- Press the seam up and pin pressed edge over raw seam,matching the pressed edge up to the sean stitches.

- To finish the collar you can stitch in the ditch or slip stitch the seam closed.
- *Optional: If you choose to slip stitch you can always stitch the collar at the back close to the seam for added stability.

Voila! You're done.