How to Make Welt Pockets

Designer: Marcia Spencer
Instagram: @keechiibstyle
--------------------------------------

There are quite a few ways to create a clean neat welt pocket. In this tutorial I will share the method that I find to be the most effective and painless method to create welt pockets for your garment. This method is quick and pretty easy for beginners also!

Materials and Tools Needed:
- Fabric pocket 6 x 12
- Fabric Clips
- Marking pencil
- OLFA RTY-2DX/MAG 45mm Ergonomic Rotary Cutter
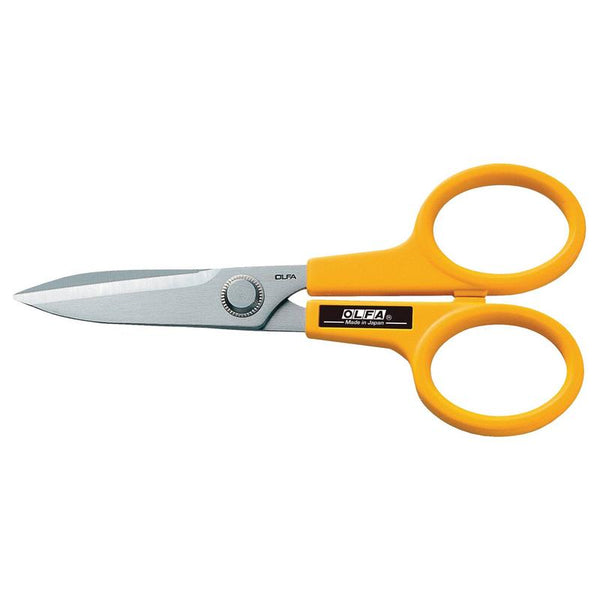
- OLFA 7-Inch SCS-2 Serrated-Edge Stainless Steel Scissors
- OLFA RM-MG 24" X 36" Green Double-Sided, Self-Healing Rotary Mat
- OLFA QR-1x12 1" X 12" Frosted Acrylic Ruler

Welt Pocket


- Using the OLFA ruler and marking pencil, mark the pocket seams ⅜ from edge of pocket and make the welt opening 1 inch from the top edge.


- Place the welt pocket to the right side of the garment. Pin.

- Stitch pocket to garment along the welt pocket opening.


- Using your marking tool and OLFA ruler mark the cutting lines in the middle of the pocket opening.

- Using your OLFA scissors cut the opening of the welt pocket. Stopping about ½ inch from the stitching.


- Clip diagonally to the corners of the pocket opening being careful not to cut the stitching.


- Trim the seams and Turn the pocket in through the opening. Press the edges flat.


- One the wrong side fold the pocket bag to the top edge of the pocket. Press.


- Pin in place.

- On the right side edge stitch around the sides and bottom of the welt pocket to secure.


- On the wrong side, fold the bottom of the pocket to the top edge of the welt pocket. Pin. Press.


- Stitch along the edges of the welt pocket leaving the garment free


- On the right side, edge stitch the top edge of the welt pocket being sure not to stitch the welt pocket flap.

- Your welt pocket is secure and complete!

Until Next Time!