How To Make Flat Pockets

Designer: Marcia Spencer
Instagram: @keechiibstyle
--------------------------------------
There are many different ways to construct pockets on your garments and projects. Knowing how to create a basic flat pocket is essential to creating more complex pockets. Read on to create flat pockets with me.
Materials and Tools Needed:
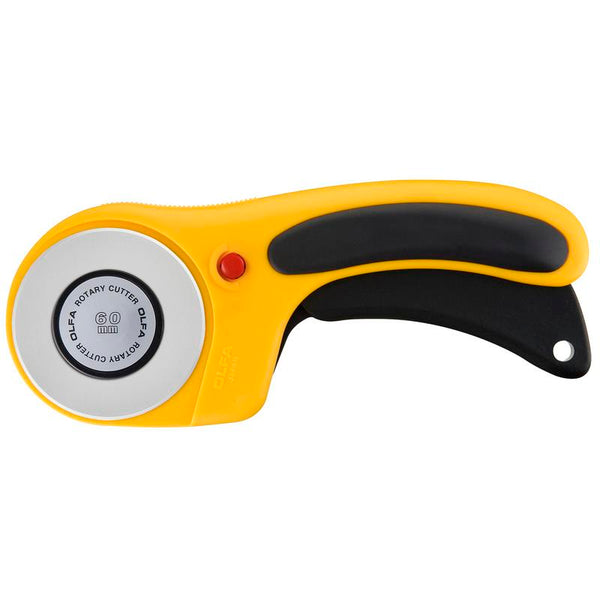
- OLFA 60mm RTY-3/DX Ergonomic Rotary Cutter
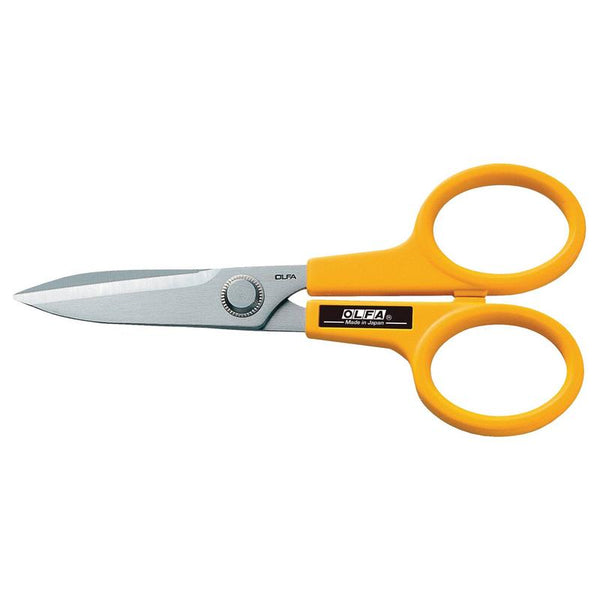
- OLFA 7-Inch SCS-2 Serrated-Edge Stainless Steel Scissors
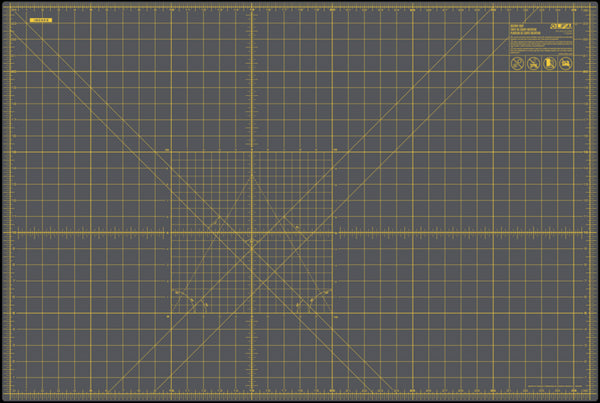
- OLFA RM-MG-01/GRY 24”X36” Double-Sided Self-Healing Rotary Mat, Gray
- OLFA QR-1x12 1" X 12" Frosted Acrylic Ruler
- Pins
- ½ yard of fabric
- Cut your pockets the size you like.
- On the wrong side, turn top edge of pocket over ¼ inch.
- With right side up turn edge over again ½ inch.
- Pin turned edge. Then stitch edges down ⅜ from raw edge.
- Trim corners of fold.
- Turn folded edge right side out.
- Press raw edges under ⅜ inch around bottom and sides.
- Edge stitch folded edge.
- Pin pocket to right side of garment leaving top in open.
- Edge stitch the folded edges to garment. Press.
Voila Your Done!


