How To Make Cute Paper Flowers With Cupcake Liners

Designer: Marcia Izabel Marchiori
YouTube: MarciaBel Vlog
Instagram: @marciabel
------------------------------------

Spring is a season of new beginnings, with vibrant colors and fresh blooms sprouting everywhere. And what better way to celebrate the season than bringing the essence of it into your home by crafting your very own paper flowers?
In this tutorial, we'll be exploring how to create beautiful paper flowers using cupcake liners - a fun and creative project that's perfect for the whole family. With just a few simple supplies and a bit of imagination, you can create a stunning bouquet of paper flowers that will brighten up any space in your home.
And as a bonus, you will learn how to make exquisite paper flower name plates, that you can use to decorate your table for Easter, a picnic gathering, or really just to brighten up the family's lunchtime. :-)
So let's get started!

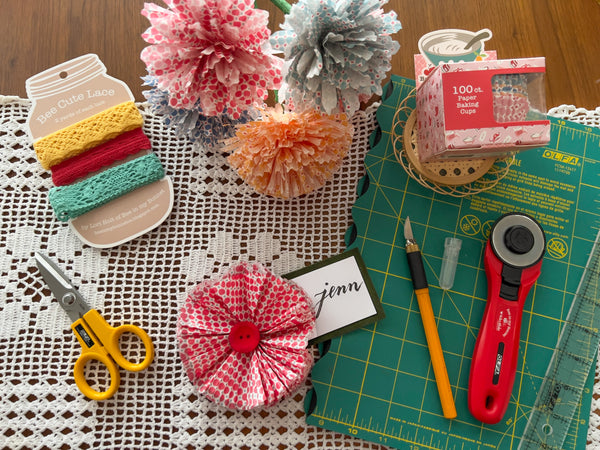
Tools & Supplies Needed
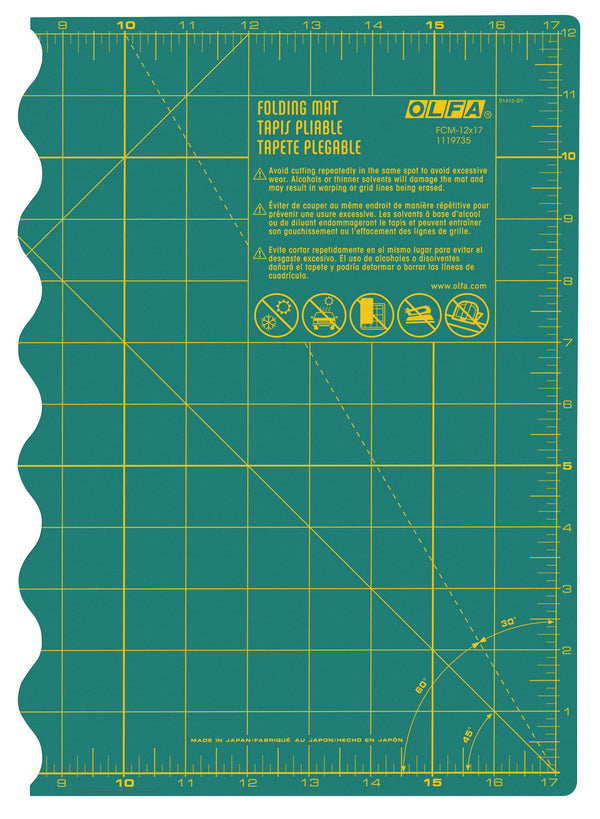
- OLFA FCM-12x17 12" X 17" Folding Cutting Mat
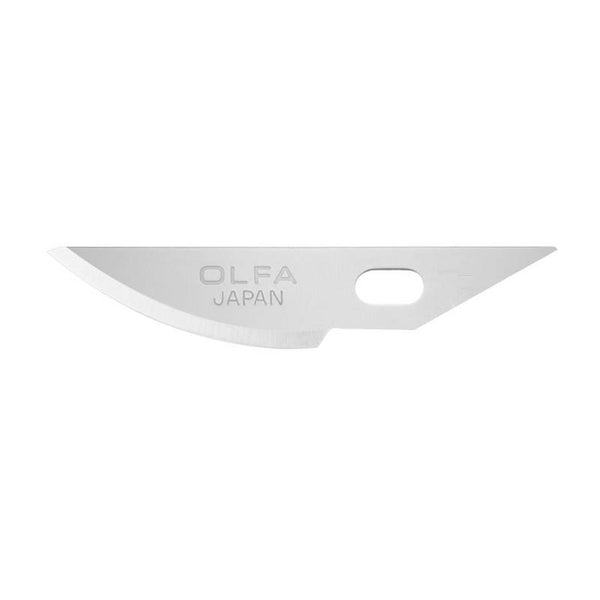
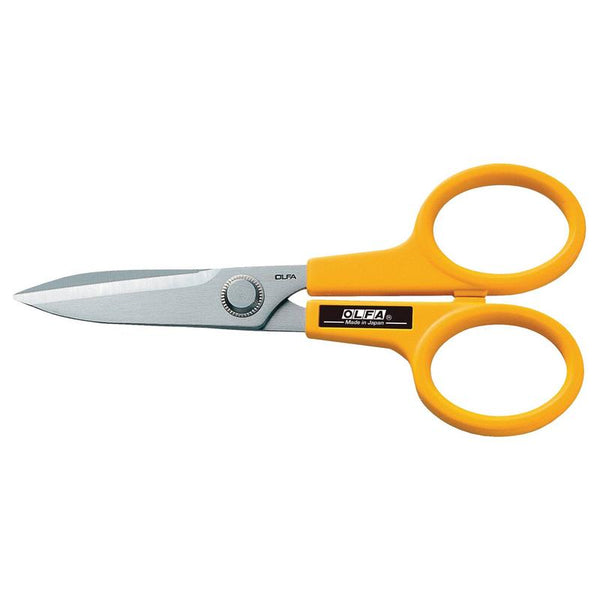
- OLFA AK-4 Cushion Grip Art Knife, paired with OLFA KB4-R/5 Curved Carving Art Blade, 5pk and/or OLFA 5-Inch SCS-1 Serrated-Edge Stainless Steel Scissors
- OLFA RTY-2C-RED Quick-Change 45mm Red Rotary Cutter Bee in my Bonet by Lori Holt
- OLFA QR-1x12 1" X 12" Frosted Acrylic Ruler
- Cupcake Liners, assorted colors (eight pieces for each flower): Riley Blake Designs Bee Sweet Baking Cups by Lori Holt of Bee in my Bonnet
- Assorted buttons: Riley Blake Designs Stitch by Lori Holt of Bee in my Bonnet Cute Little Buttons
- Riley Blake Designs Bee Cute Lace Color Assortment #2 STVL-3634
- Hot glue gun
- For the stems: Wooden skewers or floral wire or paper straws
- Scraps of felt, white cardstock and brush pen (for name tags)
- Scraps of green fabric or floral tape
FLOWER BOUQUET - Instructions
- Gather all tools and materials.
- Flatten out the cupcake liners, layering together eight pieces per flower. Fold them together in half, then in half again, like this:

- With OLFA AK-4 art knife or OLFA 5-inch scissors, cut the cupcake liners edges in any style you prefer. Here are three examples of flowers, just by cutting the edges in different shapes:

- Make a small hole in the middle of the triangle, before unfolding the liners, then flatten out all the cupcake liners, layering together eight pieces per flower.
Tip: I like to alternate between patterned side up and down for each layer, this way you’ll have a beautiful visual texture for the flower. Set each set of eight aside, flat open.


-
To make the stem with wooden skewers, you can use floral tape (wrapping it around the stem) or stripes of fabric.
Here’s how to make it with fabric: grab your OLFA rotary cutter and cut several stripes of green fabric (about 3/4 to 1” wide). Then apply a dot of hot glue to one edge of the wooden skewer, start wrapping the fabric stripes tightly around it till the end, attaching it with a dot of hot glue to the other end.


- To assemble the flowers: Place the first cupcake liner onto the top of the stem through the hole, bringing it together scrunching on the bottom of liner near the stem, also using this first layer to hide the tip of stem.

- After, apply a dot of hot glue near the stem, then slide the next cupcake liner, fluffing up as needed. Repeat this process until you have all of the eight layers glued together in the stem.


-
Repeat this process with each one, considering making each flower with different shapes (as mentioned in third step).
And voilà, the final result will look like this:


FLOWER NAME PLATES - Instructions
- For each name plate, you’ll also use eight cupcake liners. Start by folding each cupcake liner individually in half, then in half again. After that, fold each edge to opposite sides, like this:

Repeat this step for each cupcake liners, creating eight petals.
- Glue each petal to another with a dot of hot glue on the tip of each triangle, until forming a circle.


- Using hot glue, attach a button on the center of the circle.

- Using OLFA art knife and ruler, cut a rectangle out of the white cardstock (any size you prefer, below is 2 x 3”) and adhere it to a scrap of felt using hot glue, leaving extra for trimming.

- With the OLFA rotary cutter and ruler, trim all the edges of felt.

- Attach the tag to the back of paper flower with hot glue. Finalize your name plate handwriting the guest’s name to the tag.

Repeat these steps for each guest of your list, and the it’s ready!

I hope you have lots of fun making this and don’t forget to tag me @marciabel , @OLFA_craft and @rileyblakedesigns in your finished projects!
Marcia