How To Make Collars & Cuffs

Designer: Marcia Spencer
Instagram: @keechiibstyle
-----------------------------------
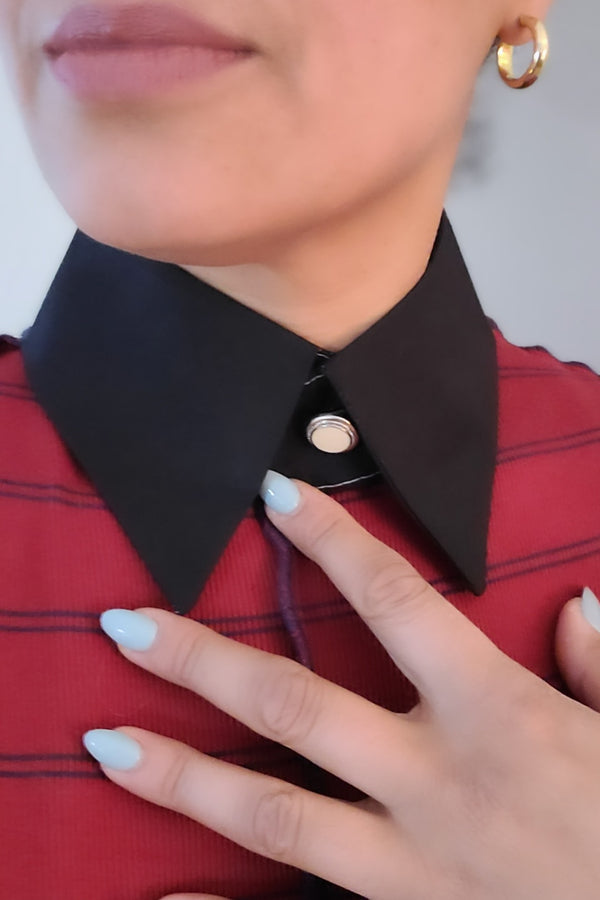
A cool collar or a pair of cuffs can be a great accent to button up blouses, dresses and jumpers! I even love the wear them as detachable pieces to elevate a look. They are quite easy to create and you can always decorate them with jewels and added ruffles and pleats for something a little extra. In this tutorial I will be showing you how to create the simple base for detachable collars and cuffs so you can create your own.
*You may need a shirt pattern with a collar and cuffs for this project. I used Simplicity 1727 for my collar and pattern McCalls 7724.
Tools & Materials Needed (for both projects):
- 1/2 yard Woven fabric
- 1/2 yard Interfacing
- Corner Turner
- Fabric Pencil (for pattern markings)
- Clips
- OLFA 5” precision scissors
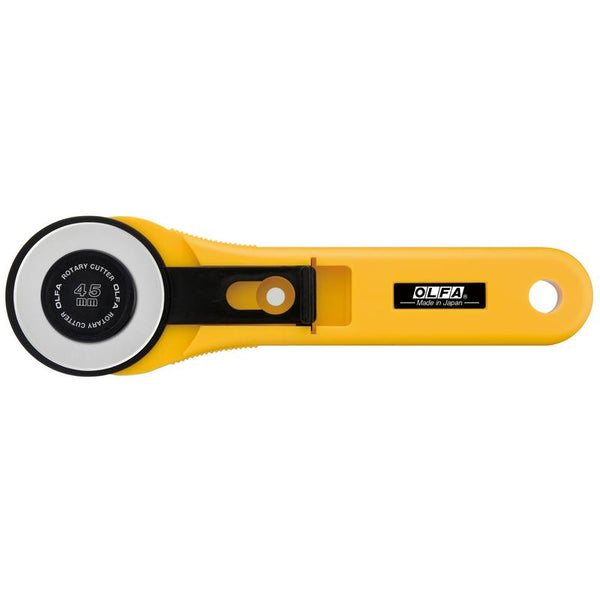
- OLFA 45mm rotary cutter
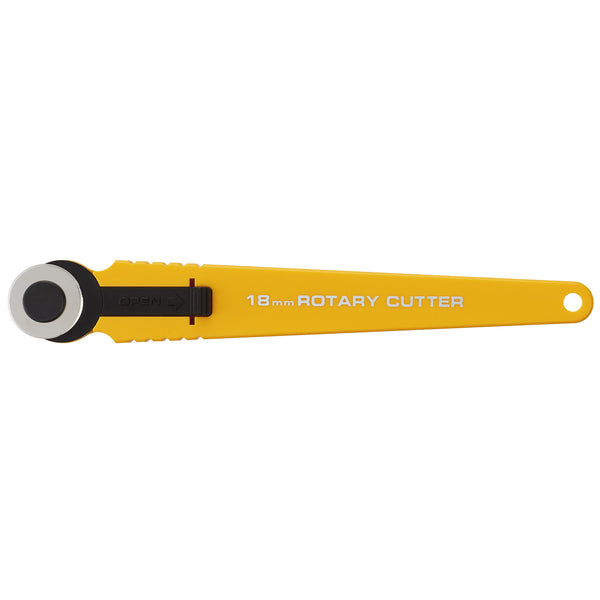
- OLFA 18mm rotary cutter
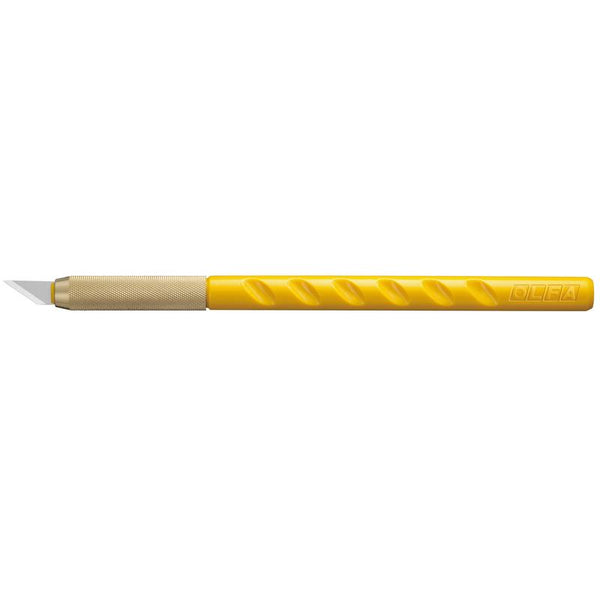
- OLFA Art Knife
* Use your OLFA cutting tools to cut out the two pattern pieces and corresponding interfacing.
COLLAR SEWING INSTRUCTIONS
1.First apply the interfacing to one collar and one neck band section. The remaining pieces will be the Collar facing and neckband facing.
- With right sides together pin collar facing to the collar along the sides and top of collar. Stitch. Trim seams and corners.
- Using your corner turner turn collar right side out. The corner turner will help with achieving a sharp point.
- Under stitch by pressing the seam allowance towards the facing and stitching on the outside through the facing, close to the seam as far as possible.
- Press. Machine baste raw edges together
- On the outside, pin collar (face down) with right side of neckband matching centers and dots. With raw edges even Machine baste edges together.
- With right sides together pin neck band facing to neck band, sandwiching collar, with raw edges even stitch around curves and along edges. Trim seams and Clip curves.
8.Turn neckband right side out. Press under ⅝ inch on lower edge of neckband. Press
- Pin or clip pressed edges together. On outside stitch around collar band and edges.
- You can finish the collars the way you like. For this collar I decided to do a traditional button closure. You can also use a snap, ribbon tie, velcro, hook and eye.
- If you choose to finish with button closure check out my precious tutorial on Button Holes and Handsewing Buttons
CUFF SEWING INSTRUCTIONS
Assembling cuffs is similar to making collars! Its all about the sharp corners and pressed edges! You can use cuff pieces from your favorite button up shirt pattern to create your detached cuffs. I used McCalls 7724 which is only one pattern piece
- First apply interfacing to one cuff piece. The other cuff piece will be your facing.
- With right sides together pin cuff facing to the cuff along the sides and bottom edge of the cuff. Stitch. Trim seams and corners.
- Using your corner turner turn cuff right side out. The corner turner will help with achieving a sharp point. Press
- Press under ⅝ inch on lower edge of cuff.
- Topstitch lower edge of cuff close.
- Finish with button hole closure, snap closure, ribbon tie, velcro, hook and eye.
You can wear your Collars and cuffs under your clothing or with strapless or sleeveless garments for a more edgy look!
Wear and Enjoy!


