
How to Make an Economy Block

Designer: Erin Kroeker
Website: www.theblanketstatement.ca
Instagram: @theblanketstatement
------------------------------------------------------
Skill Level: Beginner
Finished Size: 6”, 12” or 18”

The economy block is a classic design that looks intricate but is made with simple, approachable steps. Also known as a square in a square or economy patch, this block is built by adding triangles around a centre square, creating a framed diamond effect. It’s a fantastic block for practicing working with bias edges while still ending up with crisp, dramatic results. Quilters love it for bold contrast, color play, and framing a favorite print right at the center.

Throughout this tutorial, I’ll be making the 18″ block, but I’ve also included measurements for 6″ and 12″ finished blocks so you can easily scale the design to fit your own project.

Tools:
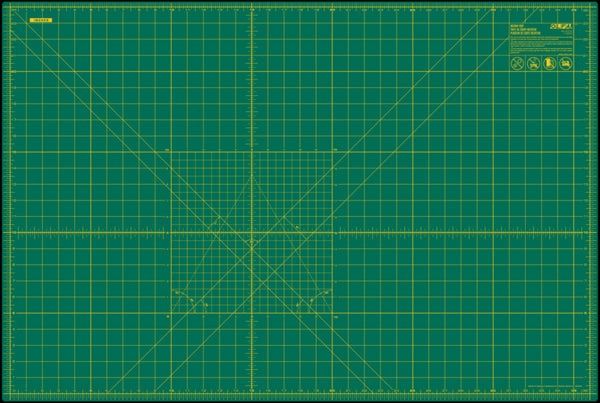
OLFA 24” x 36” Self-Healing Rotary Mat
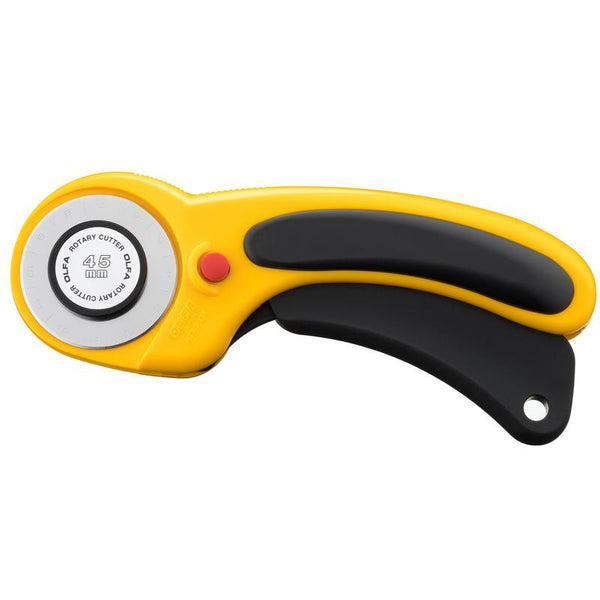
OLFA 45mm Ergonomic Rotary Cutter
OLFA 45mm Endurance Blades
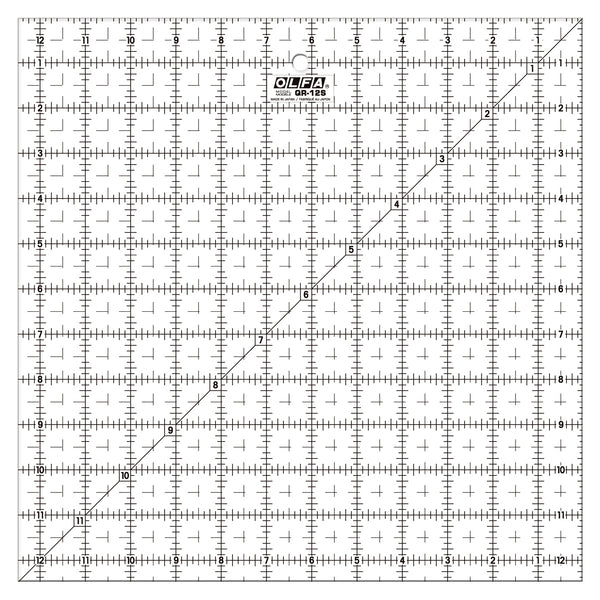
OLFA 12 ½” x 12 ½” Frosted Acrylic Ruler
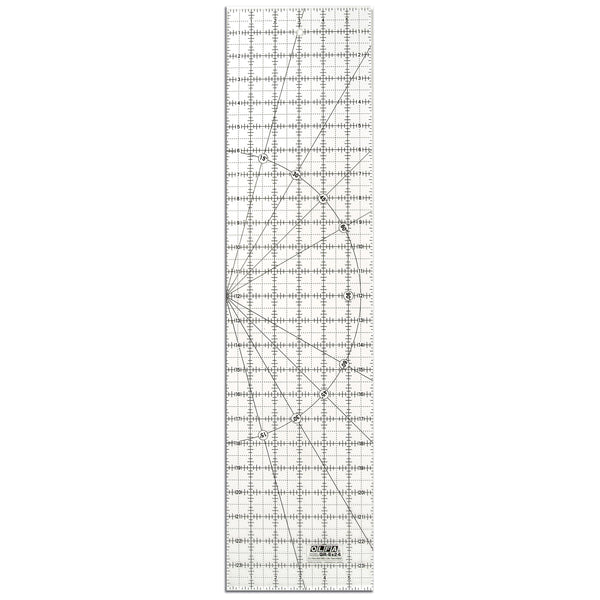
OLFA 6” x 24” Frosted Acrylic Ruler
Fabric & Supplies:
Two Contrasting Fabrics - A (Natural) & B (Black)
· 18” Block: (A) Fat Eighth and (B) 1/3 Yard
· 12” Block: (A) Fat Eighth and (B) Fat Quarter
· 6” Block: (A) Fat Eighth and (B) Fat Eighth
Thread
Sewing Machine
Iron and Ironing Board
Pins

Step 1: Cut Fabric
For an 18” finished block:
· A - (1) 7.75” x 7.75”; Cut each square once on the diagonal to yield 4 triangles
· B - (1) 9.5” x 9.5” (Centre square)
· B - (2) 10.5” x 10.5”; Cut each square once on the diagonal to yield 4 triangles
For a 12” finished block:
· A - (1) 5.75” x 5.75”; Cut each square once on the diagonal to yield 4 triangles
· B - (1) 6.5” x 6.5” (Centre Square)
· B - (2) 7.5” x 7.5”; Cut each square once on the diagonal to yield 4 triangles
For a 6” finished flower block:
· A - (1) 7.75” x 7.75”; Cut each square once on the diagonal to yield 4 triangles
· B - (1) 3.5” x 3.5” (Centre Square)
· B - (2) 4.5” x 4.5”; Cut each square once on the diagonal to yield 4 triangles


Step 2: Sew Triangles
Lay your centre square right side up. Take two of the smaller triangles and find the center of the long edge of each triangle (finger press or fold lightly). Match that center point to the center of opposite sides of the square and pin in place.
Tip! The triangle tips will extend past the square.

Sew with a ¼” seam allowance and press seams toward the triangles. Trim dog ears.

Add the remaining two small triangles to the other sides in the same way. Match centers, sew, and press toward the triangles.

Step 3: Trim
Tip! Do not skip trimming; it's very important to ensure your block finishes at the correct size.
Find the center and carefully square up the block leaving a ¼" seam allowance beyond each point. Make sure to trim equally on all four sides.
TIP! Line up the 45° line on your ruler with the diagonal seams to keep everything centered and straight.

Step 4: Complete the Block
Repeat the steps with the remaining four triangles, pressing seams towards the outside triangles.


 Step 5: Trim
To square up the block, trim evenly on all four sides. Keep the design centered and make sure there is a ¼″ seam allowance extending past each corner point.

Pressing Tips
Press seams outward toward the triangles to reduce bulk in the center.
Use steam and a flat press, try not to drag the iron as bias edges can stretch.
Design Ideas
This economy block is part of a multi-block series that will eventually come together into a sampler-style quilt, where each block has its own personality but still works beautifully as a whole.
Here are a few other ways you can use this block:
· Highlight large-scale prints that would get lost in smaller pieces
· Bold two-color or high-contrast layouts for a strong graphic look
· Fussy-cut centers framed like little works of art
· Playing with directional fabric, since the on-point center adds movement
It’s a perfect blend of traditional structure and modern scale.