How to make a structured corset for any cosplay use!

Designer: Jedimanda
----------

A strong base is key for all cosplay outfits. It can be either a body suit, corset, undergarments, or even a good pair of undies. Including a strong base to keep everything in place is one of my biggest necessities in garment making. Making yourself a corset is absolutely an option, not everyone has one or needs one, it’s completely up to you. I want to show you a great option if you choose to corset up under your cosplays.
Skill level: Intermediate
Tools
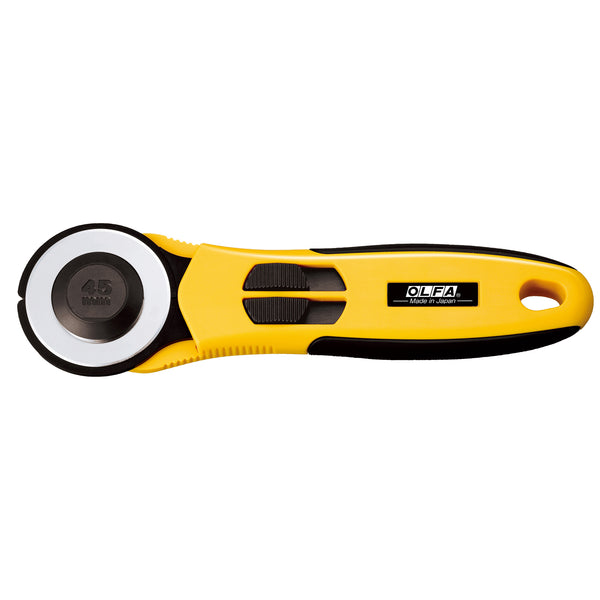
OLFA 45mm RTY-2/NS Quick-Change Rotary Cutter
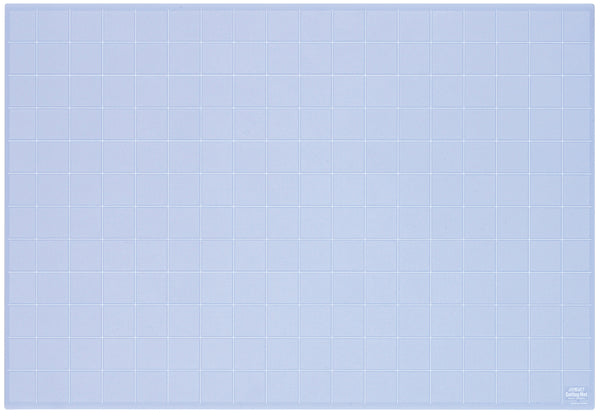
OLFA NCM-L 24" x 36" 3mm Double-Sided, Self-Healing Cutting Mat
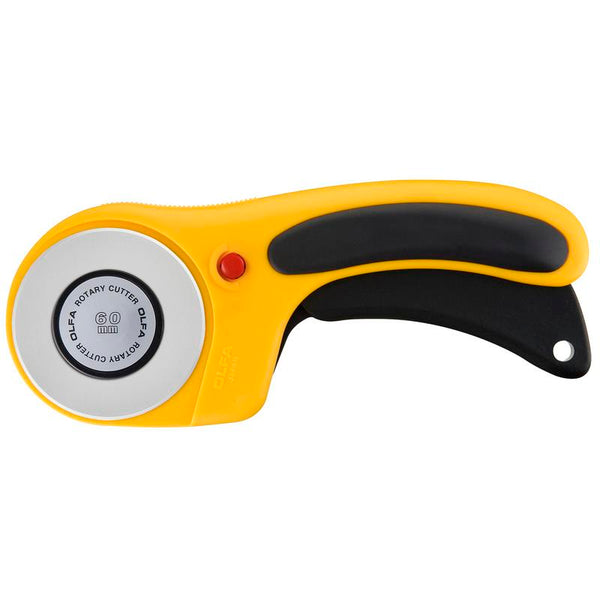
OLFA 60mm RTY-3/DX Ergonomic Rotary Cutter
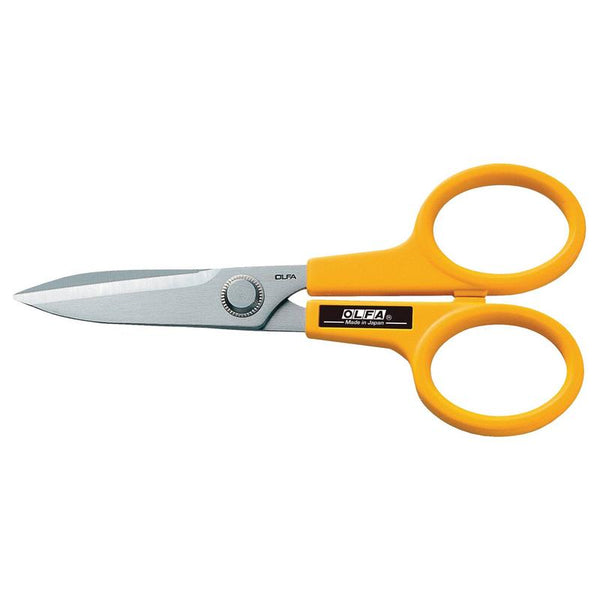
OLFA 7-Inch SCS-2 Serrated-Edge Stainless Steel Scissors
Materials
- Pattern - McCalls 7339
- Your choice of outer fabric - I recommend a strong woven fabric like cotton, twill, or silk.
- Stabilizer - this can be standard fusible interfacing or a woven stabilizer. I’m using canvas.
- Your choice of a lining - I recommend a light weight cotton.
- Boning
- Bias tape
- Eyelets or Grommets
- Awl
- Sewing Machine
- Thread of your choice
- Lacing - I recommend grosgrain ribbon or extra long shoestring
Steps
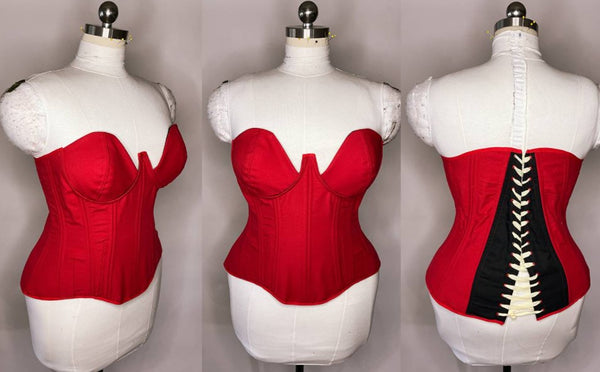
NOTE: I am using a store-bought pattern for this one. There are SO MANY different corset patterns out there to use. Things to keep in mind when you are pattern shopping, look for the shapes you want. I specifically look for a corset that is over the bust and longer especially over the hips. This is a good one for a structured base superhero suit. I’m going to be using this under my Scarlet Witch cosplay.


1. First step is to read the directions, as simple as it may be, going over what you have to do is essential. Too many times have I gotten into the thick of the directions and forgotten I needed to stay stitch something. Moral of the story, read the directions all the way through, FIRST.
2. Set up your cutting table and proceed to cut the sizes of patterns you need. If this is your first time making a corset, I recommend making a mock up. That’s just one layer of this pattern created in muslin. Just so you know the appropriate alterations you’ll have to do before hand, but this step is optional.

3. I also transferred the tissue paper pattern to stiffer paper. I like doing this because the tissue paper can sometimes move and shift during cutting.

4. You have your pattern cut out, now chop up your fabric too. The outer fabric, stabilizer, and lining if you choose too. Don’t forget to transfer all the markings from the patterns.


5. Now that your fabric pieces are cut, I highly recommend to finish your edges with an over lock machine because no one wants frayed edges.

6. Next, you’ll need to flatline the outer the fabric to the stabilizer. Flatlining is layering two fabrics on top of each other then top stitching them together around the edges.

7. Following the directions of the garment, stitch all the pieces together, matching notches and circles.

8. Once your waist pieces are together, baste in your breast cups. Then give it a try on, the best you can. Biggest tip is to get a buddy to hold the center back closed while you look at the corset on you.

9. For some reason, when I made this corset, the center front ended up being taller than it should. I kind of liked it so I kept it. Aesthetic choices, you know?
10. Now, grab your 45 mm Rotary Cutter and trim up the edges so the pieces line up nicely.

11. At this point, you will need to try on the corset again as best as you can so you can see if you’ll need to make alterations. Also at this point, I got really frustrating with the lining and decided I didn’t need it, another aesthetic choice
12. After you try on your corset the best you can and have made the appropriate alterations, now is the time for boning.

13. The directions will specify the boning channels you’ll need to make. Basically it’s top stitching 1/4” away from the seam on each piece creating little channels you can slide bones in. This is one of my favorite parts of corset making, I love the final look of the top stitching, so satisfying.
I14. used plastic 1/8” width zip ties for my boning. It’s a great cheap way to bone corsets. If you don’t want to use plastic boning, I would look into spiral steal boning.

15. Continuing though the pattern directions, it’s time to bind your edges! Using the bias binding, bind all the edges of the corset.


17. Using an awl, poke all the holes and add in the grommets for lacing.
18. Grommets added, all that is left is to lace yourself up! Congrats, you made a corset!

Last note: If you use this for your undergarments under you costume, but please wear a shift, chemise, or lightweight shirt under your corset. You will sweat like crazy and it will cause chaffing. This will be pretty uncomfortable if you don’t have a barrier between your skin and the corset. Happy cinching!
Check out all our cosplay tutorials here.