How to Make a Simple & Cute Felt Needle Book

Designer: Marcia Izabel Marchiori
YouTube: MarciaBel Vlog
Instagram: @marciabel
----------------------------------
Level: Beginner
For this needle book tutorial, I wanted to keep everything as easy as possible, so I created templates for each part and, that way, you don’t have to measure almost anything! You can just cut the templates, follow along, and slowly stitch everything together.
It feels like a perfect little spring project. In the end, you will have the cutest needle book, something handmade and special. 

I love the idea of giving these as small gifts, or even making a few to share as favors with people I love.
Let’s start! 🌼

Tools & Supplies Needed
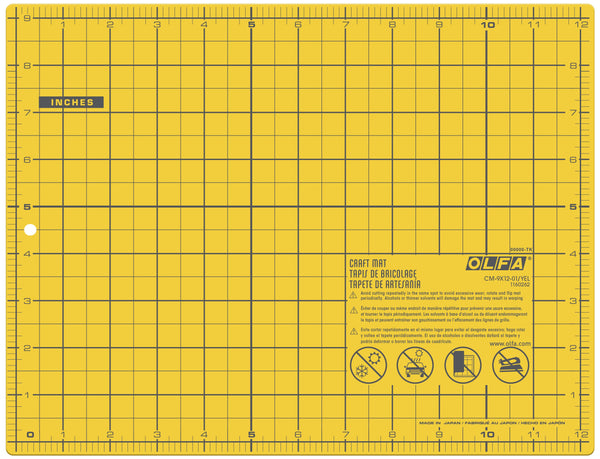
• OLFA CM-9x12-01/YEL Double-Sided Self-Healing Cutting Mat
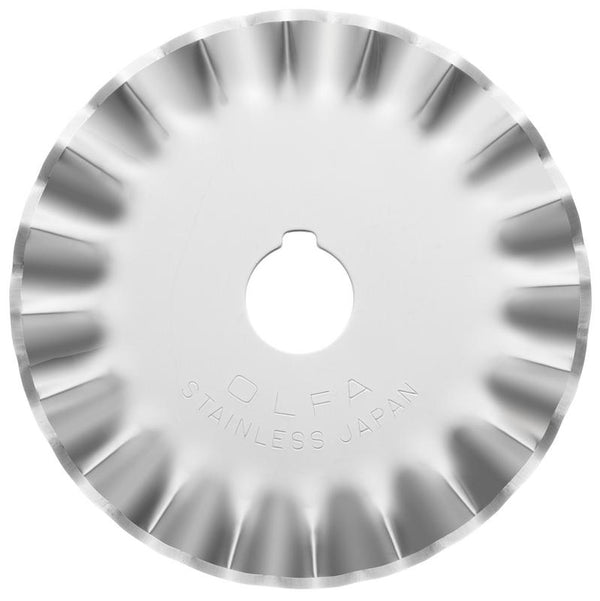
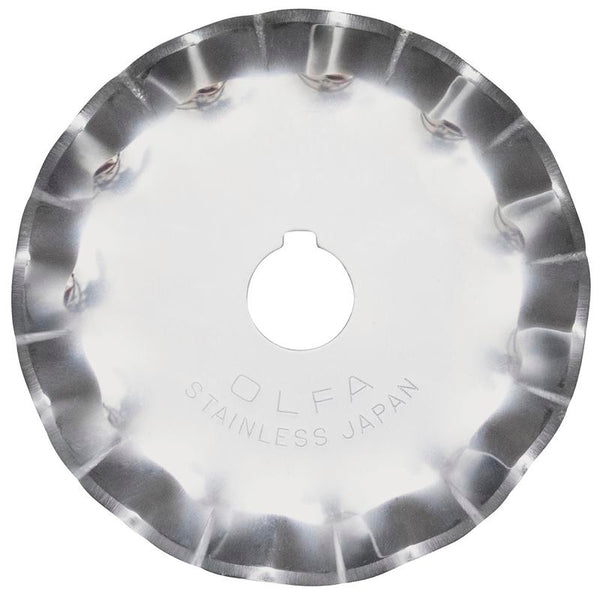
• OLFA RTY-2DX/MAG 45mm Ergonomic Rotary Cutter paired with OLFA PIB45-1 Stainless Steel Pinking Blade OR OLFA SCB45-1 Stainless Steel Scallop Blade
• OLFA 45mm RTY-2/C Quick-Change Rotary Cutter with regular blade
• OLFA QR-1x12 1" x 12" Frosted Acrylic Ruler
• OLFA 5-Inch SCS-4 Precision Appliqué Scissors
• Wool felt in four coordinating colors (used: blue, coral, light pink and yellow for flower) plus one green for leaves
• Thread and needle
• Buttons
• Embellishments such as ribbon, lace, decorated bias tape (used: Riley Blake Designs Tiny Daisy Cottage with crochet edge), rip rac trim (used: used: Riley Blake Designs small Cottage)
• Safety Pins
• Therm O Web Iron-Adhesive Heat-n-Bond (interface)
• Iron and ironing board
• Pencil, erasable pen, printer, and letter-sized printable paper for template
Instructions
- First, print the templates here. Using your OLFA ruler and rotary cutter, cut them to size.

- Using an erasable pen, trace POUCH 1, 2, and 3, and STRIP 1 templates onto felt in coordinating colors. Then, using your OLFA mat, ruler, and rotary cutter with the regular blade, cut all of these pieces out.


- Now, take your OLFA ruler and a pencil and trace the INNER SIDE template onto the paper side of the interfacing.

- Using your OLFA scissors, cut this interfacing piece slightly larger than the lines you just traced. Iron it onto the felt you will use for the INNER SIDE, following the manufacturer’s instructions.


- Once that is done, let it cool down and go back to your OLFA mat, ruler, and rotary cutter, and trim the INNER SIDE to the exact size using the traced lines on paper as your guide. Remove the protective paper.


- Mark the center of the INNER SIDE rectangle using a erasable pen. Place POUCH 1, 2, and 3 together on top of INNER left SIDE (felt side) as shown, and use safety pins to hold them in place.

- Now it’s time to stitch the first part together.
Note: I am using a sewing machine here, but you can easily hand stitch everything using a simple running stitch if you prefer.
To begin, temporarily remove POUCH 2 (we pinned it first just to help with placement). Stitch POUCH 1 and POUCH 3 in place, leaving the top side of both open. You are sewing a “U” shape to create two small pockets.

- Then, place POUCH 2 back on top of POUCH 1, and stitch a simple straight line along the top edge to create a little flap.

- Cut a 1 1/4 inch piece of your chosen embellishment. I am using a decorated bias tape. Stitch it together on top of STRIP 1, placing it vertically on the right side of the INNER SIDE felt.

- Next, hand stitch a piece of lace and two small buttons vertically along STRIP 1.

- Now, layer everything together and iron, keeping the interfacing in the middle (always follow the interfacing manufacturer’s instructions when ironing).
- To give your needle book a beautiful finishing touch, use your OLFA rotary cutter with a pinking or scallop blade (I used the pinking one here) to trim the edges of the OUTER SIDE felt. Then, stitch all around the rectangle to secure everything and add a neat, decorative finish.


- Let’s prepare and embellish the inner sheets. You can keep this part very simple or decorate as much as you like. I am adding a bit of hand sewn lace, and also loosely attaching a couple of buttons (with removable adhesive tape), so I always have a few handy in the needle book when I need them.
- Bring everything together: cut two 7” pieces of ribbon, then place the OUTER SIDE and the INNER SIDE together, with one ribbon in between each side, positioning them at the edges in the middle. Make sure everything is aligned and centered, and use safety pins to secure all the layers.
- Sew a straight line right down the center, going through all the layers.


- For the flower detail, cut two 2 x 2 inch pieces of interfacing, one 2 x 2 inch piece of felt for the flower (mine is the yellow one), and another 2 x 2 inch piece of green felt for the leaves. Iron each interfacing to each corresponded felt piece together.
- Then, trace your flower and leaves onto the paper side of interfacing and cut them out using your OLFA scissors.
- Arrange the flower and leaves on the front (right side) of the OUTER SIDE piece as you like, then iron them together. Hand sew a button in the center of the flower.


And your needle book is ready ✿


I can’t wait to see your creations! Tag me @marciabel and @OLFA_craft so we can enjoy your adorable needle books!
With love,
Marcia