How To Make A Satin Scarf

Designer: Marcia Spencer
Instagram: @keechiibstyle
------------------------------------

A scarf makes a great accessory any time of the year. You can wear them on your head, around your neck and even as a twilly to add to your handbags. Luckily, it doesn’t take long to create and you can make scarf from garments you want to upcycle. It only takes 24 x 24 inches to create the the scarf in the tutorial. And yes it also makes a great scrap buster!

Materials and Tools Needed:
- OLFA 5” precision scissors
- OLFA 45mm RTY-2C/NBL Quick-Change Rotary Cutter, Navy
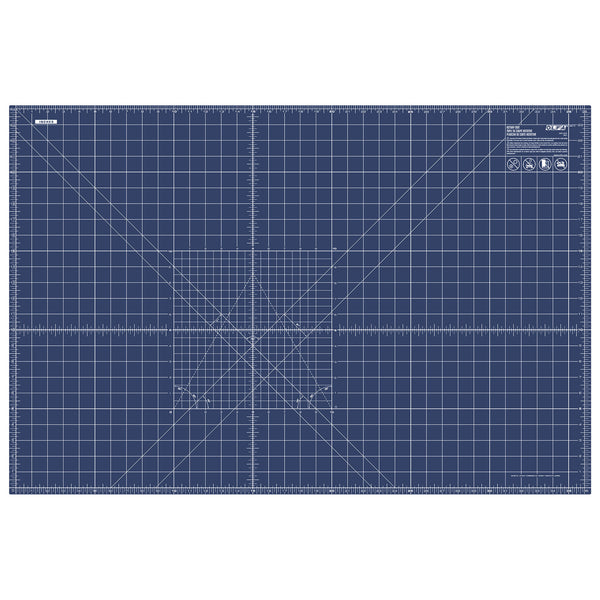
- OLFA RM-MG/NBL 24"X36 Double-Sided, Self-Healing Rotary Mat, Navy
- OLFA 6” x 24” Frosted Acrylic Ruler
- 3/4 yard satin fabric
- Thread
- Serger/Sewing Machine
- Pins/Clips

* If your fabric is larger than 24 x 24 use your OLFA cutting tools and Frosted Acrylic Ruler to cut a 24 x 24 square. Use your Rotary Mat as a guide.


*You can serge the four edges of the fabric once you have cut your fabric to prevent fraying. This is optional!

SEWING INSTRUCTIONS
- Turn under the edges of the square ¼ inch and press.

- Turn folded edge under ¼ inch again. Press and pin.


- Stitch close to the folded edge.


4. Repeat steps 1 & 2 for the edge parallel to the one you just finished.


6. Paying special attention to the folded corners of the satin scarf so they do not slide.


Voila, You are Done! Enjoy this piece in many different ways.