How To Make a Necktie

Designer: Marcia Spencer
Instagram: @keechiibstyle
-----------------------------------

Wearing neckties can be fun and trendy! Creating your own neckties can be super easy. I used Burda pattern 7876 to create this necktie for an upcoming look. Check out my step-by step tutorial and create your own.
*You may need a Necktie pattern for this project. I used Burda pattern 7876 which only consist of two pieces.


Materials and Tools Needed:
- 1 yard Woven fabric
- 1 yard Interfacing
- Corner Turner
- Fabric Pencil
- Clips
- OLFA 5” precision scissors
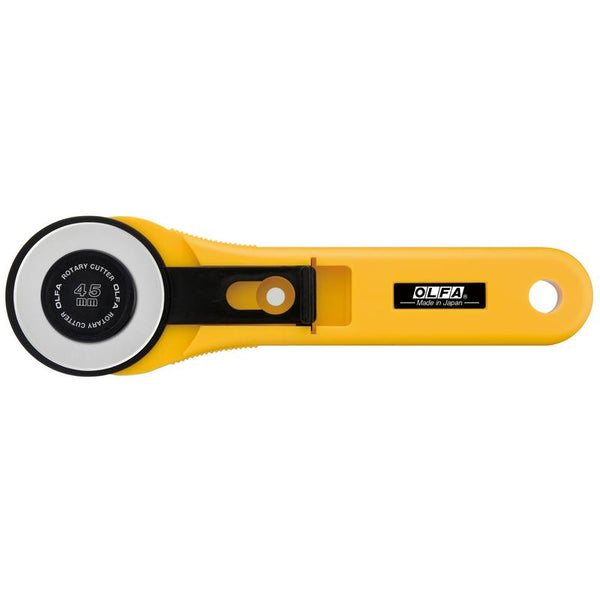
- OLFA 45mm rotary cutter
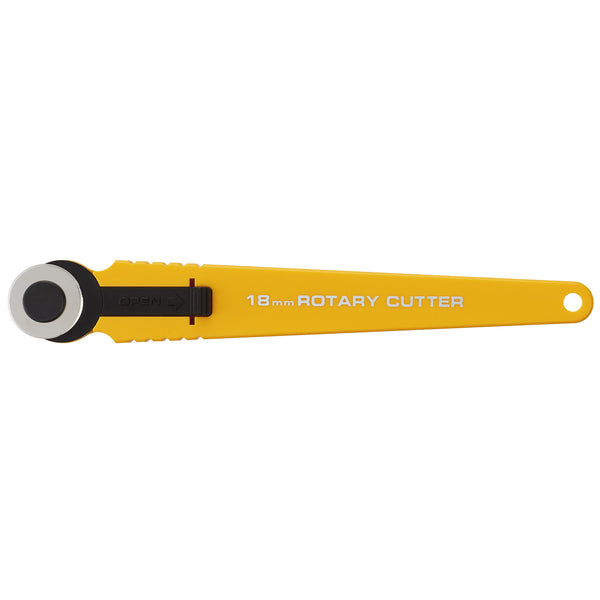
- OLFA 18mm rotary cutter
- OLFA 1” x 12” Acrylic Frosted Ruler
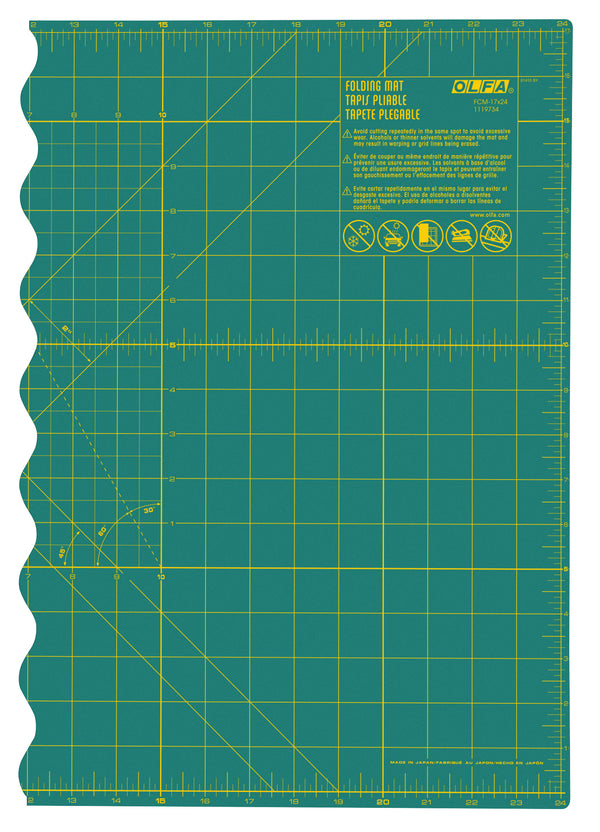
- OLFA 17 X 24 Folding mat

* Use your OLFA cutting tools to cut out the two pattern pieces and corresponding interfacing.


SEWING INSTRUCTIONS
- First apply the interfacing to the wrong side of the pattern pieces. Transfer all relevant markings to wrong side of fabric.

- Pin. Stitch pieces I & II with right sides together with a ⅝ seam allowance. Press seam open


- With right sides facing, fold tie in half. Stitch upper and lower edges together. Press allowance open.


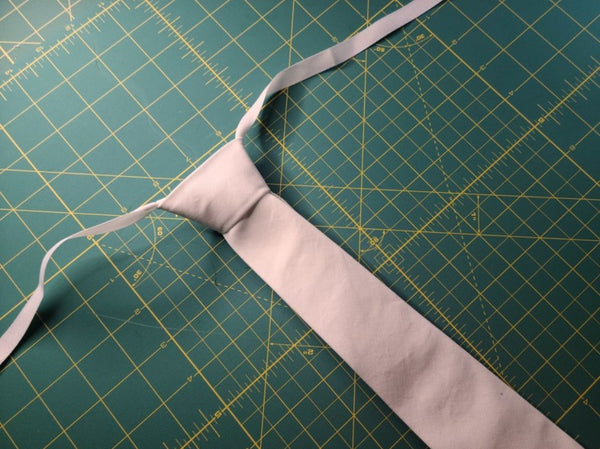
- Turn the seams right side out and fold corner on the fold line with wrong sides facing in.

- Next, with right sides facing fold the tie lengthwise with edges together. Place seam down center of tie and press seam open.


- Turn tie right side out. Press


Your project is done!

You can loop the tie around a satin ribbon or wear it as you would any other fashionable necktie.