
How to Make a Cute Teabag Wallet with Leather

Designer: Marcia Izabel Marchiori
YouTube: MarciaBel Vlog
Instagram: @marciabel
----------------------------------
Level: Beginner
I personally love having my favorite tea with me wherever I go, it brings a sense of calm to my day. Instead of carrying loose teabags in my purse, I made this small teabag wallet so everything stays in place. Made out of leather, it is functional, but also soft and beautiful to hold.

When choosing the material for this project, you could absolutely make a teabag wallet using fabric, and it would still be lovely. But I decided to use leather because it is very durable and holds its shape beautifully over time, especially for something that can live inside or outside a bag and be used often. I also chose a brand called Hometown Leatherworks, which has beautiful plain and printed designs in soft lamb leather. The patterns are unique and full of character, and they also offer the option to print your own designs, which makes the project feel even more personal. I truly recommend them if you are looking for something a little different and special for your handmade pieces.

In this tutorial, I will show you how to make this cute piece that keeps your tea close at hand while you are at work, traveling, or spending time out. It is a simple and practical project, and it also makes a thoughtful handmade gift: you can pair it with a beautiful tin of your favorite tea and create something very personal and special!
 If you love tea and enjoy small handmade details in your daily life, this project is a lovely one to try!
So, grab a cup of tea, and let’s make it! ☕️

Tools & Supplies Needed
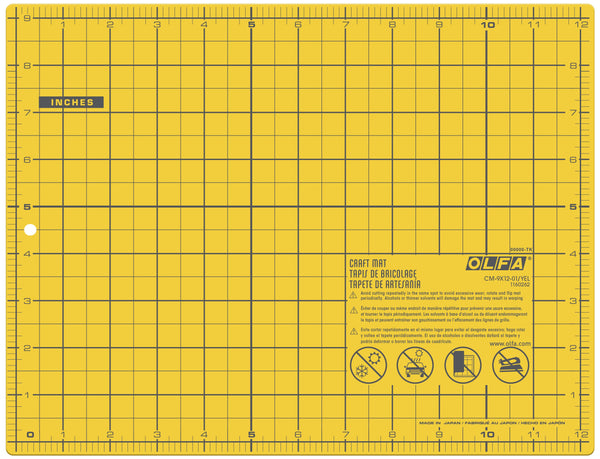
• OLFA CM-9x12-01/YEL Double-Sided Self-Healing Cutting Mat
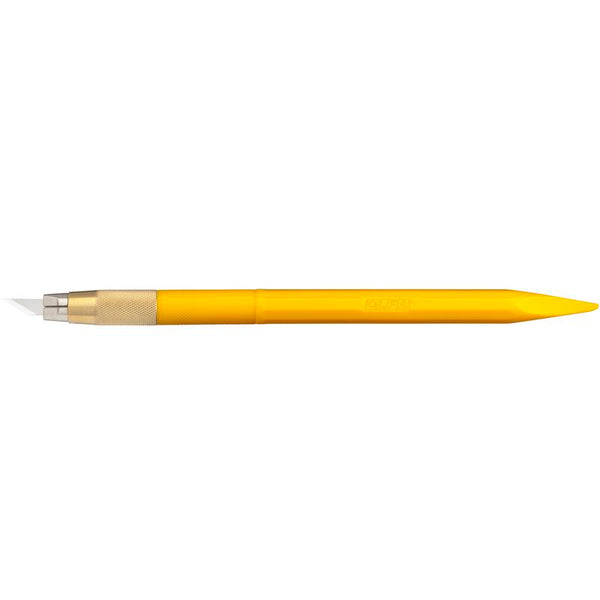
• OLFA AK-5 Designer Graphic Art Knife (we are going to use both blade and needle tip)
• OLFA QR-1x12 1" x 12" Frosted Acrylic Ruler
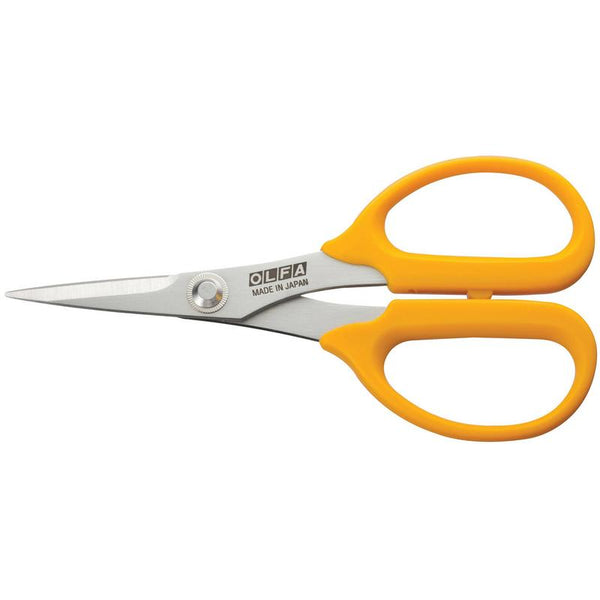
• OLFA 5-Inch SCS-4 Precision Appliqué Scissors
• Letter-sized piece of leather (I am using Hometown Leatherworks floral patterned lamb leather and a plain leather for the flower and 1/4 x 5” strip)
• Upholstery thread and needle
• One mini button
• Metal lobster claw clip
• Bone folder (optional: a sponge and spray bottle to lightly dampen the leather, if needed)
• Piece of felt for surface protection
• Pencil, printer, and letter-sized printable paper for template
Instructions
- Print your template to scale on letter-sized paper. Place it on your OLFA mat and cut it to size using your OLFA art knife and ruler.

-First, cut off any excess from the edges.  Then, place the template on the back (plain side) of your patterned floral leather. Lightly trace the shape using a pencil.

- Before cutting the wallet, use the bone folder and OLFA ruler to create the first crease at FOLD 1(see template). The leather I am using is very soft, so I use a ruler and a bone folder to help shape the folds. Press gently along the fold lines and create a nice crease.
Important Note: You don’t necessarily need to dampen the leather, but if the crease is not holding well, you can lightly dampen it with a sponge on both sides. Then, fold carefully into place. Place a folded paper towel over the damp edge and clamp it gently. This helps absorb moisture and protects the leather. Leave it clamped for a few minutes to dry. When you remove the clamp, the fold should hold its shape. If needed, repeat the process.
- Cut the wallet shape: using your OLFA mat, ruler, and art knife, cut along the traced lines. Try to keep your cuts steady for a clean finish.


-Crease and fold FOLD 2, FOLD 3 (see template):

-Then, crease and fold FOLD 4 (see template).


- Using the needle tip of your OLFA art knife and a ruler, place a piece of felt underneath for protection, then make small punctures in the middle of the pouch as indicated below. Space them about 1/4 inch apart:


- Using a needle and upholstery thread, sew through the holes you created using running stitches. Sew all the way across, then go back again to reinforce the seam, keeping your stitches even. With the help of your OLFA scissors, tie a knot, cut and tuck the ends underneath for a clean and simple finish.


Making the Leather Flower:
- First, trace your flower templates onto the plain leather. Then, use OLFA Scissors or your AK-5 Art Knife to cut both pieces.

- Place the two pieces together to form the flower.


- Layer everything together: place the flower on the front of the wallet, then add a 5” x 1/4” leather strip folded in half lengthwise with the metal lobster claw clip already attached, tucking the open ends of the strip under the flower so all the pieces are stacked neatly. Place a piece of felt underneath for protection, and use the Needle Tip of your OLFA AK-5 Art Knife to make two holes through all the layers (using the button holes distance as a guide), making it easier to sew everything together.
On the inside of the wallet, place and sew the small button to create a clean finish and support the flower and strip on the front. Hand sew all the layers together firmly in place.

Your teabag wallet is now ready to use! It is a cute small piece that it brings so much comfort to daily moments. I love having my favorite tea with me, neatly stored and easy to reach ☺️💛


I can’t wait to see your creations! Tag me @marciabel and @OLFA_craft so we can enjoy your adorable teabag wallets!
With love,
Marcia