How To Make A Belt

Designer: Marcia Spencer
Instagram: @keechiibstyle
-----------------------------------
There are so many different types of belts to create. Buckle belts are one of my favorite and they are a great piece to add to jeans, trousers as well as to belt dresses. In this blog I share just how simple it is to create your own.
MATERIALS NEEDED:
- 5” x 45” Woven fabric
- 5” x 45” Interfacing
- 1 ½ “ Buckle
- Eyelet kit
- Awn or Hole punch
- Hammer
- Loop Turner
OLFA TOOLS NEEDED:
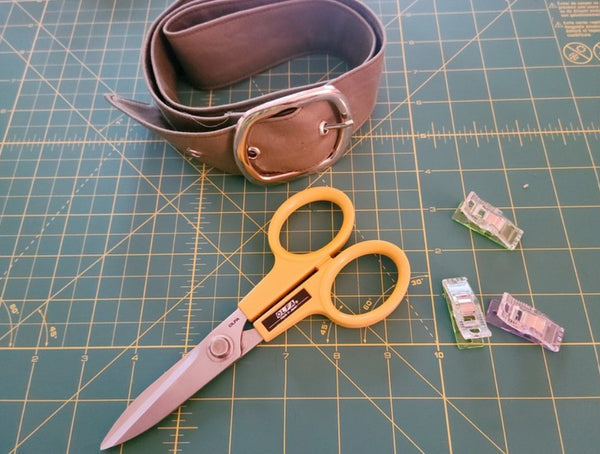
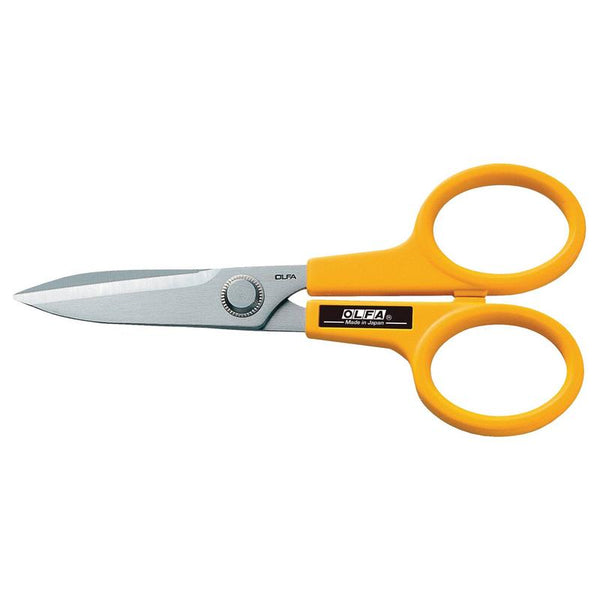
- OLFA 7-Inch SCS-2 Serrated-Edge Stainless Steel Scissors
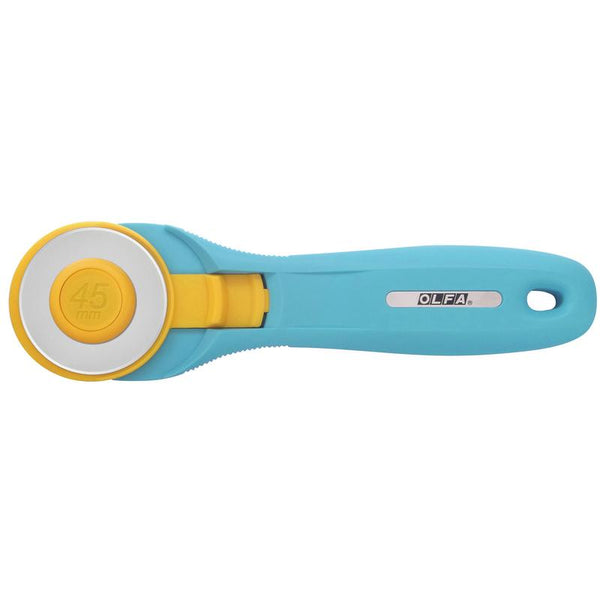
- OLFA 45mm RTY-2/C Quick-Change Rotary Cutter, Aqua
- OLFA QR-1x12 1" X 12" Frosted Acrylic Ruler
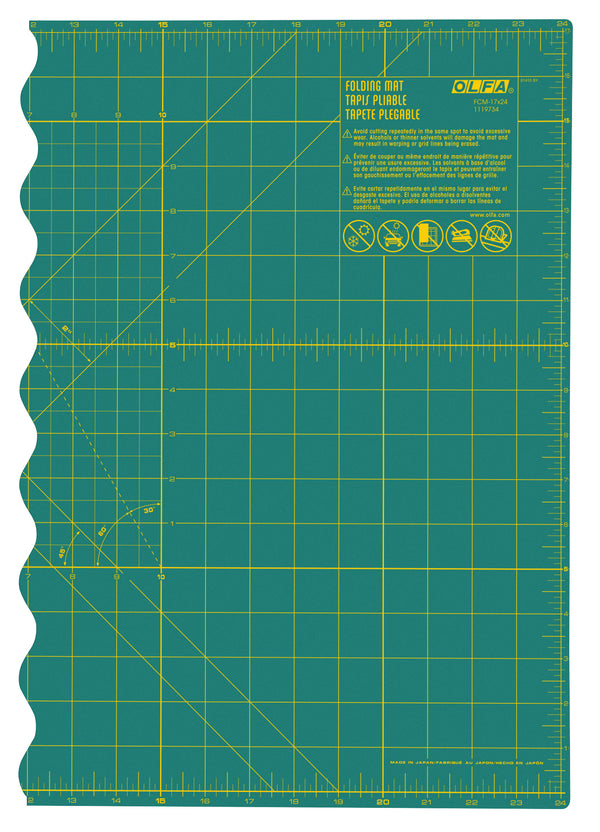
- OLFA 17 X 24 Folding mat
SEWING INSTRUCTIONS
1. Apply interfacing to the wrong side of woven fabric.
- Fold belt in half lengthwise with right sides together.
- Stitch all edges. Leave an opening to turn. Trim seams and corners.
- Turn belt. Press
- Edge stitch. Top Stitch.
- Mark holes for eyelets.
- Use awning tool and scissors the create eyelet holes.
- Insert eyelets into each hole and secure them using your hammer or eyelet tool. Some kits may be different. Please follow instructions on eyelet kit.
- Slip one end of the belt through the center bar of the buckle, turning turning end to inside. Baste and stitch close to the end.
Voila you’re done!


