How To Create Pipe Trim

Designer: Marcia Spencer
Instagram: @keechiibstyle
-----------------------------------

Adding trims to your projects can take them up a notch. You can purchase ready to use trims but it makes it so much more special and personalized when you create your own. Its so easy to do and it can be a great fabric stash buster too. Read on to find out how to create your own pipe trim.

Materials and Tools Needed:
- ⅛ wide cord
- ¼ -½ yard Fabric (stash fabric also works)
- Thread
- Sewing machine
- Zipper foot
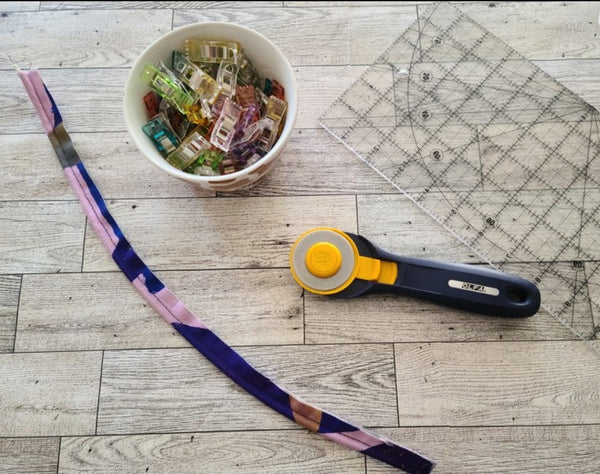
- OLFA 45mm RTY-2C/NBL Quick-Change Rotary Cutter, Navy
- OLFA 24 X36 Double Sided Rotary Mat
- OLFA 6 x 24 Frosted Acrylic Ruler
or
- OLFA 6 x 12 Frosted Ruler

CUT YOUR FABRIC

- Using your Olfa Acrylic Ruler, Rotary Cutter and Mat cut 1 inch wide strip of fabric the length you desire.

CREATE THE CASING

- With wrong sides together fold the strip in half the long way and press.


- Open up the fabric and place the cord in the middle of the fabric on the crease length wise.

- Fold the fabric over the pipe matching the edges. Pin or clip.

SEW THE PIPE


- Use your zipper foot to stitch the pipe in the fabric close to the pipe as possible.

- With wrong sides together fold the strip in half the long way and press.

Voila You’re Done!