How To Create Binding

Designer: Marcia Spencer
Instagram: @keechiibstyle
-------------------------------------

Creating your own binding can be both a scrap buster and a great way to add an extra professional touch to your project. Binding comes in different sizes. For this tutorial I will be using a 12mm or ½ inch binding maker to create my binding. Read on to find out how to create your own binding.

Materials and Tools Needed:
- 20 x 20 square(stash fabric also works)
- Thread
- Pen or Marker
- Binding maker
- Sewing machine
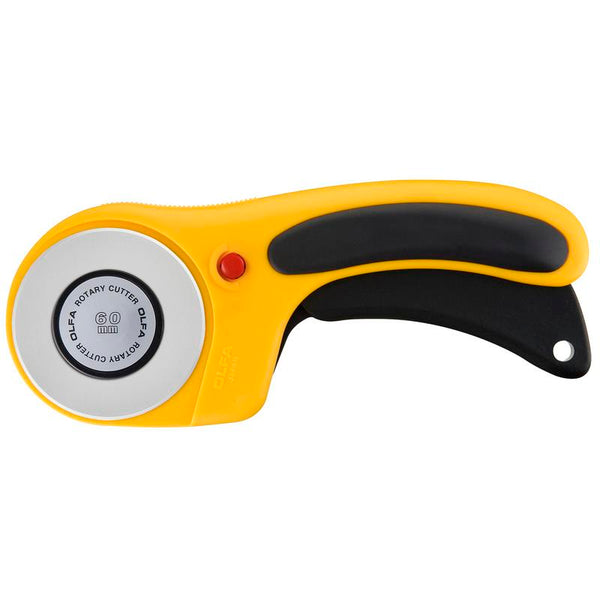
- OLFA 60mm RTY-3/DX Ergonomic Rotary Cutter
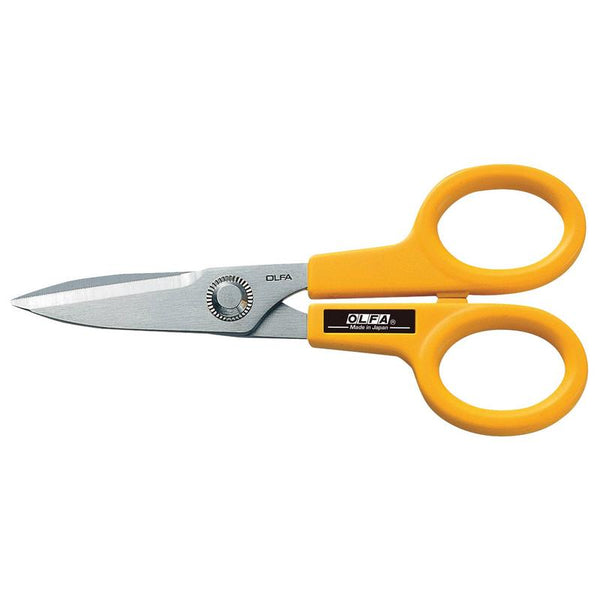
- OLFA 5-Inch SCS-1 Serrated-Edge Stainless Steel Scissors
- OLFA QR-6x24 6" X 24" Frosted Acrylic Ruler
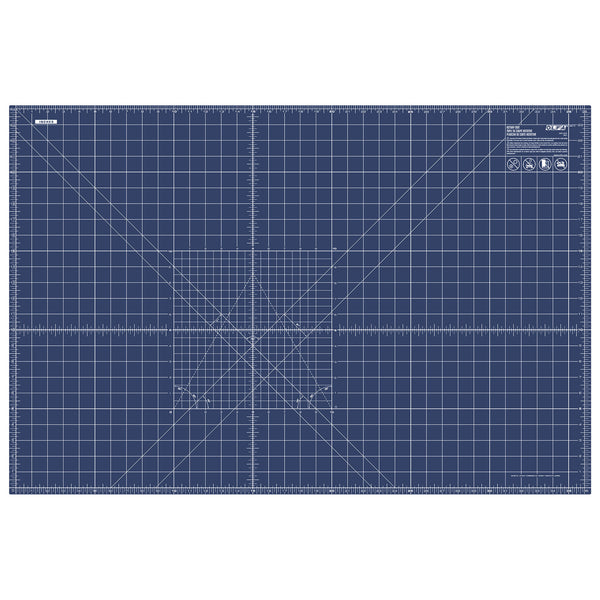
- OLFA RM-MG/NBL 24"X36 Double-Sided, Self-Healing Rotary Mat, Navy

CUT YOUR FABRIC
- Mark and cut your square in half on a 45 degree angle using your OLFA Acrylic Ruler, Rotary Cutter and Mat.


CREATE THE BINDING
- With right sides together match the outside edge of one square with the side of the other. Pin. stitch.


- Press seam open. Trim.

- Using your acrylic ruler measure length wise along the fabric making lines 1 1/4 inches wide or (respective length of binding size you’ve chosen to create) til you reach the end of fabric.
*if the last measurement does not match the previous ones you can cut the last one off.


- With right sides facing bring the edges of one side to the opposite side matching the lines. Pin. Stitch. Press seam open.


- Using your 5” or 7” OLFA stainless steel scissors cut along the continuous line on the fabric til you reach the end.


- Thread your your fabric strip through the wide end of your binding maker. ( use a corner turner of other pointy edge to help feed the fabric through if needed).


- Using your iron to press the binding as it comes out the smaller end.

- Fold binding in half with folded sides facing.


Voila You’re Done! Now you are ready to use your binding on your project! If you run out, now worries, you can make more!