How to create a Mitered Hem

Designer: Marcia Spencer
Instagram: @keechiibstyle
--------------------------------------

A mitered hem is a hem technique used most often on projects like blankets, curtains, tablecloths and quilts. It creates a smooth polished look on many different types of sewing projects by bringing two 45 degree angles together at the corners. You can make mitered corners in just about anysize. This technique works great for straight hems with splits and open edges. Follow the tutorial below as I show you how to create a ½ inch mitered hem.
Tool & Supplies needed:
Woven fabric
Clips/Pins

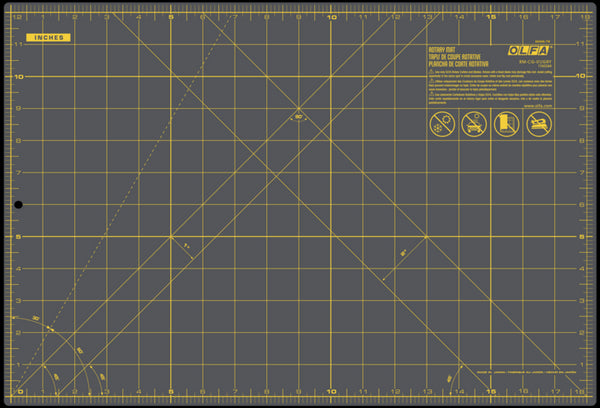
Olfa 24 X 36 Self Healing Rotary Mat
Olfa 45mm Quick Change Rotary Cutter
Olfa 5 Inch Serrated Edge Scissors
Olfa 1 x 12 Frosted Acrylic Ruler
Cutting & Prep

Make sure your fabric has straight edges and corners. You can achieve this by cutting your fabric with Olfa cutting tools and using your Olfa rotary cutter.
Instructions

- On the wrong side fold the raw edges of fabric over ½ inch. Press it.

- Fold it over again 1 inch. Press.
- Repeat this for all sides.


- Open the fold back up at the last crease made.
- Starting at the corner, measure two times the width of your hem, from the corner down each side 2 inches.

- Draw a line connecting the two marks.

- With right sides together, fold the corners in half diagonally.

- Make sure the two marks line up and pin it together.

- Stitch down the marked line.
- Trim the excess fabric at the corner, leaving about ¼ inch seam.


- Turn the corners right side out pushing the point of the corners out. Press.


- Topstitch around the inner edges.