How To Create a Drawstring Rouching

Designer: Marcia Spencer
Instagram: @keechiibstyle
--------------------------------------

Sometimes simple details can bring a piece to life, like adding a drawstring cuff to your garment project. It’s an easy way to add interest to a plain top or long sleeve tops. In this tutorial I show you how.
*This feature is an adjustment you can make to the sleeve of your garment patterns.

MATERIALS & TOOLS NEEDED:
- OLFA QR-1x12 1" X 12" Frosted Acrylic Ruler
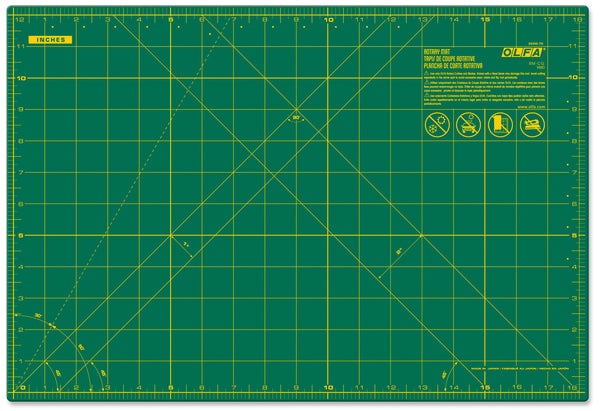
- OLFA RM-CG 12" X 18" Green Double-Sided, Self-Healing Rotary Mat
- OLFA RTY-2DX/MAG 45mm Ergonomic Rotary Cutter
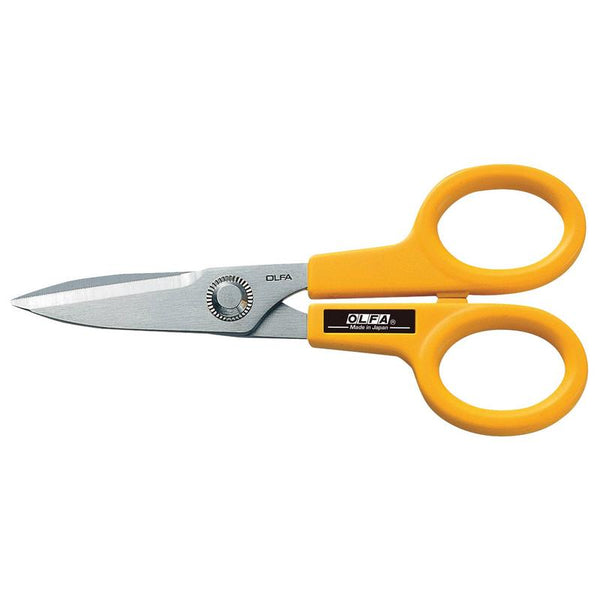
- OLFA 5-Inch SCS-1 Serrated-Edge Stainless Steel Scissors
- Clips or pins
- Loop turner
INSTRUCTIONS

- Cut 2” x 18” strips for your drawstring.
- When cutting out your sleeve, grade the sleeve hem out 2x wider at the cuff and add 1.5 inches to the hem.
- Make sure the raw edges of your sleeve are finished.
- Cut 2” x 18” strips for your drawstring.


5. Stitch the arm seam , stopping 5” from the hem.


6. Fold seam down and press seam edges under. Topstitch the seam down, turning at the seam stitch and continuing down the opposite side.


7. Fold the hem under 3/8 inch. Press.
8. Then fold the hem under again 1”. Press.

9. Edgestitch the hem close to the pressed edge. Set aside.


10. Create the drawstring by folding the strip in half with the right sides facing. Stitch long seam ⅜ from raw edge. Trim.


11. Turn drawstring with loop turner and Press.


12. Using a safety pin feed drawstring through the sleeve casing to the other side.


13. I like to knot the ends of my drawstring and apply a no fray on the ends to complete this step.


Voila! You're done.