How to create a cami with adjustable straps

Designer: Marcia Spencer
Instagram: @keechiibstyle
--------------------------------------

A camisole is a great basic piece to have in your wardrobe. They are great for layering and so easy to create. There are styles, fabrics and fit. I love having adjustable straps on my camisoles but some of my favorite styles don’t have them. Follow along below as I show you how to add adjustable straps to a simple camisole pattern.

Tool & Supplies needed:

1 yards or of woven fabric
1 yard of lining fabric
1 set of rings and double rings (make sure to get the size to match the size of your straps)
The Marigold Camisole Pattern -Mood Fabric FREE Pattern
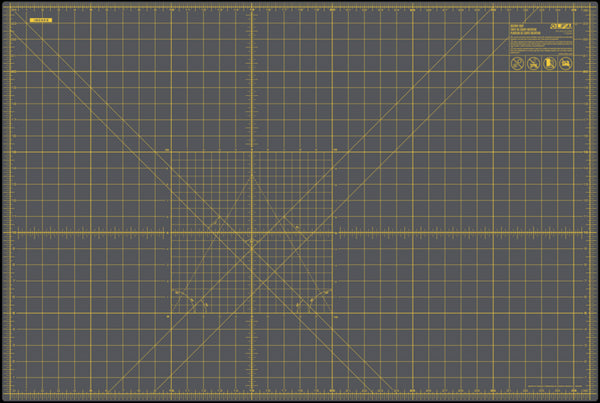
OLFA RM-MG-01/GRY 24”x36” Double-Sided Self-Healing Rotary Mat, Gray
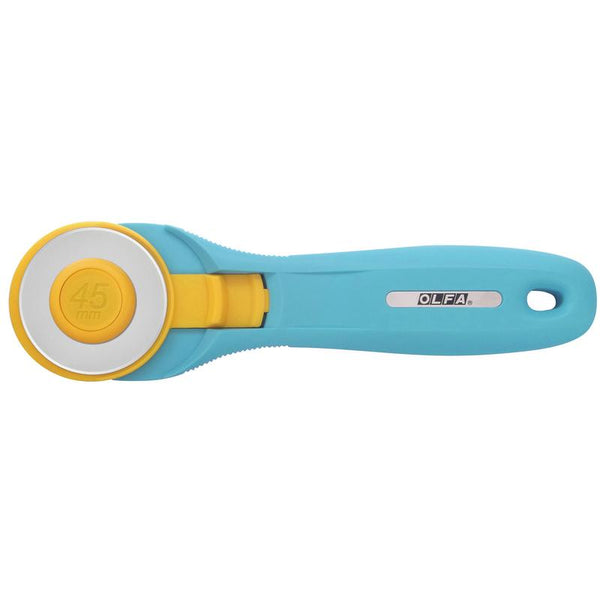
OLFA 45mm RTY-2/C Quick-Change Rotary Cutter, Aqua
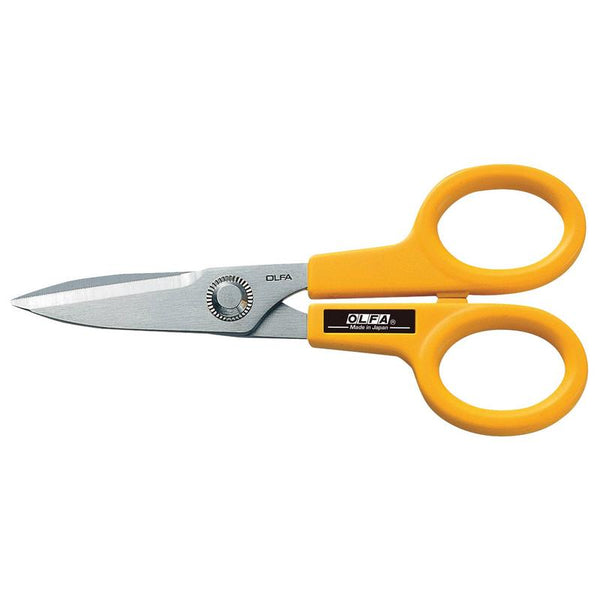
OLFA 5-Inch SCS-1 Serrated-Edge Stainless Steel Scissors
Cutting & Prep

- First, print, assemble and cut out your FREE pattern.

- Cut all the pieces out for the pattern using your Olfa cutting tools, including your lining and apply your markings.

- Cut two strips of fabric 2 x 6 and two 2 x17 pieces for your straps.
Sewing Instructions


- Create your darts on your main fabric and on your lining fabric.

- With right sides together pin front and back together with raw edges matching.
- Stitch, Trim seams

- Repeat step 4-5 for the lining.

- To create your straps, fold each strip right side together lengthwise and stitch the long sides of the strap pieces.

- Turn strap pieces right side out and press.

- Loop the shorter stap pieces over the ring with raw ends matched up baste or clip ends together. Set aside.


- Grab your longer strap and insert one end of the longer strap over and under the double ring.


- Then take the end of the longer strap and loop it around the ring of the shorter strap.


- Fold the longer strap end back up and loop it around the middle of the double ring.

- Fold the raw edge of the long strap under and pin it to the strap that it is laying up against.

- Take it to the machine and stitch down the edge that is pinned, making sure to only stitch it to the strap that the edge is pinned too.
- Repeat these steps for both straps.

- Then with right sides together, pin and baste the raw edge of the longer strap to the front edge of cami and short edge to the back of cami.


- With right sides facing pin the lining to the main fabric encasing the strap and matching up the seams. Pin. Stitch.


- Clip the middle of the v neck close to the stitching and trim the seams using your Olfa tools.


- Understitch the seams around the neckline and back.

- Turn the Cam right side out and give it a press.
- You can hem your cami by turning it ¼ inch and again at the hem of the top.
Or


- Match the right sides of the lining and main fabric around the edge and stitch as far as you can. Turn the edges out and hand stitch the opening closed.

- Press the hem and enjoy!

Voila Your Done!


