How To Add Pant Slits

Designer: Marcia Spencer
Instagram: @keechiibstyle
--------------------------------------
I love adding extra details to my projects. Something as easy as adding quick and easy slits to the seams of your pants can spice them up and make them more modern. Check out how I added slits to the hem of these simple knit trousers. This method can be added to a finished pair of pants or to your next pants project.
MATERIALS & TOOLS NEEDED:
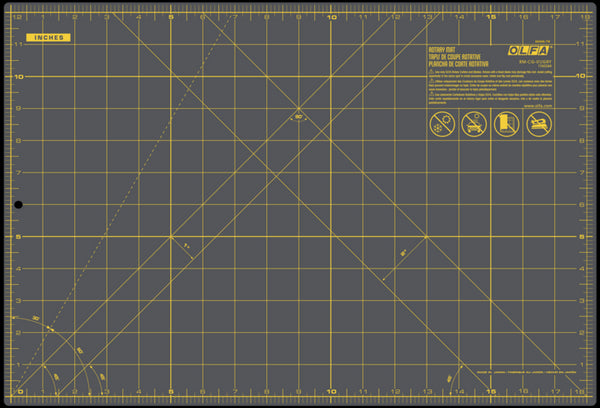
- OLFA RM-CG-01/GRY 12”X18” Double-Sided Self-Healing Rotary Mat, Gray
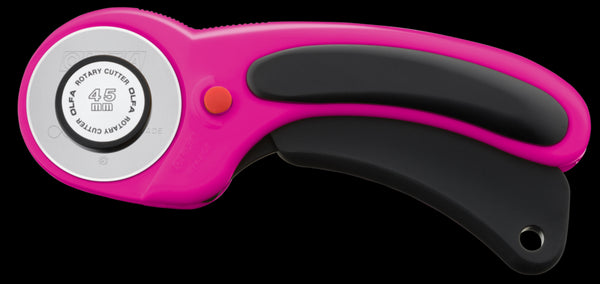
- OLFA RTY-2DX/MAG 45mm Ergonomic Rotary Cutter
- OLFA QR-1x12 1" X 12" Frosted Acrylic Ruler
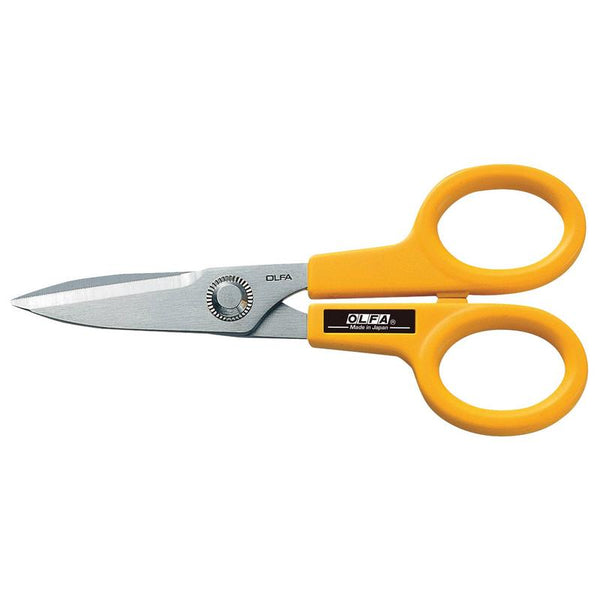
- OLFA 5-Inch SCS-1 Serrated-Edge Stainless Steel Scissors
- Clips or pins
*You can use your favorite pant pattern for this tutorial or a pair of existing pants that you want to update*
INSTRUCTIONS
- On the outer seam of your pants, measure and mark the length of the slit opening at the bottom of the side seam.
* I will be finishing my edges with a serger for this project.
9. Complete these steps to both sides of your pants
Voila! You're done.


