Hop Into Easter: DIY Bunny Bag Favors

Designer: Marcia Izabel Marchiori
YouTube: MarciaBel Vlog
Instagram: @marciabel
---------------------------------------
Level: Beginner
Easter is the perfect time for cute crafts, and today I’m sharing a simple tutorial to make adorable bunny favor bags in two different ways!

You’ll learn how to create one version using a brown paper bag and another using felt & fabric. Both are super easy to make, and they’re perfect for decorating your Easter table or making little treat bags for the kids.

Whether you prefer a rustic paper bag look or a soft fabric touch, these bunny bags will add a special handmade charm to your Easter celebrations!
Let’s get started!

Tools & Supplies Needed
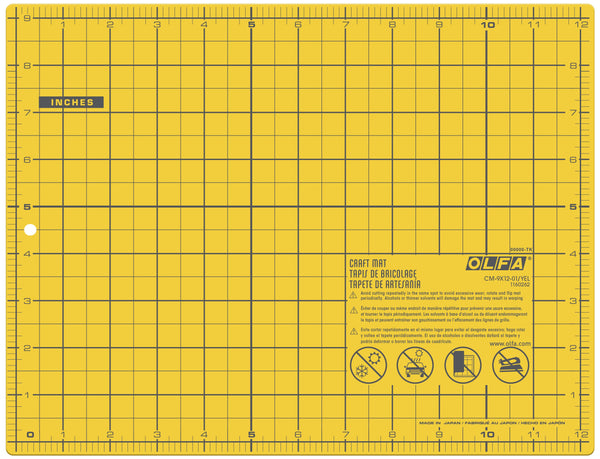
- OLFA CM-9x12-01/YEL Double-Sided Self-Healing Cutting Mat
- OLFA 5-Inch SCS-4 Precision Appliqué Scissors
- OLFA AK-4 Cushion Grip Art Knife paired with Curved Carving Art Blade
- OLFA QR-1x12 1" x 12" Frosted Acrylic Ruler
- Felt – two 6” x 10” rectangles for each bag (color of your choice)
- Light pink felt – for the nose
- Patterned fabric scraps for ears (approx. 2 1/2” x 3 1/2” per bag)
- Therm O Web HeatnBond Lite Iron-On Adhesive (2 1/2 x 3 1/2” for each bag)
- 5 x 9 1/4” Paper brown bags (for the paper version only)
- Ribbon
- Mini white pompom from dollar store, for the paper version (optional: pompom maker & white wool)
- Mini buttons – for the eyes
- Embroidery floss (to match felt, plus brown for details) – I used Aurifil
- Pins and needle
- Optional: sewing machine
- Erasable pen (used: Pilot Frixion)
- White cardstock & printer – for printing the template and tags
- Pencil & eraser, iron
- Double-sided tape or hot glue
- Chocolate candies
Instructions
1. Start by printing the template here. Using OLFA scissors or an art knife, cut out all the template pieces.
2. Iron the 2 1/2” x 3 1/2” fabric piece onto the interfacing, following the manufacturer’s instructions. Then, trace the ear template twice onto the paper side of the interfacing using a pencil.


3. Repeat this process with the pink felt and interfacing for the nose. Trace the nose shape and cut it out (as many as needed).


4. Using OLFA scissors or the AK-4 art knife with curved blade, cut out each ear. I personally prefer using the art knife for smooth, flowing cuts, but scissors work just fine too!

5. Using an erasable pen, trace the bunny template onto one of the felt rectangles. For straight edges, use the OLFA ruler as a guide.


6. Then, layer both rectangles on top of each other and cut them to size using OLFA scissors or the art knife. For straight edges, use the OLFA ruler as a guide.


7. Next, using a light table or a window, trace the eyes and nose placement onto the front felt piece with an erasable pen.

8. Peel off the paper backing from the interfacing on the fabric ears. Position the fabric pieces right side up on the felt ears, using the template as a guide. Press them with an iron to adhere. Repeat this process with the pink felt nose.

These are the pieces you have so far:

9. Now, embroider the nose using a backstitch with two strands of brown floss. To always return to the center of nose, run stitch to the end of the whisker and then go back using backstitches, as shown below.


10. Then, sew or glue (with hot glue gun) the mini buttons onto the felt for both eyes. Note: If you're worried about very small pieces, especially for young children, another easy option is to cut small circles from brown or black felt using OLFA scissors, then glue them on for the eyes.

11. Pin both layers of the bunny together to hold them in place before sewing.

To finish the bag, you have two options:
12. Hand-Sewn Version: Stitch both felt layers together using a blanket stitch or running stitch with two strands of matching floss.
Running Stitches:

Blanket Stitches:

13. Sewing Machine Version: Stitch both layers together with your sewing machine.

Important: Whether hand-sewn or machine-sewn, stitch around the entire bunny shape, including the ears. Leave about 1” of each inner ear unstitched and keep the middle straight edge open, as shown below for both options. This will allow you to fill the bag with candies later.

14. Once sewn, fill the bag with chocolate candies and close it with a ribbon tied into a bow.

PAPER VERSION
The paper version of this bunny favor bag is perfect for making a large number of favors, as it's quicker to assemble than the felt & fabric version while being just as adorable. So, let’s make it:
15. Trace the bunny template onto the brown paper bag using a pencil.

16. Cut it out carefully with OLFA scissors or the art knife, also using the OLFA ruler as a guide for the straight lines.

17. Next, use hot glue to lightly attach the ear paper layers together, just enough to hold them in place. You don’t need a lot of glue; alignment is the key!

18. Trace the ear template onto light pink felt, cut it out using OLFA scissors or an art knife, and then glue the pieces onto each ear.

19. Then, make and glue the white pompom onto the bag as the bunny’s tail.

20. Tie a ribbon into a bow. Using the OLFA ruler and art knife, cut out the tags, then attach them behind the bow with a piece of embroidery floss.


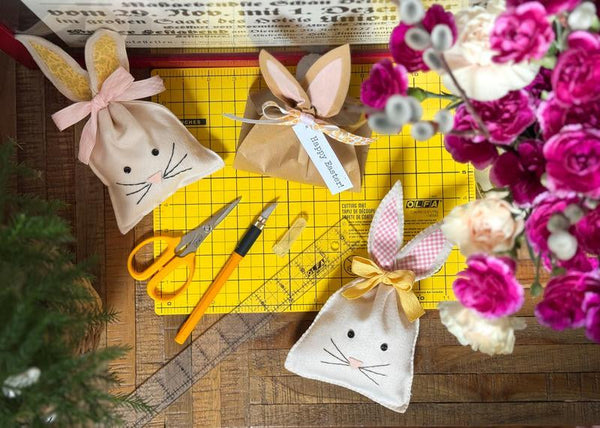
Your Bunny Favor Bags Are Ready!


I’d love to see your finished projects! Tag me @marciabel and @OLFA_craft so we can admire your adorable Easter favors.
Happy Easter!
Marcia