Holiday Quilted Cross Hatch Cork Coaster

Designer: Sarah Gozzo
Instagram: @princess_ina_pouch
----------------------------------
Materials and Tools:
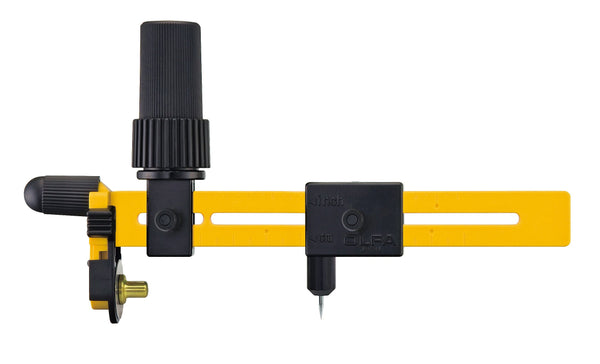
- OLFA CMP-3 Rotary Circle Cut
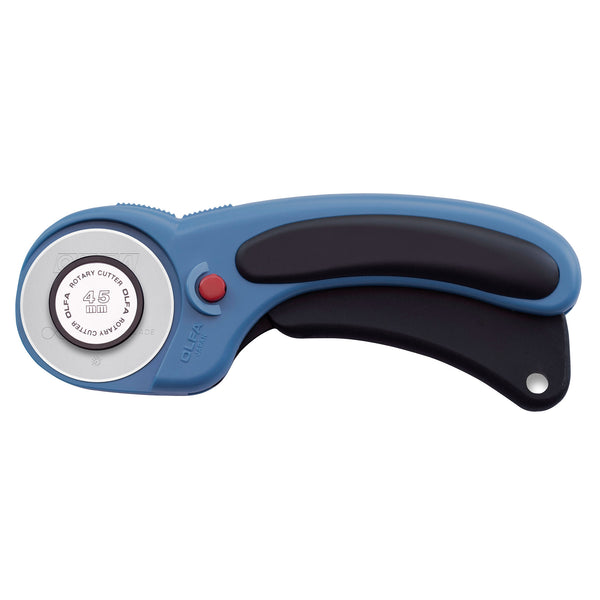
- OLFA 45mm RTY-2DX/PBL Ergonomic Rotary Cutter, Pacific Blue
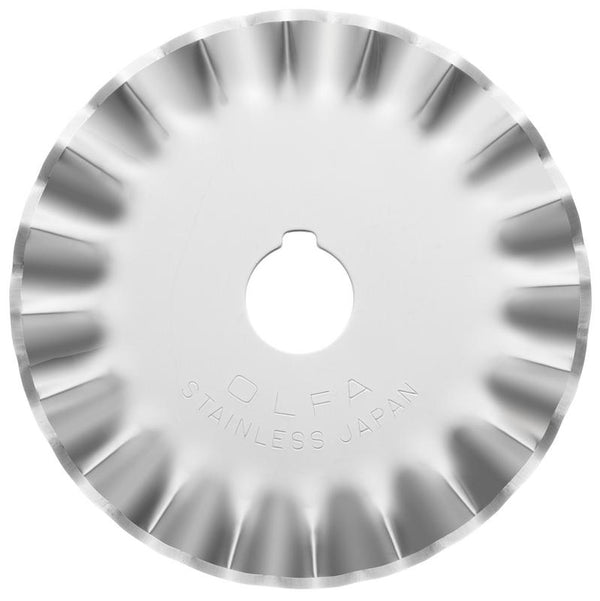
- OLFA PIB45-1 Stainless Steel Pinking Blade, 1pk
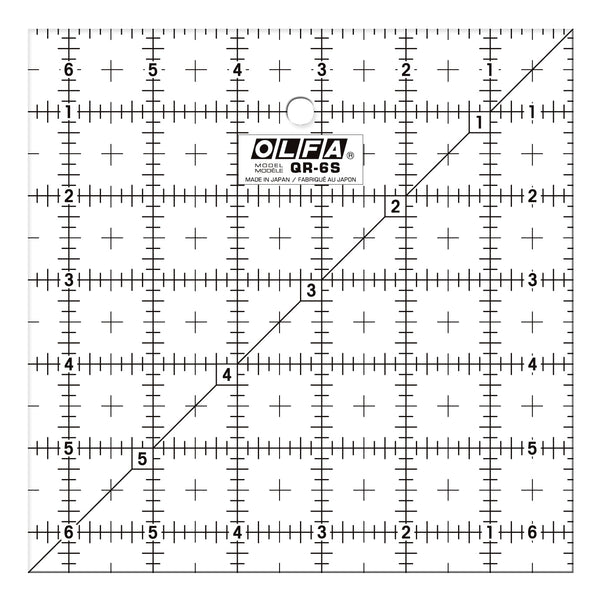
- OLFA QR-6S 6 1/2" Square Frosted Acrylic Ruler
- OLFA QR-6x12 6" X 12" Frosted Acrylic Ruler
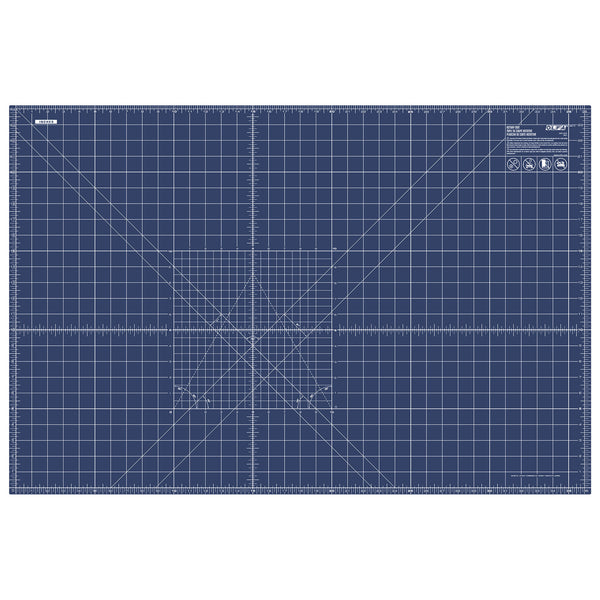
- OLFA RM-MG/NBL 24"X36 Double-Sided, Self-Healing Rotary Mat, Navy
- (1) 6.5” Holiday quilting cotton fabric
- (1) 7” Natural cork fabric
- (1) 6.5” Sew-In Featherweight Interfacing
- (1) 6.5” Fusible fleece
- (1) 18.5” length of .5” wide Ric rac
- Permanent crafters tape
- Air soluble marking pen or other marking tool
INSTRUCTIONS:
1. Use OLFA’s 6.5” ruler to cut one square each: cork, cotton fabric, fusible fleece and featherweight interfacing.
2. From the leftover strip of cork, cut (2) .5”x1.5” strips to use as ‘tabs’ later.
3. Fuse fleece to the cotton fabric
4. Use the 45* grid line on your OLFA rotary mat. Align your 6.5” fabric square so the 45* line goes from bottom left to top right corner.
5. Mark the ‘Center Line’. Using an air soluble pen (or your trusted marking tool) and ruler, transfer this 45* line across your fabric from corner to corner precisely.
6. Use OLFA’s 6”x12” ruler along with the grid lines on the rotary mat to draw precise lines every .5” from the Center Line, out to each corner. Use the Center Line to double check your .5” measurement every time you move the ruler.
7. Turn the square 90* and repeat the marking process by transferring the 45* Center Line from corner to corner then marking lines every .5” out to each corner. These are your cross hatch quilting lines.
8. Machine Straight Stitch on these lines to obtain the cross hatch pattern. After quilting, remove any markings with a damp cloth and allow to dry.
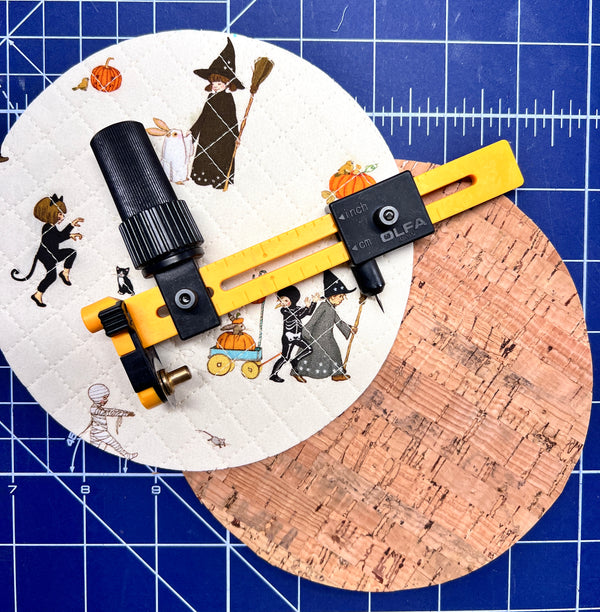
9. Set OLFA’s circle cutter to the 3” mark. Cut a circle from your quilted square and from the piece of cork fabric. The circles will measure 6” across.
10. Sew the square of featherweight interfacing to the right side of your quilted circle with a scant .25” seam allowance.
11. Use OLFA’s pinking blade to pink the edges of the sewn circle. (This step allows the circle to turn out beautifully in the next step.)
12. Snip a small hole in the middle of the interfacing and turn the circle out. Work the seam flat then press with a hot iron. Apply permanent crafters tape all around the edge of the wrong side of the cork circle.
13. Press the 18.5” length of ric rac onto the taped cork, nestling the raw ends together.
14. Apply crafters tape to the .5”x1.5” piece of cork then wrap it over to cover the raw ends of the ric rac.
15. Use the crafters tape to mark an X in the middle of the cork circle on the wrong side. Center the quilted circle and press to secure the quilted circle onto the cork. Sew the quilted circle onto the cork by stitching very close to the edge on the quilted circle.
Change the fabric and colors of the ric rac to match the holiday! Make many and enjoy:) for more sewing patterns and inspiration follow me on Instagram @princess_ina_pouch and www.princesspouch.com


