Heart Pockets for this Upcycled Valentines Dress!

Designer: Mary Stanley
Instagram: @whatmommamakesig
-------------------------------------------------
Tools and Supplies Needed:
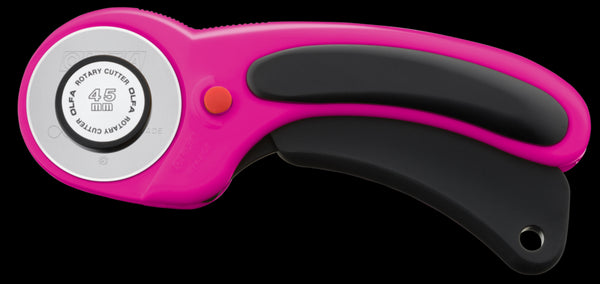
- OLFA RTY-2DX/MAG 45mm Ergonomic Rotary Cutter
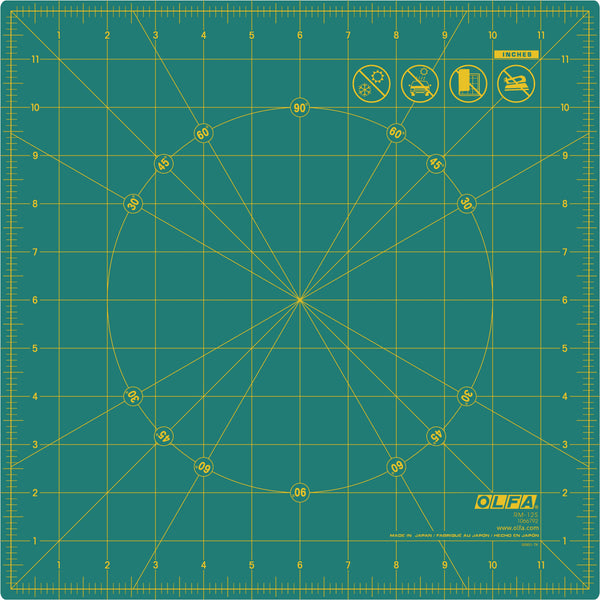
- OLFA RM-12S 12" Rotating, Self-Healing Cutting Mat
- OLFA QR-6x24 6" X 24" Frosted Acrylic Ruler
- OLFA 5-Inch SCS-4 Precision Appliqué Scissors
- Fabric for creating your heart pockets - Woven fabric works best for this project!
- Any skirt or dress pattern with a rectangle skirt + required fabric for that pattern. I am creating the Birdie dress from Violette Field Threads. If you also want to create this look, you can find that pattern here.
I absolutely fell in love with the print on this vintage sheet set and just knew it really wanted to become a spring dress for my daughter. I also felt like it would be really darling for a Valentines themed dress as well…so I was having a hard time deciding which way to go with it. Until I realized – I could make it work for both!
By adding external heart pockets, it will look perfect for February/Valentine’s Day, and then I can remove the pockets very easily so that it works for Valentine’s Day and beyond.
First we need to create our heart pattern for our pockets. The size I am creating works great for a little girl’s size (my daughter is 9 years old) but you could easily size this up or down for a bigger or smaller size.
I don’t know if you remember in school, folding over a piece of paper in half and creating a heart out of it – that’s exactly what we are going to do! From the bottom of your fold, measure over 2” and that will be the bottom edge of your “heart”.
From the centerfold measure straight up 5” and that will be the point of your heart. The widest part of your hear will measure approximately 3.5” over from the fold, and the very top of your heart will be approximately 6.25” from the bottom. Once you unfold it your heart pattern should look like this:
Now that we have our pattern piece we will use that to cut out 4 pieces of fabric (2 main and 2 lining if you are using different fabric for your lining) that will turn into our heart pockets.
Next, we will place our two main pieces on top of our two lining pieces with the right sides touching. Pin or clip around all of the heart edges except for the bottom straight edge. Sew around these edges with a ¼” seam allowance.
Now we need to trim back our seam allowance and cut down into the center point of the heart. You want to get as close to the stitch mark as possible without cutting into it to get a nice point on your heart. Using your 5” applique scissors is perfect for this!
Now we will flip the pocket right side out, fold the bottom edge into the inside by ¼” and give it a good press with your iron. Now clip/pin that bottom edge closed and then topstitch all the way around your heart pocket, which encloses that bottom edge.
Now we will sew a gathering stitch along the bottom straight edge of our pockets and gather the pockets up to about 2.25” along the bottom edge. Set aside.
Next up, we need to decide placement on our skirt panel. Take the width of your front skirt panel and divide that number by 4. My skirt front panel was 38” wide so I have a measurement of 9.5”. So along both side edges of my skirt I will measure over 9.5” from the side edge (seen here with the red clip along the top of the skirt edge).
Then I will divide my skirt length in half lengthwise (seen here with the red clip along the side of the skirt) to find where I will place my heart pocket. You will want to align the bottom of your pocket with the center of the skirt length. Using your frosted acrylic ruler for this makes this step very easy!
Now you will pin your pocket in place and then topstitch it onto the skirt panel along the two side edges and bottom flat edge.
TIP: If you would like to make these pockets easy to remove after Valentines Day, you can use a long basting stitch for this part and use a different color for your bobbin thread so that you can easily see the stitch line for removal later.
Repeat the process for your 2nd pocket and now you have a couple of darling heart pockets ready for your Valentines goodies!
P.S. If you are also wanting to repurpose a sheet set for a dress- don’t forget one of my number 1 upcycling tips – use that pre-hemmed edge for the bottom of your skirt to save yourself that extra time in hemming. If you are looking for additional upcycling tips, you can also check out the blog post I created last year found here.


