Handmade Flower Basket: Bringing Spring to Your Easter Table

Designer: Marcia Izabel Marchiori
YouTube: MarciaBel Vlog
Instagram: @marciabel
---------------------------------------

As we eagerly await the arrival of spring, Easter offers the perfect opportunity to infuse our homes with the promise of warmer days and blooming flowers. What better way to celebrate than by crafting adorable handmade flower baskets to hold sweet treats for each guest at your Easter table?
In this tutorial, I'll guide you through creating a charming baskets that that captures the essence of spring. With just a handful of materials and a touch of creativity, you'll soon have delightful favors that not only sweeten the occasion but also add a touch of seasonal flair to your festivities.
Join me on this crafting adventure as we infuse your Easter gathering with the magic of spring, one sweet-filled basket at a time!

Tools & Supplies Needed
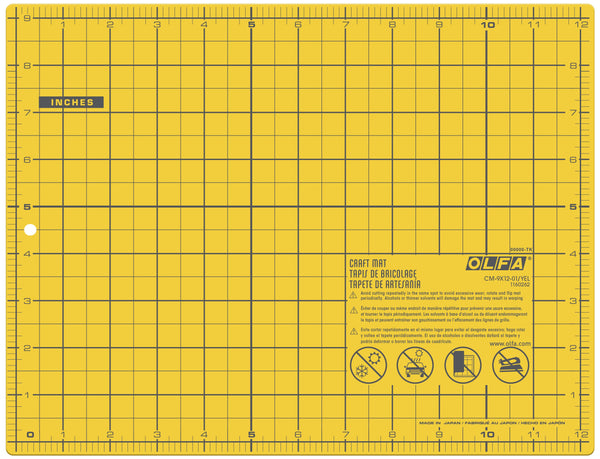
- OLFA CM-9x12-01/YEL Double-Sided Self-Healing Cutting Mat
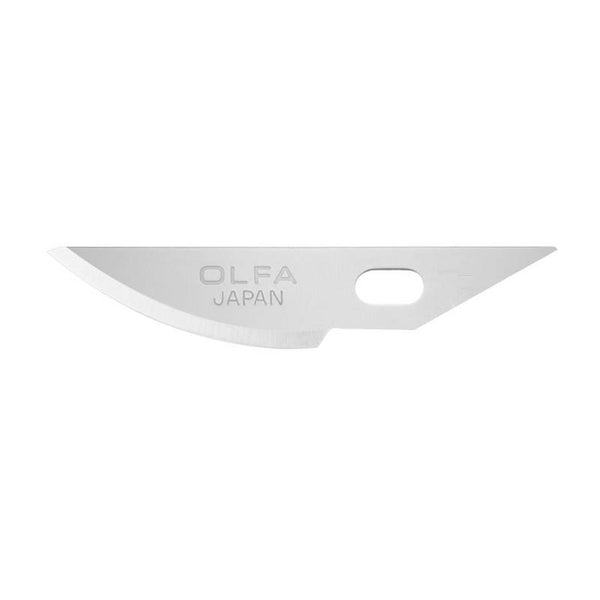
- OLFA AK-4 Cushion Grip Art Knife, paired with OLFA KB4-R/5 Curved Carving Art Blade, 5pk
- OLFA QR-1x12 1" X 12" Frosted Acrylic Ruler
- OLFA 5-Inch SCS-4 Precision Appliqué Scissors
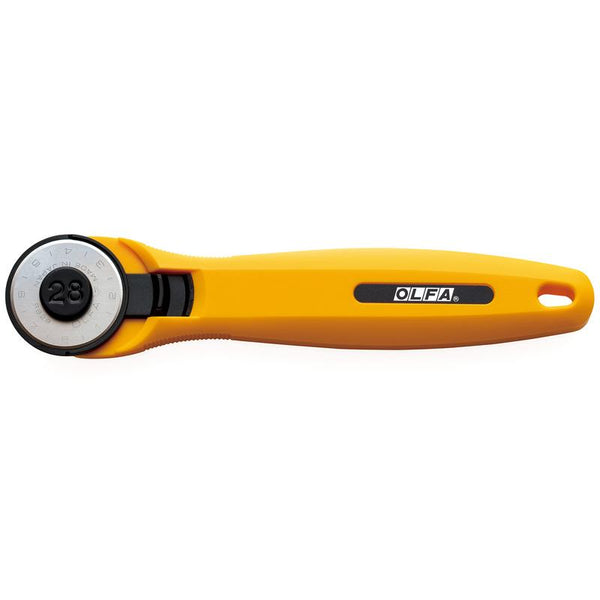
- Optional: 28mm RTY-1/C Quick-Change Rotary Cutter
- Templates to Print
- White Cardstock, letter size (1 sheet, to print Template 1)
- Kraft Paper, letter size (1 sheet, to print Template 2)
- Green felt, as needed (5 1/2” square per basket - used:
- Yellow felt, as needed (5 1/2” square per basket)
- Floral Fabric, as needed (5 1/2” square per basket / fabric used: Riley Blake Designs Bee Plaids by Lori Holt of Bee In My Bonnet C12024-Autumn)
- Wired Jute Twine
- Ribbon or Jute (for tag)
- Wire cutter and pliers
- Therm O Web Iron-Adhesive Heat-n-Bond (interface)
- Erasable Pens For Fabric (used: Pilot Frixion)
- Hole puncher
- Hot Glue Gun and glue sticks
- Iron and ironing mat
Instructions
- Using the white cardstock (for Template 1) and kraft paper (for Template 2), start by printing both templates to scale
Tip: Here, I am using a size that fits on top of my Easter plate setting, but you can adjust the template to create baskets in assorted sizes, suitable for general Easter decor or for egg hunting purposes.
- Use the OLFA AK-4 art knife paired with the curved carving art blade (and acrylic ruler for tag) to cut out only Template 1. Set it aside, as we'll use it to trace the pattern to the fabric later.

- Measure your fabric and interface in 7 1/2-inch squares (as many as you need, as each square of fabric/interface makes one basket). Cut everything out using the OLFA rotary cutter or art knife and acrylic ruler for precision and efficiency.

- Then, iron the interfacing onto the back of the fabric, following the Therm O Web instructions for the best results.


- Carefully remove the protective sheet from the interface.

- Measure your yellow felt in 7 1/2-inch squares as well, then align the fabric with the interface/fabric, ensuring the wrong sides are together. Then, iron them to adhere everything together seamlessly.

- It's time to cut out the flower shape for the basket. Start by tracing the pattern from template 1 onto the fabric using the erasable pen. Then, use the OLFA AK-4 art knife paired with a curved blade to carefully cut out the flower shape.


- Using a hot glue gun, adhere each petal together, as shown below. Applying one dot of glue in the middle of the height of each petal should be sufficient to hold them together and shape the basket.

- Using the hole puncher, punch two holes on opposite sides of the edge of the flower basket:

Here’s how it is going so far:
- Measure one 10-inch length and one 12-inch length of wired jute cord, then trim them to size using wire cutters. Next, twist the two lengths of wired jute cord together, aligning them from the center, to create a single handle. Ensure that there is one inch of single wired jute on both ends of the handle.

- Carefully bend the handle to create an arch shape. Attach the ends of the handle to the holes you made previously on the right and left sides of the flower basket. Using pliers (if needed), secure them by twisting the wire jute ends tightly.

- Cutting out the base for the basket: loosely cut a 5 1/2-inch square from the base pattern (template 2) with OLFA rotary cutter or art knife, being careful not to cut along the actual shape just yet. Repeat the process for the tags, ensuring not to cut along their actual shapes at this stage too.

- Using the same technique as before, begin by ironing the interfacing onto the back of the kraft paper square, following the instructions provided by Therm O Web. Once the interfacing is attached, carefully remove the protective sheet from the interfacing. Next, align the green felt with the interfacing/kraft paper, ensuring that the wrong sides are together. Finally, iron them together to adhere everything in place.


- Use the OLFA AK-4 art knife paired with a curved blade to cut out base according to printed pattern. Cut tags as well, with the help of OLFA acrylic ruler.

- Glue the flower basket onto the green felt base center using a hot glue gun and glue sticks. Press it firmly onto the felt base.

- Attach the tag to the basket with a ribbon and tie it into a bow for an extra charming touch.
Your charming flower basket is now complete and ready to be filled with your favorite treats. Enjoy the joy it brings to your Easter celebrations!

Don’t forget to tag me @marciabel and @OLFA_craft in your finished table setting, we would love to see the results!
Happy Easter!
Marcia