Fun & Funky Christmas Quilt Block Series – Wreath Block

Designer: Scott Hansen
-----------------------------
Play along with Scott from the Blue Nickel Studios as he presents a mini-series of slightly improv blocks between now and Christmas. Three of the blocks can easily be done up in other fabric for other holiday happenings, so they are not just limited to the Christmas Holiday. All are sure to help you play with improv quilt concepts. Let’s have a fun and funky modern holiday!
Let’s get started on the first block – The Wreath.
Tools and Supplies Needed:
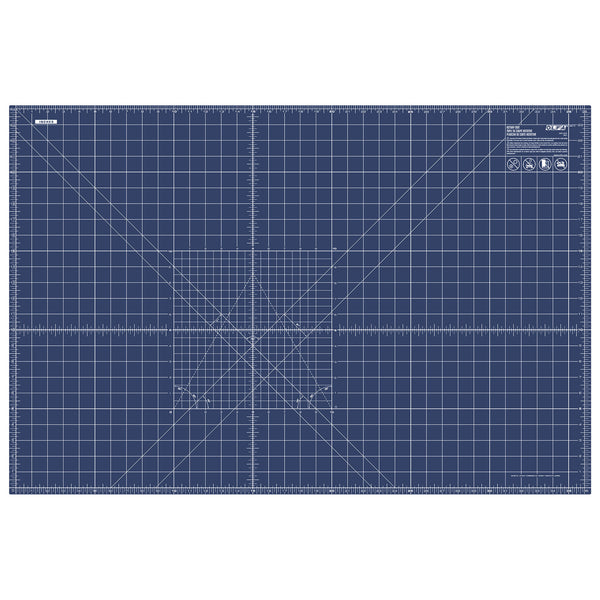
- OLFA RM-MG/NBL 24"X36 Double-Sided, Self-Healing Rotary Mat, Navy
- OLFA 45mm RTY-2DX/PBL Ergonomic Rotary Cutter, Pacific Blue
- OLFA QR-6x12 6" X 12" Frosted Acrylic Ruler
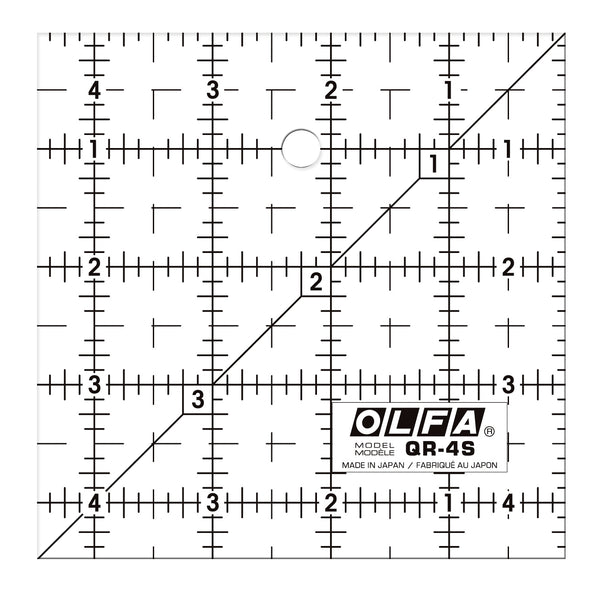
- OLFA QR-4S 4 1/2" Square Frosted Acrylic Ruler
- OLFA QR-6S 6 1/2" Square Frosted Acrylic Ruler
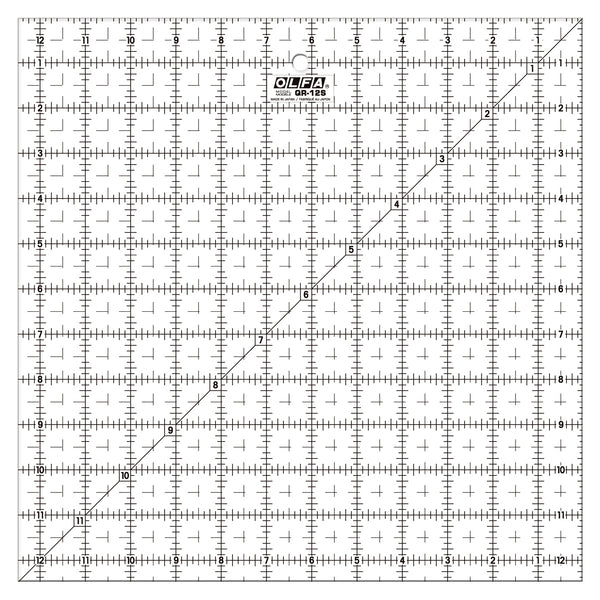
- OLFA QR-12S 12 1/2" Square Frosted Acrylic Ruler
- Sewing machine.
- Pencil or marking pen
- Thread
- Iron
- Pressing Surface
Fabric requirements:
Assorted Wreath Colored fabric scraps – A Fat Quarter’s worth is more than enough for one block.
Assorted Background fabric scraps – A Fat Eighth’s worth is more than enough for one block.
Cutting Instructions:
From Background Fabric cut:
- 1 – 4.5” x 4.5” A Square
- 12 – 3.5” x 3.5” D Squares
- 4 – 2.5” x 2.5” E Squares
- 2 – 2” x 11” F Strips
- 2 – 2” x 13” G Strips

From Wreath Fabric cut:
- 8 – 2”x2” B Squares
- 4 – 2”x 7” C Rectangles
- 12 – 3.5” x 3.5” D Squares

Construction:
As we piece this block, remember, there is a lot of trimming as we go. Some of the parts cut above are much larger than needed. As you construct the block, you will be trimming down to more specific sizes. Freedom with Control is what I like to call it. I also suggest sewing with a tight seam. My machine defaults to 2.5. I like to use the 2.0 setting.
- Starting from the inside out, take 4 of the B Squares and draw a line on the wrong side of the fabric. Arrange the B Squares on the A Square right sides together as shown:

- Sew on the drawn lines of the B Squares as shown (It’s not essential so sew perfectly on the drawn line. A little closer to the corner is fine):

- Trim off the corners as shown:

- Press the B Squares out toward the corners and square up the corners to a nice clean 4.5” Square.

- Add 2 C Rectangles to 2 sides as shown and trim excess fabric off as shown (these 2 rectangles could be 5” long for this step) :

- Now sew the 2 remaining C Rectangles to the other two sides and trim this unit to a 6.5” Square

- Cut 60 degree triangles from the Wreath and Background D Squares using the 60 degree line on your OLFA ruler.


- Now sew these triangles together into rows alternating 3 Wreath and 3 Background fabrics as shown into (4) 7”-8” strips. I press the seams open. It is okay if they curve a little bit at this point:

- Trim these to (4) 2.5” x 6.5” Rectangles. No need to worry about points getting cut off. That’s all part of the Funky part! Temporarily set to the side.

- Next take the remaining B Squares and draw a line on the wrong side of the fabric. Place them right sides together on 4 E squares as shown and sew on the drawn lines

It’s not essential so sew perfectly on the drawn line. A little closer to the corner is fine – as long as you trim the it to 2.5” square as in the next step.

- Trim off the Corners, press out, and trim to 2.5” square.


- Now sew together your center, the pieced triangle rectangles, and these corner 2.5” squares as shown:


- Lastly sew on the F and G strips as shown:


- Trim to 12.5” x 12.5” Square. No need to perfectly align borders.

Finishing instructions:
Create more Wreath blocks and make a runner or wall-hanging or combine with the upcoming blocks as you would any 12” finished block.

Check out the second part of this series, here!