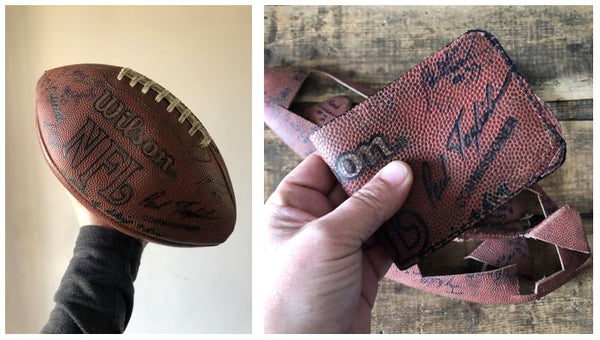
From This To That - Turning a Sports Ball Into A Wallet

Designer: Randa Roberts
IG: So Comfy Designs
---------
Hi there! Randa from So Comfy Designs here, back with a brand-new series with OLFA Craft where I will show you how I turned this….into that! I’m proof that with some creativity, experience, and expert tools, you can create almost anything out of anything.
Here’s a question for you: have you ever thought about turning a dusty old sports ball into a wallet? Deconstructing a ball and sewing the pieces of it into a wallet is actually a thing, and I was pretty surprised when I was asked to try.

When I was asked to turn a ball into a wallet, I wondered if I actually could. A quick Pinterest search showed a few styles and got me inspired. So, I went through my tools and picked out what I’d need, and I happened to have some acrylic templates for custom wallet making, which came in extra handy because within a short amount of time, I got a request for a wallet made from an old basketball, and a championship football!
Here are the OLFA tools I used for this project.
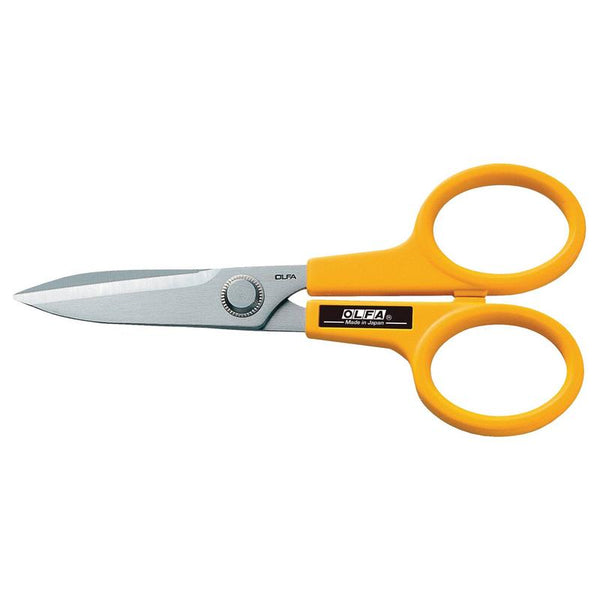
OLFA 7” Stainless Steel Serrated Edge Scissors -SCS-2
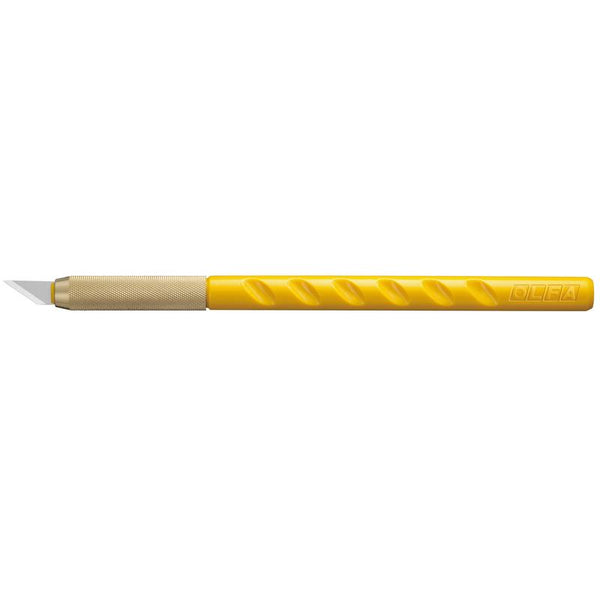
OLFA Art Knife AK-1/5B with Art Blade - KB
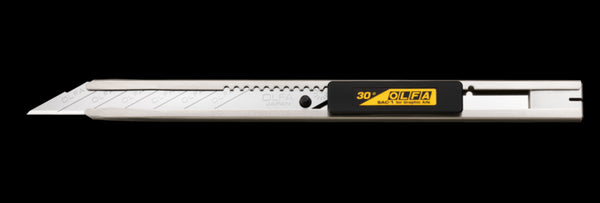
OLFA Stainless Steel Snap-off Graphics Knife - SAC-1
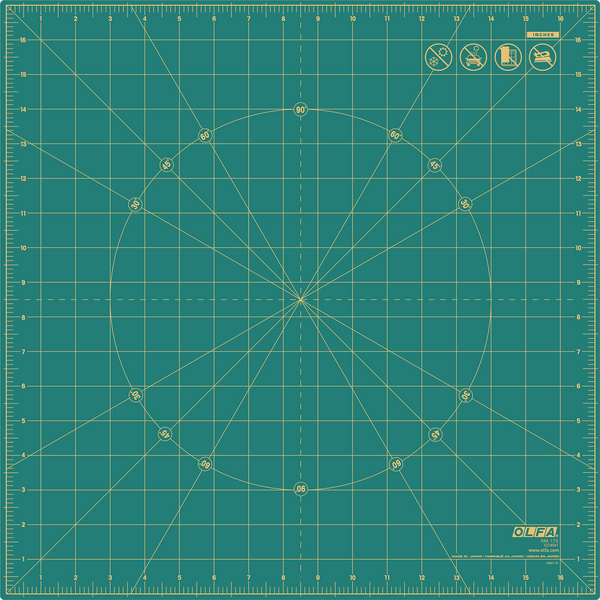
OLFA 17” x 17” Self-Healing Rotating Mat
Here’s what else I used:
Faux Sinew thread
Nifty Needles by Lori Holt of Bee in My Bonnet
Thimble
Acrylic Template for Basic Bifold Wallet by Make Supply
First, let me show you how I turned a basketball into a card wallet.
I had a customer come to me with an old basketball and an idea to surprise him with a useful and memorable accessory. Since I had absolutely no experience cutting open a basketball before this project, and I did some research and learned that this ball was likely made from black butyl rubber, which is a type that retains air and creates bounce (makes sense) and the round construction comes from an inner bladder that is melted into a ball shape. This told me that all of the basketball pieces would likely have an irreversible round shape that might prove tricky to work with. PS NBA game balls are made of Horween leather, Horween being one of the oldest leather tanneries in the USA.
First step is a slice with a craft knife, then I used my scissors to cut along the seam until I had two halves of the ball.
Yes! I absolutely used my best scissors for this job because OLFA Serrated Edge Stainless Steel Scissors don’t dull. The pair I’m using here is almost 4 years old and still cutting beautifully. Go ahead, use them with paper, or a basketball.
I used the lines on ball as a cutting guide to slice the ball into sections so it would be more manageable to cut shapes on.
As I suspected, the rubber was very rounded and a little challenging to flatten under the template pieces. Once I got to where I was happy, I used my craft knife to cut around the edges of the template.
Here’s where I love to use my OLFA self-healing rotating mat most of all; it’s so easy to turn and cut without turning my body or my project. Cuts down on time too!
This part is easy! The best blade for the job is an AK-4, which I love for various reasons, specifically the precision it provides with it’s pen-type handle and acute pointed blade. It’s strong, and I also enjoy the quick-spin system for fast blade changes.
Once the pieces were cut, I assembled them and used a bit of double-sided tape and wonder clips to keep the layers together while I did a basic blanket stitch around the edges.
I chose this hand stitching after testing my own heavy-duty, industrial walking-foot machine and realizing that I’d have to be a tension genius to make the stitches look good in rubber.
After some consideration I used a faux sinew as a thread because I figured it would last as long as the rubber wallet would and it would be a durable and unique alternative to thread or string.
My first attempts at stitching through three and four layers of black butyl rubber were….educational. I tried punching stitch holes, but the rubber basically filled the hole in right away. The only way was an old-fashioned approach with a needle and thimble.
I loved using these ‘chunky’ needles by Lori Holt of Bee in My Bonnet. The eye is large, the needle is strong and the point perfectly punctures.
Are the stitches perfect? Nope. You can tell it’s my first time sewing through rubber, and we will always be our own worst critic, right? But they’re secure, and will keep this truly one-of-a-kind wallet in use for a long time. And, most importantly, the customer was thrilled.
Let's switch over from basketball to football.
This football was a high-school champion ball and the owner thought it would make a great wallet. Again, I pulled up a search on footballs, and found that they mostly are leather, and you’ll see soon that the one I was working with most certainly was.
After I inspected the ball I knew that I would have to slice the seams open, and I chose an OLFA SAC-1 Precision Snap-Off Knife for it’s ability to slide up and allow a longer cutting surface to get in between the tight seams.
It worked perfectly!
Once I got it open, I removed the white inside bladder that held the air at one time, and there was the leather. It’s seriously always fun taking things apart!
The leather was in rough shape, but I was able to make it flat enough to use my template to cut out the basic bifold shapes, starting with the two largest pieces, using my AK-4 Craft Knife. Another way I used my craft knife was to skive (shave down) the edges of the leather so that there was less bulk when it came time to sew.
My sewing machine was happy to sew the layers of football leather together, and I used a bonded nylon thread for durability. For a finishing touch, I painted the edges of the wallet with a plastic edge-coat because I noticed the leather needed a sealed edge.
So, would you try turning a sports ball into an accessory? I would definitely do it again! With the right tools and a plan, almost anything is possible. What’s next? You’ll see! Be sure to follow OLFA Craft on social media to be the first to know when the next post is out. Bye for now!
Randa


