From Boot to Bespoke Dog Collar

Designer: Randa Roberts
IG: So Comfy Designs
-----------------------------------
Hello again! Randa here to show you a recent upcycle that I completed for a customer. Caroline had a pair of beloved leather boots that after 9 years, had taken their last steps, but she could see that the boot shanks had potential to be reused. She asked if the leather could be fashioned into a dog collar, and I thought that was a fun idea!


Since Caroline lives a few hours away, she mailed me the usable leather and gave me precise measurements for her dog, Peri’s neck. Once I saw the leather, I felt inspired to create a collar that looked like it was crafted from fine English leather, with a few creative touches that only this dog collar could have. It also gave me the perfect opportunity to use some salvaged brass buckles that I’ve been holding on to for a long time. It was such a fun project to work on, and here’s how it did it!

Tools and Supplies:
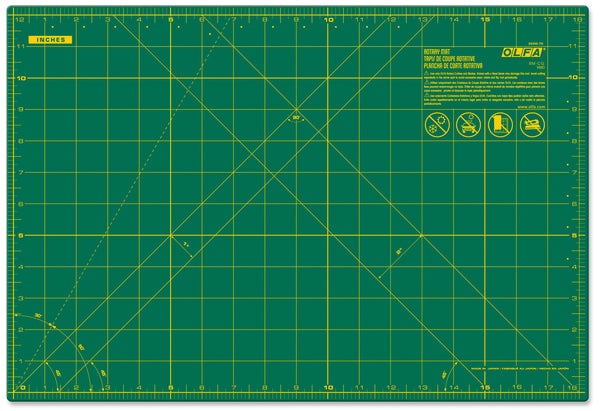
- OLFA RM-CG 12" X 18" Green Double-Sided, Self-Healing Rotary Mat
- OLFA 45mm RTY-2/DX Ergonomic Rotary Cutter
- OLFA QR-6x24 6" X 24" Frosted Acrylic Ruler
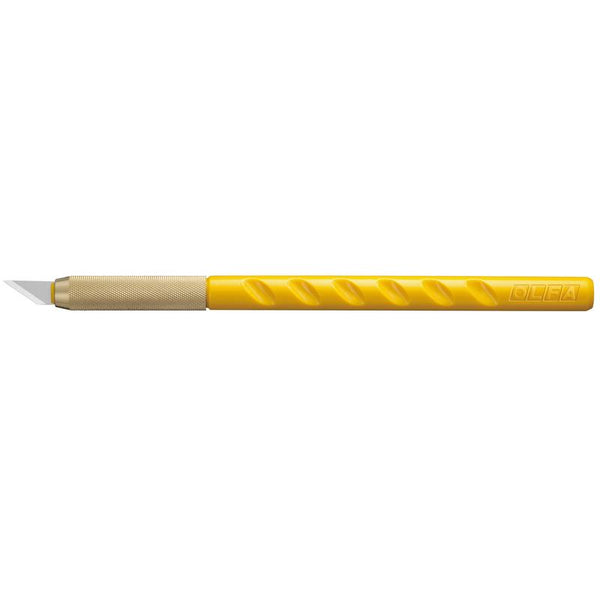
- OLFA AK-1/5B Graphic Art Knife With 5 Replacement Blades
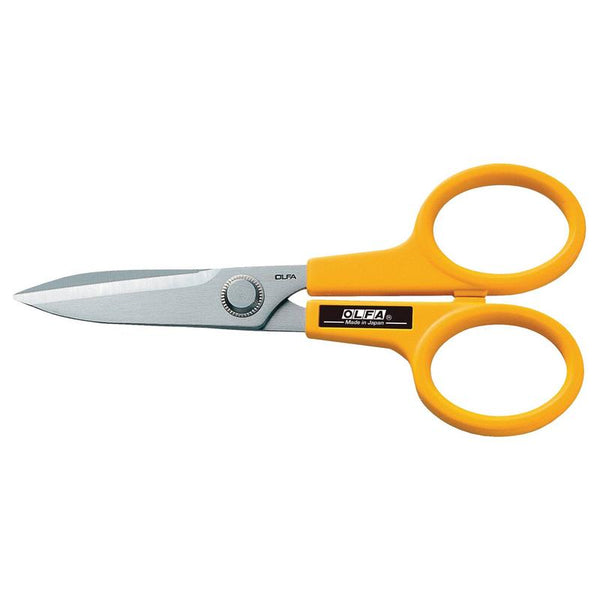
- OLFA 7-Inch SCS-2 Serrated-Edge Stainless Steel Scissors
- OLFA 5-Inch SCS-4 Precision Appliqué Scissors
- Brass Buckles
- Brass D-Ring
- Brass Rivets in small, medium, and large sizes
- Rubber mallet, anvil, and rivet setting tools
- Leather Punch
- Double-sided Tape
- Thread


I had asked Caroline to cut the bottom of the boots off before sending them, but they still had to be deconstructed. I used my AK-1/5 OLFA Graphic Art Knife to gently slice through the stitches and remove the leather strip (I’ll use that later).

The measurements provided to me showed the collar needed to be around 22” to be a custom fit with room to grow and shrink over the years, and Caroline asked for it to be 1” wide. I decided to do a double layer for durability and comfort, but also for that well-made horse bridle look.
Since the boot leather pieces were only around 11” long, I knew I’d have to cut several strips and attach them together. This would be a challenge!

I cut out 10 1” strips from one of the boots. You can see I love to use my OLFA 90mm rotary cutter with its ergonomic handle because I use it in almost every project I do!

Using double-sided tape, I carefully stuck the two layers of leather strips together, offsetting each seam.

Once I had the desired length, I used one of my own acrylic templates to curve the end of the belt to give it a refined look.


My industrial sewing machine and its walking foot make sewing these two layers of leather fun and easy.


I used a bit of sandpaper to smooth out the round belt end, as well as any edges on the leash.


I then used some of my own personal leather balm and my finger, then a cotton towel, to buff the edges of the leather until you almost couldn’t tell there were two layers. This simple technique will keep the collar looking great for years to come.


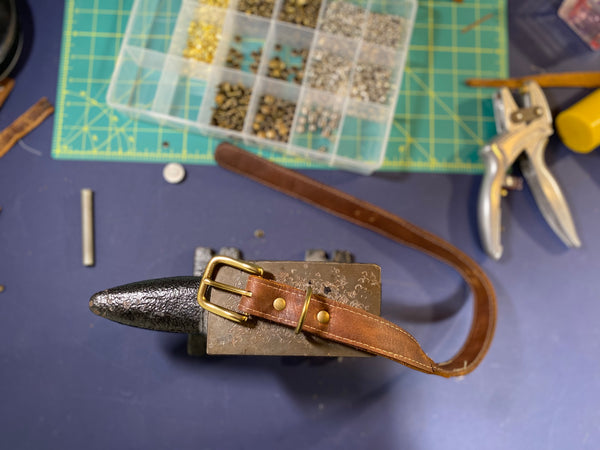
To make a buckle and d-ring for the collar, I folded 4” over and punched a series of 3 holes.


I slipped the brass buckle one and made sure it was facing the right direction before I punched a hole in the leather and set a brass rivet.

Next comes the brass d-ring and another rivet.

Finally, I added an additional loop, made from the boot scraps, and riveted them together.

To make the belt holes, I marked holes at 1” intervals and punched them out.


I had a few not-so-great ideas on how to treat the seams on the dog collar, but bad ideas often lead to great ones, look what I ended up creating:


Hard not to feel the love whenever it’s anything to do with a dog! I hope that Peri will feel so comfy wearing her new, upcycled leather, one of a kind collar.

And there you have it! From a worn-out pair of leather boots to a bespoke dog collar!