FPP - Sparklers & Flags

Sarah Gozzo
---------
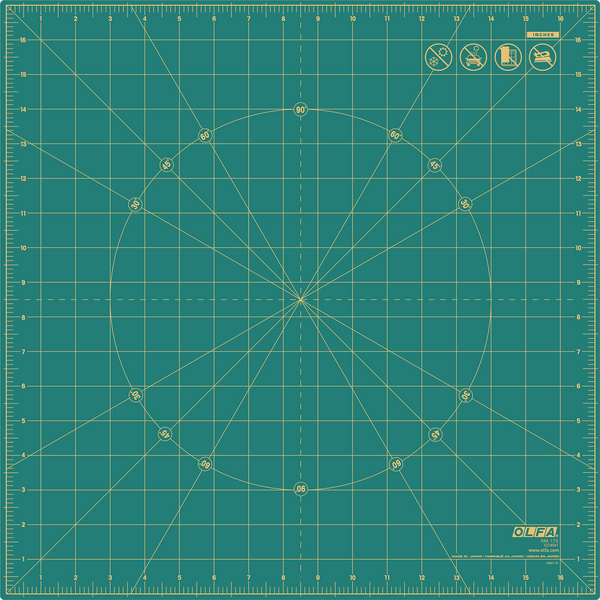
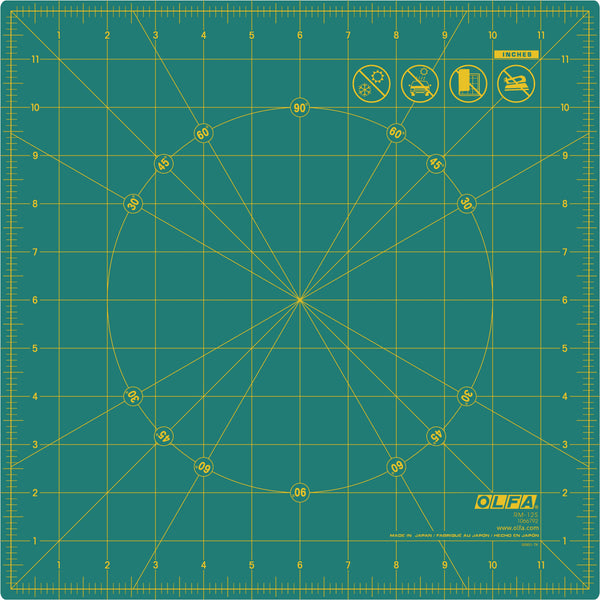
OLFA’s self healing rotating mat comes in 2 sizes: 12” and 17”.
This mat is a game changer!
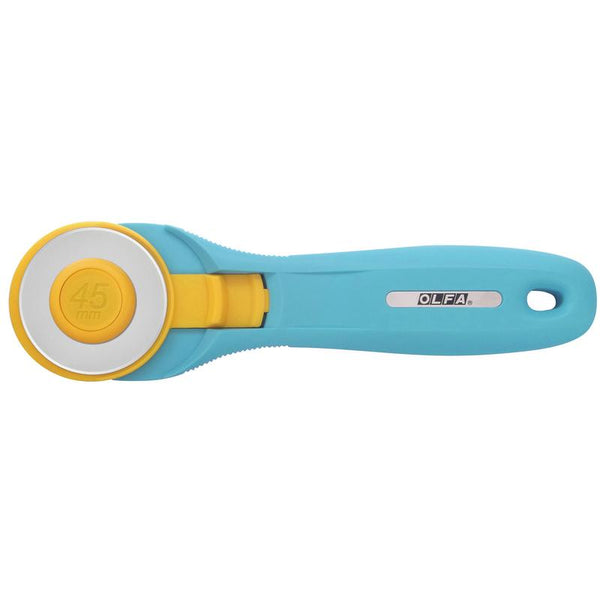
With a secure non slip base and super smooth rotating performance, this mat is most excellent for intricate projects like foundation paper piecing. When working on an FPP block, I always use OLFA’s rotating cutting mat with a seam roller for pressing, OLFA’s 45mm rotary blade and OLFA’s super grippy frosted advantage rulers. Being able to cut and press my work on a single surface eliminates the need to go back and forth between a cutting mat and ironing board. The ability to simply rotate my work without having to reposition it saves a lot of time and frustration. OLFA’s rotating mat truly is supremely efficient.
For this project I've designed 2 simple foundation paper pieced blocks. You can use them individually as mug rugs or piece them together to create a mini quilt, a place mat or a table runner! Check out my Instagram IGTV @princess_ina_pouch or my YouTube channel ‘Princess In A Pouch’ for video instruction if you’re new to FPP.
Finished block size 8.5”
Materials needed for this project:
2 FPP templates printed, ‘Flag’ and ‘Sparkler’ (download)
OLFA RM-17S 17" Rotating, Self-Healing Cutting Mat
OLFA QR-6S 6 1/2" Square Frosted Acrylic Ruler
OLFA 45mm RTY-2/C Quick-Change Rotary Cutter, Aqua
OLFA QR-1x12 1" X 12" Frosted Acrylic Ruler
Seam Roller
Scraps of fabric
Border fabrics, 1.5” strips
Glue pen
For mug rug, make one prepared block.
For mini quilt or placemat make 4 prepared blocks.
For table runner make 8 prepared blocks.
For all of the above options, follow the directions below.
Directions to make a prepared block:
- Complete the FPP block. (See available instructional videos).
- Use OLFA’s 6.5” square ruler to trim block to finished size of 6.5”.
- Remove all paper pieces.
- Give block a good press with a hot iron and starch.
- Attach 1.5”x6.5” border strips to the left and right sides of the block.
- Attach 1.5” contrast squares to each end of (2) 1.5”x6.5” long border strips.
- Attach the prepared strips from step 6 to the top and bottom of your block.
- REPEAT STEPS 1-7 ACCORDING TO THE PROJECT YOU’VE CHOSEN.
- Make a quilt sandwich by layering the backing fabric and the batting with your prepared block on top. Quilt as you wish and bind the way you like! I hope you’ve enjoyed this Quilt project:)


