Fortune Candle Favor: Illuminate the New Year and Craft Your Luck

Designer: Marcia Izabel Marchiori
YouTube: MarciaBel Vlog
Instagram: @marciabel
---------------------------------------
As the countdown to the New Year begins, there's a magical touch you can add to your celebrations that will not only light up the night but also fill it with positivity and cheer. Picture this: a cozy gathering, the soft glow of candlelight, and the anticipation of a new beginning.
Now, imagine this experience accompanied by a cheerful twist – a candle that reveals an uplifting message as it burns. Intrigued? Let's dive into the details of this unique and delightful gift that will undoubtedly leave your guests talking long after the clock strikes midnight.
Say goodbye to the traditional fortune cookies and make way for the enchanting Fortune Candle – a delightful party favor that promises to add an extra dose of sparkle to your New Year's Eve bash.
Let’s start!
Tools & Supplies Needed
- OLFA FCM-12x17 12" X 17" Folding Cutting Mat
- OLFA QR-1x12 1" X 12" Frosted Acrylic Ruler
- OLFA QR-6S 6 1/2" Square Frosted Acrylic Ruler
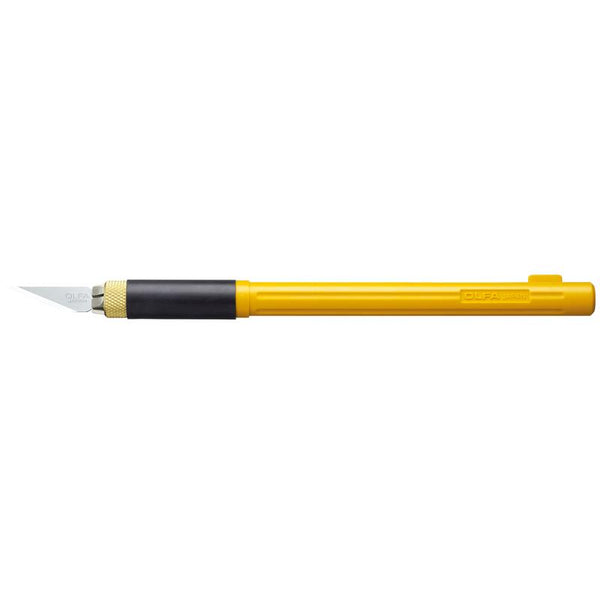
- OLFA AK-4 Cushion Grip Art Knife
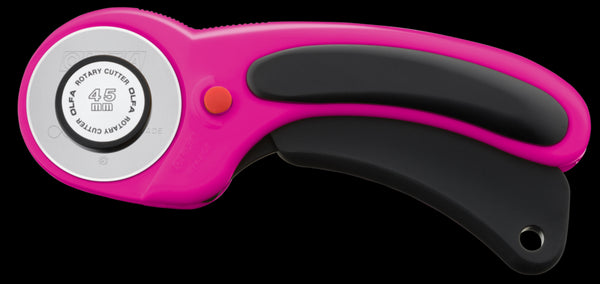
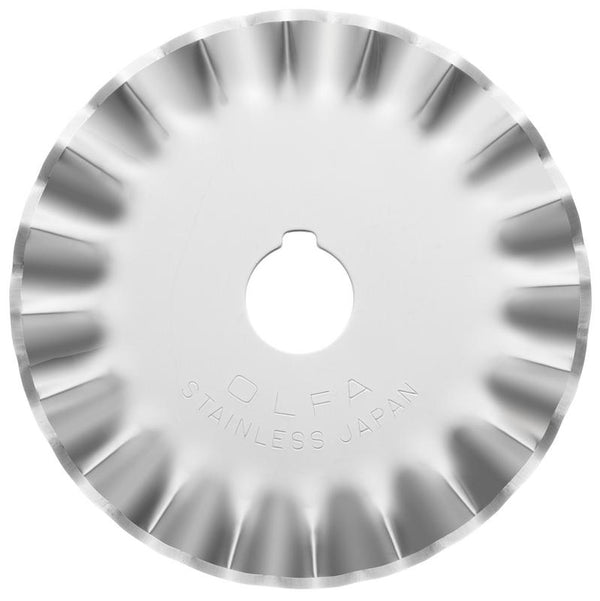
- OLFA RTY-2DX/MAG 45mm Ergonomic Rotary Cutter paired with PIB45-1 Stainless Steel Pinking Blade, 1pk
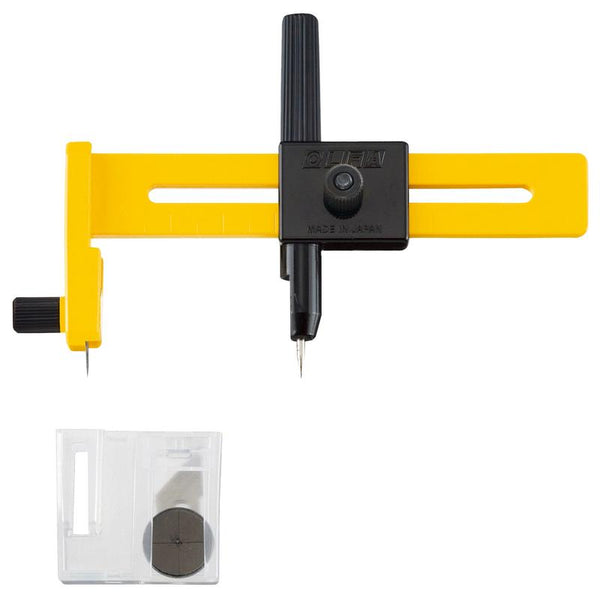
- OLFA CMP-1 Compass Circle Cutter
- White Cardstock, letter size (suitable for printing)
- Full Sheet Sticker Paper (for instructions sheet)
- Patterned Scrapbook Paper or Gold Glitter Paper Card (for favor pouch: choose hues that complement your party theme)
- Hole Paper Punch
- Therm O Web iCraft Memory Tape Runner XL permanent adhesive
- Hot glue gun
- Tea Light Candle
- Glass tealight holder (used in this project: Ikea Finsmak)
- Bakers' Twine
- White pompom ball fringe
- Printer
Instructions
- Begin by printing the templates. Print sheets 1 and 2 (Candle Messages & Tags) on white cardstock. Subsequently, print sheet 3 (Instructions) on a sheet of sticker paper.
- Use the OLFA CMP-1 compass circle cutter to cut out all the circles from Sheet 1 (Candle Messages). Begin by positioning the needle tip at the center of the circle, and then place the blade on its edge.
Cut out all of the circles.
Tip: Alternatively, you can personalize your candles by cutting out blank circles using the OLFA compass and handwriting your own messages with permanent markers!
- Punch a hole in the center of each circle where indicated on the template.
- Disassemble the tea light candle by carefully pulling the wick out of the wax while holding it by the metal tab. Alternatively, some tea light candles allow you to pull out only the metal tab, as shown below, and that's perfectly fine too.
- Insert the paper circle under the candle (text facing the candle), then place the wax back onto the metal tab/wick, and reassemble the candle by placing it back into the aluminum cup.
- Prepare the paper pouches for the candles by cutting a 4 1/2” x 9” rectangle from the chosen paper, using OLFA acrylic ruler and the AK-4 Cushion Grip Art Knife.
- Apply Therm O Web iCraft Memory Tape Runner permanent adhesive to one of the longest edges of the back your paper, as well as to only one of the shorter edges (as indicated by arrows below).
- Join the two short edges together, ensuring not to create any creases or folds in the paper.
- Now, adhere the remaining open side together, paying attention to leave the previous glued line in the center, as shown below:
- Using the OLFA rotary cutter paired with the pinking blade, trim to decorate the edge of the side you've just glued together.
- Using a hot glue gun, adhere pompom ball fringe to the open side edge of the paper, starting by the top of the glued vertical line.
- Then hold the edges of the pompom fringe side together at the opposite direction and, with the hole paper punch, make a hole in the center of this edge. Set aside.
Let’s make the tags!
- Using the OLFA AK-4 Cushion Grip Art Knife and the OLFA 1x12" ruler, cut out all the tags from Sheet 2 (Tags) and Sheet 3 (Instructions).
- Punch a hole at the top of each tag (where indicated on the printed design). Assemble the tags by adhering the instructions to the back of each tag.
- Tie the candle and holder together using bakers’ twine, and optionally, add a paper embellishment made from scraps of the same paper as the pouch.
- Insert the finished candle into the pouch, secure together the opposite side, then tie it with bakers’ twine (passing it through the hole) and the tag.
Your charming favors are now ready to shine your event!
Don’t forget to tag me @marciabel and @OLFA_craft in your finished candles, we would love to see the results!
Cheers to new beginnings!
Marcia
Caution: Always handle lit candles with care, never leave a burning candle unattended. Prioritize safety precautions.


