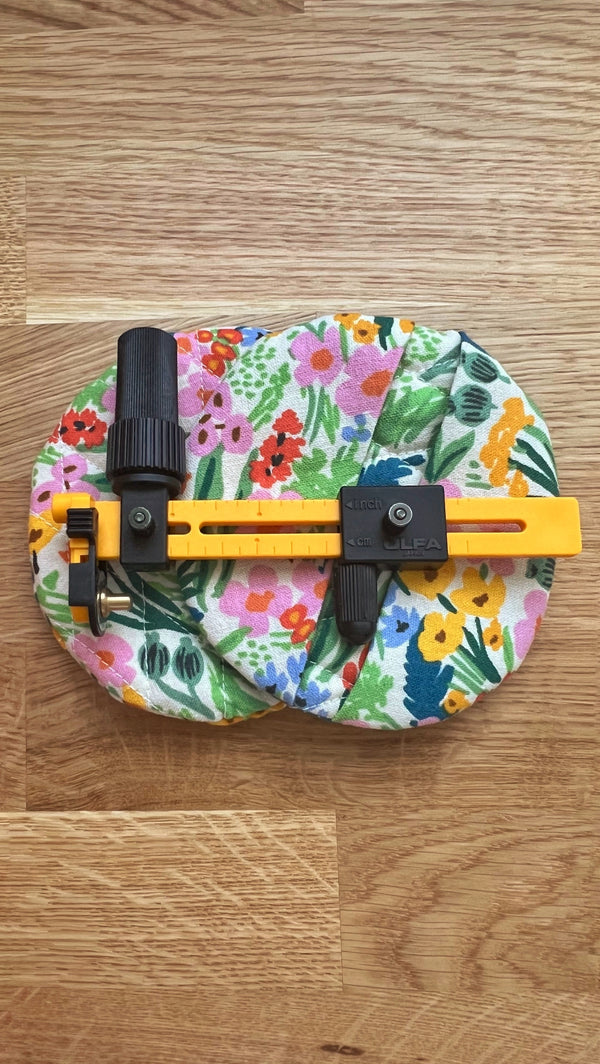
Finger-tip Oven Mitts

Designer: Amanda Brown
Instagram: @myfabricheart
Skill level: Beginner
----------------------------------------
Materials:
- 1/2 Yard Cotton Canvas
- 5”x30” Cotton Quilt Batting
- 5”x30” Heat Resistant Fleece
- Cotton Thread
Tools:
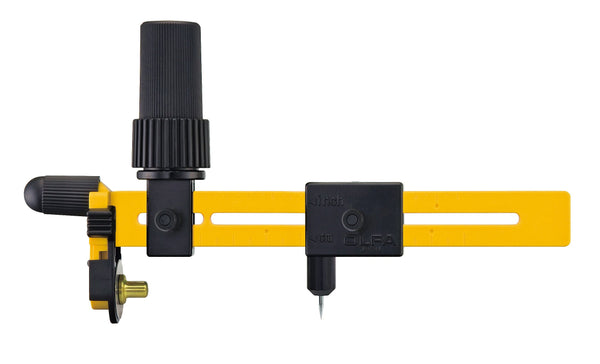
- OLFA CMP-3 Rotary Circle Cutter
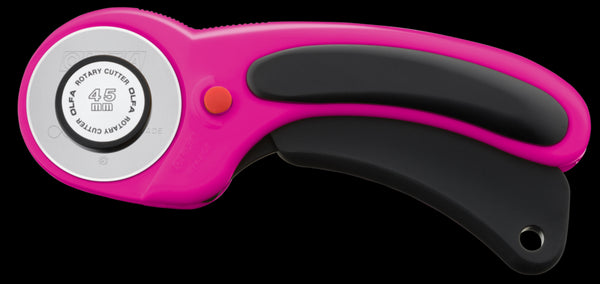
- OLFA RTY-2DX/Mag Ergo Rotary Cutter
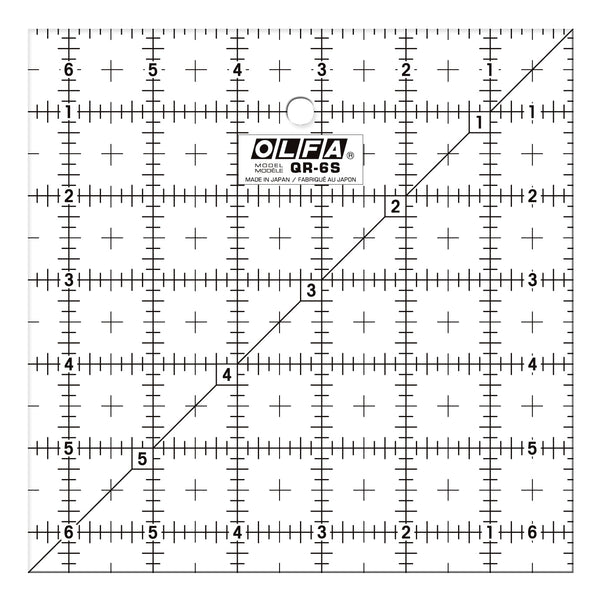
- OLFA QR-6S 6 1/2” Square Frosted Acrylic Ruler
- OLFA QR-6x12 6" X 12" Frosted Acrylic Ruler
- OLFA 5-Inch SCS-4 Precision Appliqué Scissors
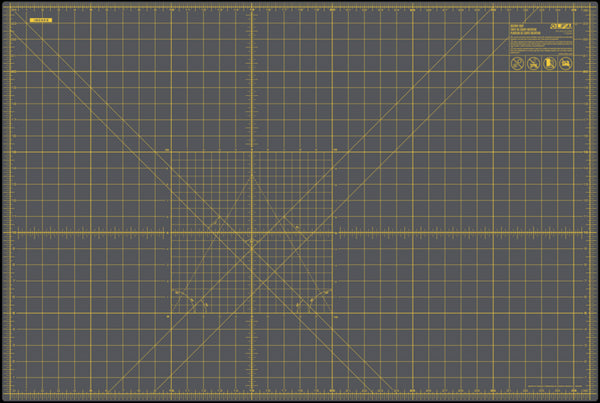
- OLFA RM-MG-01/GRY 24”x36" Double-Sided Self-Healing Rotary Mat
- Clips/Pins
- Hand Sewing Needle
- Sewing Machine
Let's walk through this project in this video tutorial. Key moments are listed below to help you if needed.
Key Moments:
(7:34) Cutting Batting and Thermal Fleece
- Set OLFA Rotary Circle Cutter to 2.5” (If you don't have an OLFA Rotary Circle Cutter then you'll want 5" cirlces for the project.)
- Cut out 4 circles from quilt batting and 4 circles from Thermal Fleece
(10:34) Cutting Exterior Cotton Fabric
- Set OLFA Rotary Circle Cutter to 3”
- Cut out 8 circles from cotton exterior fabric
(11:06) Layering Pieces
- Layer the following (make 4 units)
- Exterior fabric face down
- Quilt batting centred
- Thermal Fleece with metallic side facing quilt batting
- Quilt layers together
(14:23) Adding Finger Pockets
- Fold 4 remaining exterior cotton circles in half with wrong sides facing
- Press
- To 2 of the quilted units add 2 of the folded circles and stitch in place 1/4” from edge
(16:20) Assembly
- With right sides facing place one unit with finger pockets and one unit without together
- Sew with a 1/2” seam allowance leaving a 3 inch gap un-sewn
- Turn right side out
- Tuck in the un-sewn part and hand stitch the opening closed


