Felt Fox Banner

Guest Designer: Marcia Izabel Marchiori of Minois Handmade
Instagram: @marciabel
Category: Home Decor, Nursery & Kids Room Decor
Size/Dimensions: Approx. 9”x 11” (plus cord)
Skill Level: Intermediate
This whimsical DIY felt banner is the perfect home accent to decorate a woodland themed nursery, your kids bedroom wall, or wherever you would like to add a dash of color, and you can finish it in an afternoon! You can easily customize the background color to reflect the room style.
Tools Needed
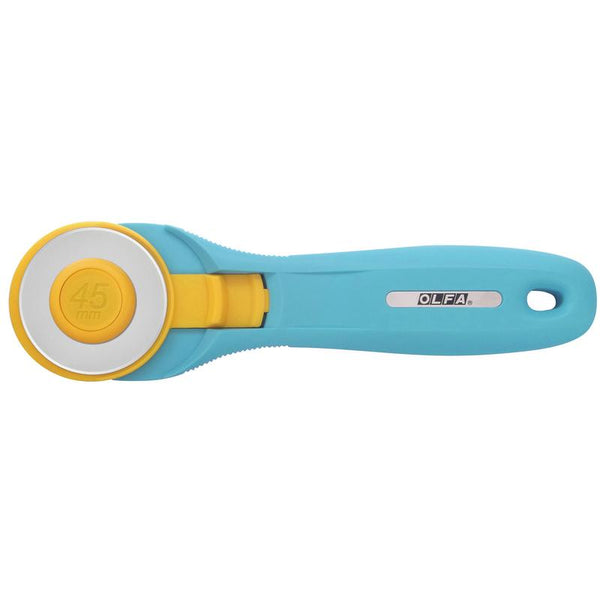
- OLFA 445mm RTY-2/C Quick-Change Rotary Cutter, Aqua
- OLFA QR-1x12 1" X 12" Frosted Acrylic Ruler
- OLFA QR-6x12 6" X 12" Frosted Acrylic Ruler
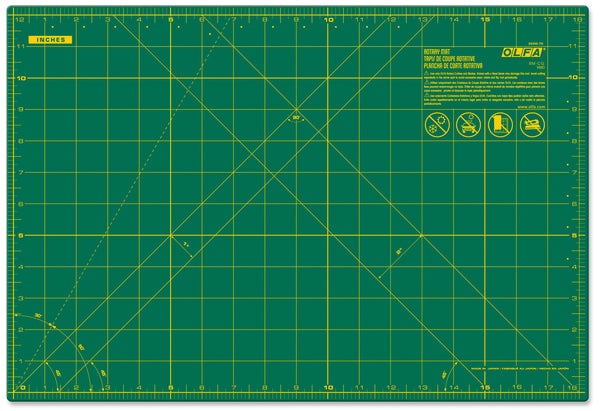
- OLFA RM-CG 12" X 18" Green Double-Sided, Self-Healing Rotary Mat
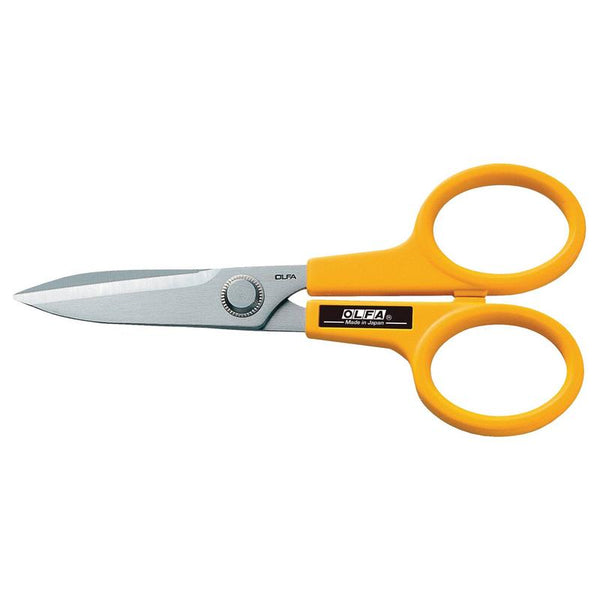
- OLFA 7-Inch SCS-2 Serrated-Edge Stainless Steel Scissors
Supplies Needed
- Two 10”x44” sheets of wool or wool blend felt – Purple/lavender
- One approx. 9”x11” piece of wool blend or acrylic felt – Orange
- One approx. 9”x11” piece of wool blend or acrylic felt – White
- One approx. 9”x12” piece of fusible fleece (such as Heat n Bond) or cotton batting
- Scraps of felt – assorted colors
- Straight pins
- Six pearl stickers
- One 7/8” button – Black
- Embroidery floss, same colors as felt
- Sewing needle
- Craft or fabric glue
- Erasable fabric pen (such as Pilot FriXion)
- 9” bamboo straw or wooden dowel
- White hemp cord
- Blush (make-up) or light pink fabric paint (to color cheeks) and a small round brush (optional)
- Approximately 20” white pompom ball fringe (optional)
- Light lavender yarn (optional)
- Small pompom maker (optional)
TEMPLATES TO DOWNLOAD here

Instructions
- Gather tools and materials
- Print banner and fox templates to scale
- Cut purple felt and fusible fleece according to the banner patterns. Use straight pins to held pat-terns on felt.
- Cut orange and white felt pieces according to the fox pattern
- Use felt of assorted colours of your choice to cut flowers and leaves
- Assemble fox pieces onto the felt banner (front panel), glue each piece together to hold every-thing in place, using the fabric glue, leaving the flowers for later.
- Using erasable fabric pen, sketch the eyes of the fox. Use six-strand black embroidery floss to stem stitch the eyes.
- Once dry, start overstitching the edges of the pieces together, matching the colors of the floss and the felt – use a single strand of floss
- Stitch black button to the fox nose and flowers crown to the fox head.
- Stitch the 3 layers of the banner together with running stitches (two-strand purple floss, matching felt color). TIP: for a more straight seam, draw a line with the erasable fabric pen before stitching the banner layers together.
- Lay the bamboo straw (or wooden dowel) about 1” below the top edge (back), run a line of glue, not touching the dowel. Fold the top edge down and over it. Press the edge to the back of the banner to create a channel for the dowel to sit in.
- Stitch all the layers together with running stitches (two-strand purple floss).
- On top of the edge, glue pompom fringe and stitch everything together.
- Insert hemp cord inside the bamboo straw, and tie a knot, hiding it inside the straw (if you are using a wooden dowel, tie a knot on each side of it).
And voilà!


