Fall Flowers Chenille Art Quilt

Designer: Amanda Brown
Instagram: @myfabricheart
Skill level: Intermediate
------------------------
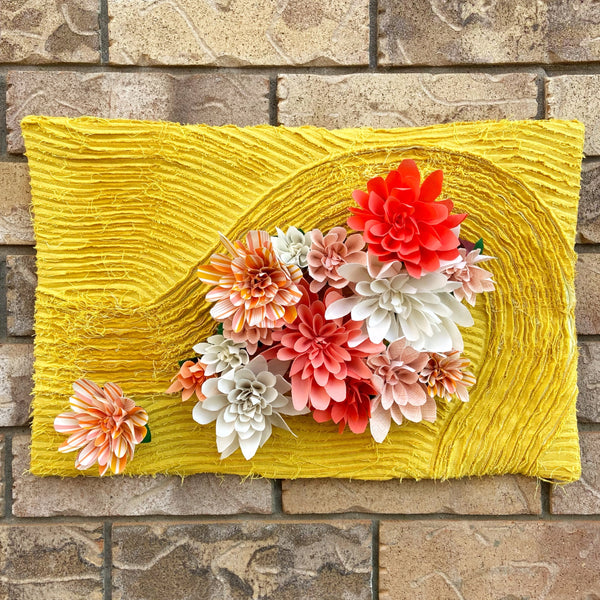
Hello! I’m Amanda Brown of Fabric Heart and I’m really excited to share with you my Fall Flowers Chenille Art Quilt.
When I think of Fall I get sad because in Canada Fall equals the start of the cold weather. I dislike being cold. However, I do get excited about the fall flowers. There are so many beautiful fall flowers but my absolute favorites are Mums and Dahlia’s. They come in may different sizes, shapes and colors and are just so happy. As a quilter, it is hard to make a quilt featuring them because quilts aren’t 3D. Enter the Art Quilt. This was the very last Dahlia in my garden that the frost hadn’t gotten yet.
Art Quilts bring me a lot of joy. The quilting world has a lot of rules (some I follow and other’s I don’t) and with Art Quilts you can throw all those rules out and do whatever you want. This project uses unconventional techniques and tools and was a blast to make, except for the part where I burned myself with the glue gun. What can I say? I’m accident prone.
I’ve taken some artistic liberties with the Dahlia’s and Mum’s and have come up with a hybrid of sorts. I knew I wanted the flower’s to be the star of the show but I knew I wanted something special for the background.
If I have to go outside in the fall one of my favorite places to be is in the forest with the falling leaves. Leaves blowing around in the wind can be so beautiful so I thought making a background with a lot of movement like leaves caught in a gust of wind would be perfect. OLFA’s Chenille Cutter isn’t a tool I use often but when I do magic happens. I was able to create so much depth, movement and interest in the background and the best part is that the Chenille Cutter is so fun to use!
Fall Flowers Chenille Art Quilt
Tools:
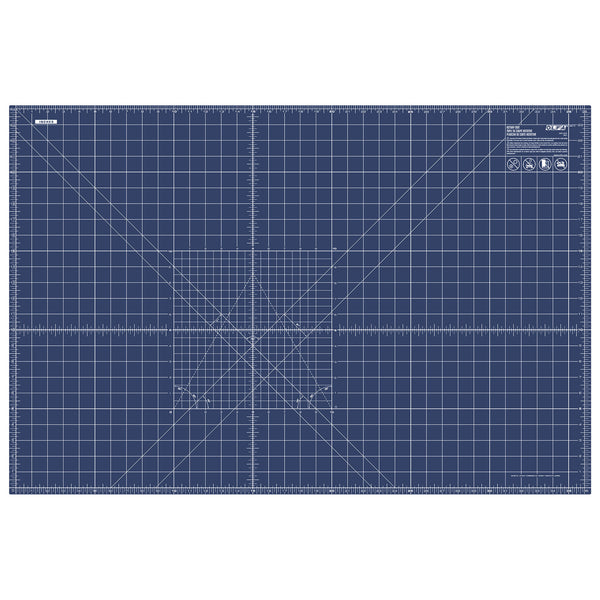
- OLFA RM-MG/NBL 24"X36 Double-Sided, Self-Healing Rotary Mat, Navy
-
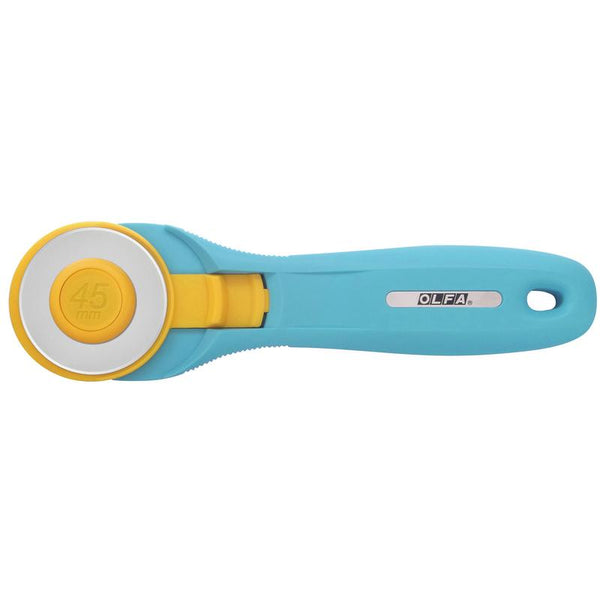
OLFA 45mm RTY-2/C Quick-Change Rotary Cutter, Aqua
-
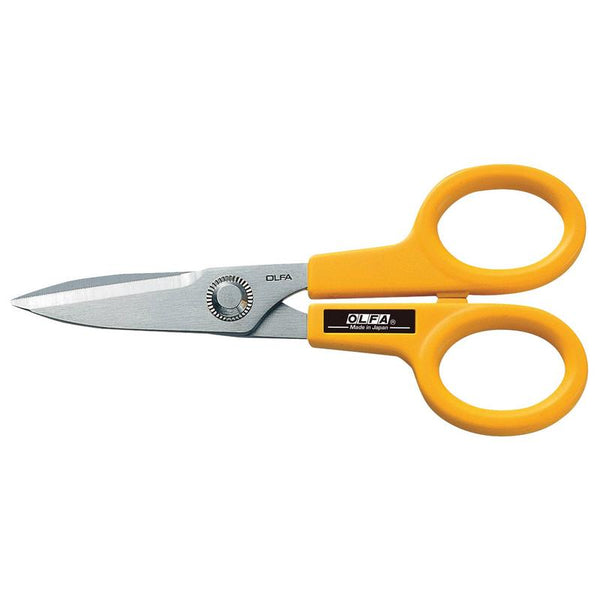
OLFA 5-Inch SCS-1 Serrated-Edge Stainless Steel Scissors
-
OLFA QR-6x24 6" X 24" Frosted Acrylic Ruler
-
Erasable Fabric marker or Hera Marker
- Flower Template
-
Glue Gun and Glue
-
Safety Pins
-
Seam Ripper
-
Terial Magic or your favorite fabric starch
-
Thread
- Iron
Materials:
- Background - 14”x22” pieces of fabric in gradient of your color choice as follows.
- 2 x Darkest color
- 1 x medium color
- 2 x lightest color
- 1 x backing
- Facing
- (2) 2.5” x 21” strips of Darkest Color
- (2) 2.5” x 13” strips of Darkest Color
- Corners for hanging - (2) 6”x6” Squares folded in half diagonally
- Flowers
- 6“x 20” per flower in the colors of your choosing. This is a great project for scraps.
- 6“x 6“ per flower in green
-
15” length of 3/8” dowel for hanging
- Piper Cleaners
Prep Fabric for Flowers:
If using Terial magic coat your fabric for your flowers in the product and hang it to dry until damp. When damp use your iron to finish drying and smooth out any wrinkles. Your fabric should now be stiff like paper.
If using another starch product prep you fabric according to the product directions so it is stiff enough that when you cut out a petal it will hold its shape and stand up.
Chenille Background:
-
Layer your 14”x22” rectangles in this order:
- Backing (right side down if using a print)
- 2 x lightest color
- 1 x Medium color
- 2 x Darkest Color

-
Using your erasable marking tool or a Hera Marker mark out your swirl design on your rectangle (Grey lines below). Keep these things in mind:
- The Chenille cutter will not make sharp corners easily so make things nice and gentle.
- You will want your design to be wide enough to allow a few passes of the Chenille cutter. I made my swirl approx. 3.5” wide which allowed me to make 9 cuts with my Chenille cutter.
- Use the same tool to mark your non swirl background. I chose a very gentle wave which added some extra movement but still keeps things uniform (Pink Line above). As you can see I started with one line. As I completed Step 5 I added in more guidelines to help make the background look unified behind the swirl.
- Using your safety pins secure all layers together making sure to keep everything nice and smooth.
-
Stitch the lines for the Chenille Cutting. The distance between each line depends on the setting on your Chenille cutter you will be using. Let’s start with the swirl first. I wanted these to be wide enough to use the largest guide “LL” on the Chenille Cutter. To use this stitch your lines 1/2” apart.
- Start by stitching right on one of the swirl lines that you drew on your top. To place your next line adjust your needle position so it is 1/2” away from the edge of your sewing foot so you can use it as a guide.
- Keep adding lines 1/2” apart until you have made your swirl as wide as you would like.
For the non swirl parts of your background you will follow the same technique as before only using 1/4” spaces between your stitch lines make sure to not sew over the swirl section. This will let us use the “S” guide on the Chenille Cutter.
- Tack or back stitch at the edges meeting the swirl.
-
Cut your Chenille lines. This is the fun part!
- We are going to start with the 1/2” lines in the swirl. Set your Chenille Cutter to the LL Guide. Starting at one edge place your guide under all the layers except the backing and 1 layer of the lightest color and slide the cutter around the swirl. The stitches should hug the guide and slide through easily. If it becomes a struggle you may need to either twist the dial one click to get a new edge or it is possible that your lines are a little too snug and you may have to go down to the L guide. Continue this for all the lines inside your swirl.
- Next move on to your 1/4” lines on your non swirl background sections. Adjust your Chenille Cutter to the S guide. Starting at an edge place the guide under the top layer only and cut until your guide bumps up against the swirl line. Using your OLFA 5” Serrated Edge Scissors finish the cut line to the Swirl edge.
- For the sections that don’t run to an edge you will have to make a starting point with your seam ripper. Carefully cut a small hole through only the top layer of fabric big enough to put your Chenille Cutter guide in. Then cut your lines as above.
- Play around with your Chenille Cut Lines
- You may want to rough up your lines a bit to get more fraying or you may want to trim back some threads so you see less fraying. Experiment with a soft scrub brush or a hair brush with firmer bristles for this. On the swirl I spent time ironing the cut edges up so they stood out more.
- Finishing the background
- Using your 6”x24” ruler and your Splash rotary cutter square up your background
- Take your 2 hanging triangle corners and place them on the top 2 corners with the raw edges lined up and stitch down with a 1/8” seam allowance.
- Take your facing strips and along one long edge fold them under 1/4” and iron
- Take the 21” facing strips and pin them to the top and bottom quilt lining up the raw edges lined up and with the folded flap facing up, right sides facing, sew 1/4 from edge of quilt
- Press seam to set stitches and then press your strip away from the quilt. Then carefully press and roll the seam towards the back of the quilt so the seam sits right on the top edge of your quilt.
- Carefully fold the strip back towards the front so it is laying flat and pin in place.
- Line up the 13” facing strips on either side of the quilt with the raw edges lined up and with the folded flap facing up, making sure they are centered, leaving about 1/2” on either end. Sew from edge of the quilt to the other edge with a 1/4” seam.
- Press seam to set stitches and then press your strip away from the quilt. Then carefully press and roll the seam towards the back of the quilt so the seam sits right on the top edge of your quilt just like before.
- Trim off the corners to remove some bulk
- Fold all strips to the back of the quilt poking out corners and giving quilt another press.
- Hand sew the folded edge to the back to secure in place.
Make Flowers
Each flower can be so unique and no 2 flowers are the same on mine. Some flowers I used all the petal sizes and other’s I only used the smallest. If you are using a print fabric play around with how your place the print for a completely different look. Use the flower steps below and go wild! Use your seam ripper or a chop stick to help fold things into the glue, your fingers will thank you.
- Cut out your middle flower section and the petals you think you will want for your flower. I often took strips of fabric cut to the height of the petal and then accordion folded the strip to the width of the petal and cut out multiple at once. The OLFA 5” Serrated Edge Scissors are amazing at cutting through many layers to speed up the cutting process. Typically I used 5 small petals, 5 - 10 medium petals and 8-20 large petals. Also cut out 5-6 leaves in a green fabric to cover the base of the flower.
- Take your middle flower section and place one small dab of glue at the smallest end and place the end of your pipe cleaner in it. Tightly roll the remainder of your strip around your pipe cleaner adding another dab of glue at the end to secure it in place. Set this aside while you make your petals.
-
Shape each petal by folding the base in half length wise to form a middle crease then add a dab a glue 1/2” from the bottom. Then fold each edge into the middle to create a cupped shape as shown below.
- Starting with the smallest petals attach them around your middle flower section lining up the bottom of the petal with the bottom of the fabric from the middle flower section. Keep adding petals until you have the flower you want.
-
Add glue to the bottom inch along middle of each leaf and attach them around the base of the flower. Let flower dry completely and repeat until you have all the flowers your heart desires.
-
Once your flowers are finished and the glue is dry it is time to trim off the pipe cleaner and the bottom of the flower so it is flat. Using your OLFA 5” Serrated-Edge Stainless Steel Scissors to do this.
-
Place your flowers on your background how you would like them and then glue them on
- Now you are all ready to hang up your Fall Flower Chenille Art Quilt. Insert your dowel into the triangles on the back and hang on a finishing nail.
I hope you’ve enjoyed this project. It is the perfect thing to work on while stuck inside on a rainy fall day. Now I will have my Dahlia's and Mum’s with me all year round.
Stitch on!
~ Amanda.


