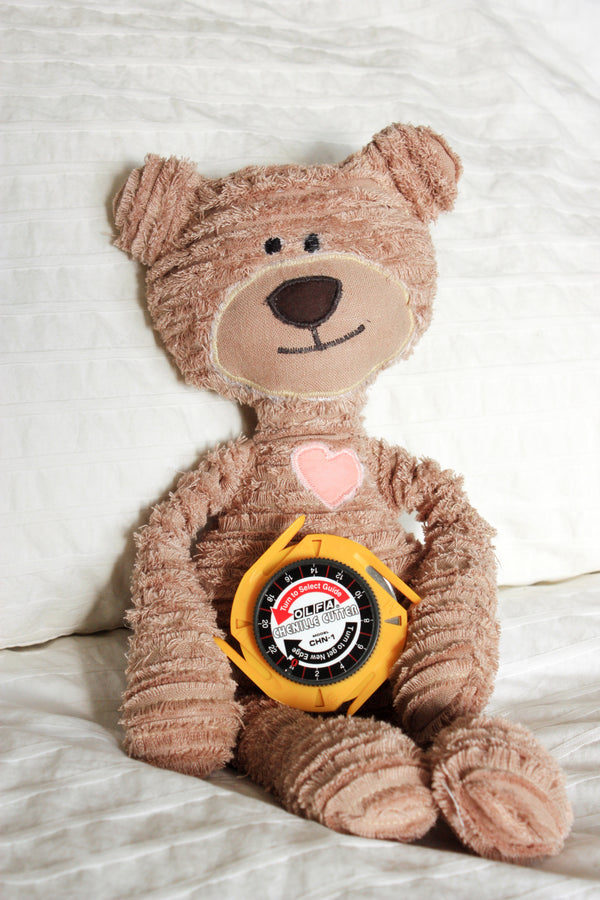
Fabric Prep for the Chenille version of the Kimberbear

Designer: Amanda Brown
Instagram: @myfabricheart
Skill level: Beginner
------------------
This tutorial will walk you through making Chenille fabric pieces for us in the Kimberbear pattern. These pieces are for the arms, legs, body and head. The Chenille fabric will be multiple layers thick so you may want to trim seam allowances a little more than indicated in the pattern. Turning the legs and arms is difficult due to the thickness so leave a 2” opening along one side of each arm and leg to turn through and after turning right side out hand stitch the opening closed with a ladder stitch.
When choosing a fabric for the Chenille pick one that is same on both sides. Also, a looser woven fabric will fluff up easier after using the Chenille Cutter. The fabric used in the photos was a linen/cotton blend.
Tools:
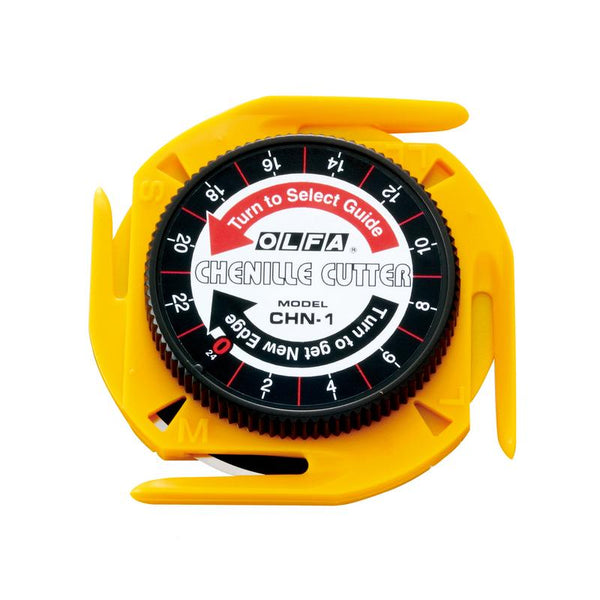
- OLFA CHN-1 Chenille/Textile Cutter
- OLFA QR-6x24 6" X 24" Frosted Acrylic Ruler
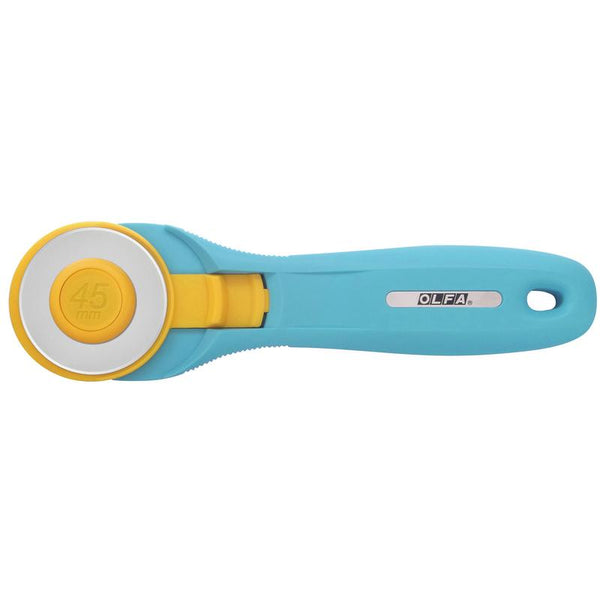
- OLFA 45mm RTY-2/C Quick-Change Rotary Cutter, Aqua
- OLFA RM-MG/NBL 24"X36 Double-Sided, Self-Healing Rotary Mat, Navy
- Walking Foot
- Small brass wire cleaning brush
- Kimberbear Pattern
Materials Different from Kimberbear Pattern:
- Fabric 1: Bear 1.5 Yards 40-42” wide woven fabric
Cutting Instructions:
- Cut (6) 8”xWOF Strips. Sub cut these strips into (32) 6.5”x8” rectangles and pile in 8 groups of 4
Sewing Instructions:
- Take 1 of the groups of 4 fabrics and line them up directly on top of each other
- Using your walking foot and a shorter stitch length (1.8) start at one short edge stitch lines parallel to the edge 3/8” apart.
- Make sure to either back stitch or use a locking stitch at the beginning and end of each line
- Repeat with other 7 groups of the 4 layers of fabric
Chenille Instructions:
- Set your OLFA Chenille Cutter Guide to Large
- With 3 layers of fabric over the guide and one layer under the guide push your Chenille cutter through the fabric in between two stitched lines. Repeat for every space between 2 stitched lines on your fabric unit.

- If cutter gets clogged with threads turn the dial to select new guide, clear out the guide and keep turning until you get back to the Large guide. You can also carefully open the Chenille cutter and use a soft brush to remove any threads and close the cutter back up.
- Repeat this for all 8 units
- Using a brass brush rough up each unit removing threads until your desired look is achieved
You will now have 2 finished units for each of the following:
- Arms
- Legs
- Body
- Head
To complete the project follow the instructions for the Kimberbear Project.


