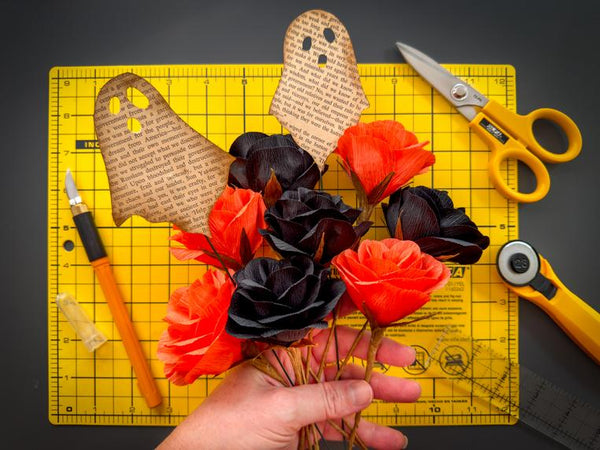
Elegant Halloween Decor: Handmade Paper Roses and Vintage Ghosts

Designer: Marcia Izabel Marchiori
YouTube: MarciaBel Vlog
Instagram: @marciabel
---------------------------------------
Level: Beginner

Looking for a Halloween DIY project that adds a touch of elegance to your spooky decor? In this tutorial, we’re making handmade crepe paper roses that bring a moody, dark vibe to any setting. Whether you’re decorating your home, setting up a Halloween themed tablescape, or finding your own creative way to use them, these flowers will add a fancy, gothic charm to your space.
To complete the look, we’ll also be crafting the cutest little paper ghosts using old book pages, giving them a vintage, almost rustic feel. It’s the perfect mix of haunting and classy, and I can’t wait to show you how to make these easy decorations.

For my setup, I ended up using a vintage copper pot, but if you're looking for another great idea, you can upcycle a tin can! Just paint it with chalkboard paint (or any dark paint you have on hand), and it works perfectly as a vase too. This would add a creative, budget-friendly touch to this project!

Let’s get started!

Tools & Supplies Needed
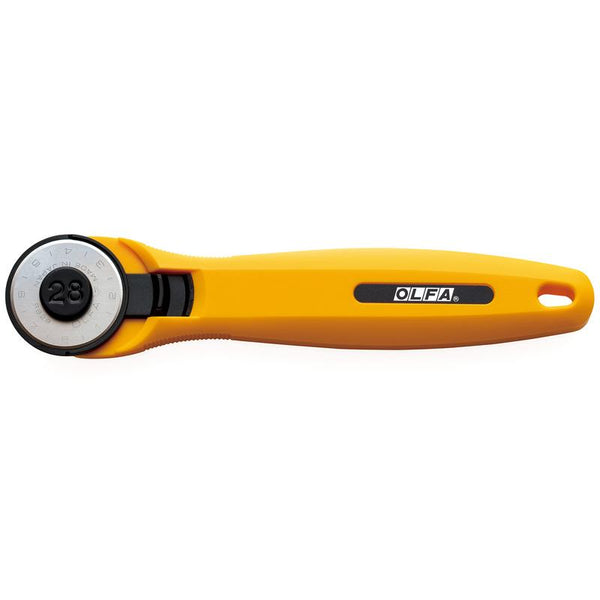
- OLFA 28mm RTY-1/C Quick-Change Rotary Cutter
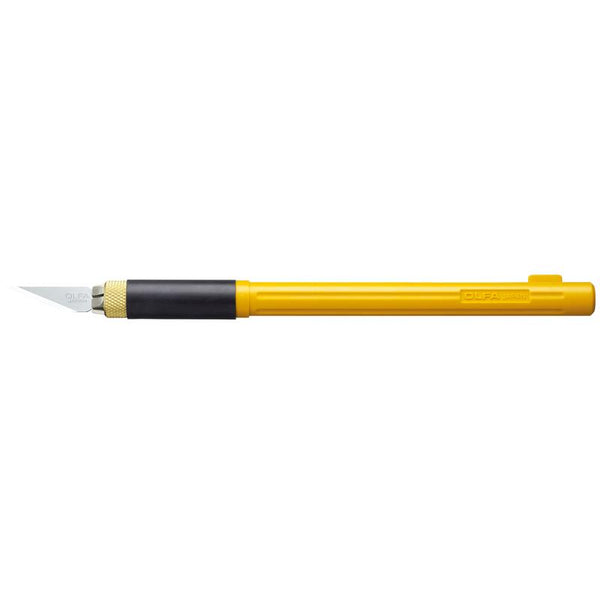
- OLFA AK-4 Cushion Grip Art Knife paired with curved blade
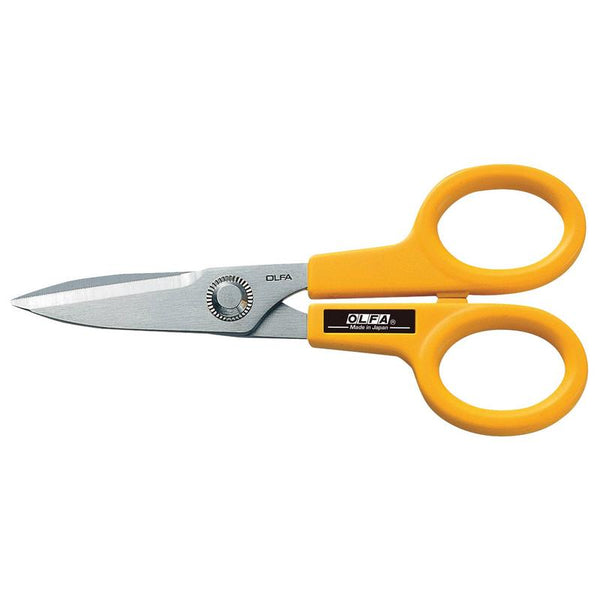
- OLFA 5-Inch SCS-1 Serrated-Edge Stainless Steel Scissors
- OLFA QR-1x12 1" x 12" Frosted Acrylic Ruler
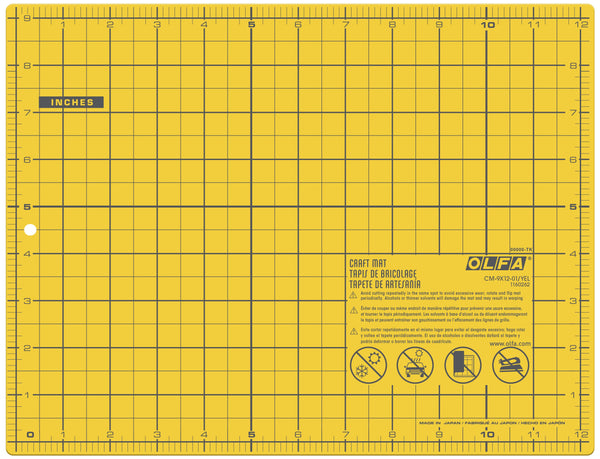
- OLFA CM-9x12-01/YEL Double-Sided Self-Healing Cutting Mat
- Recycled tin can or any vase you prefer (with dark color / black)
- Fine Crepe Paper in the following colors: black, orange and gold (Used: 6 x 6 “ Recollections brand)
- Old book pages or newspaper sheet
- Stamp ink to distress (color used: copper)
- Floral Wire (and, if needed to adjust length, wire pliers)
- Aluminium Foil (or 3/4” styrofoam ball)
- Toilet Paper or napkin paper
- Hot Glue Gun
- Pencil and Eraser
- Bamboo Stick
- Optional: Floral Tape (gold color or similar)
Instructions:
- Cut 2-inch strips of crepe paper, making sure the grain runs lengthwise, as the petals will also be cut lengthwise, parallel to the grain. This will help you stretch the middle of the petal later.

- Then, cut the strips into 1 1/2-inch sections, creating 2 x 1 1/2-inch rectangles. You will need to cut twelve
- Repeat the same process, but this time cut the strips into 1-inch sections, creating a total of eight 2 x 1-inch rectangles.


- Fold each rectangle in half widthwise, then use OLFA scissors to cut out all the petals. It’s important that each petal reaches both the length and width edges. Below, you’ll find both sizes traced to help you visualize this step. However, after some practice, you’ll find it easy to cut each petal without needing to trace it first. Cut all petals in both sizes.


- Gently stretch the center of each petal between your fingers to shape it into a bowl form.
- Using a bamboo stick (or any curling tool you have), gently curl the top corners of each petal. Here’s a video to help you fully understand the process.
Here’s a picture as well, showing each size of petal from the front and back:

- Make a 3/4-inch ball from aluminum foil (or use a store-bought styrofoam ball of the same size).
- Attach a piece of floral wire to the center of the ball. If needed, use hot glue to secure it permanently.

- On top of the ball, use hot glue to attach a small piece of crepe paper.

- Now it’s time to glue the petals together to form the rose. For this step, it’s very important to always place 3 dots of glue on each petal, like this:

- Start by alternating the smaller petals, then the remaining twelve, as shown below:
- Take a 1/2-inch piece of toilet paper or napkin, roll it around the base of the flower, and glue it in place to create the base of the sepal.


- To make the sepal, cut a 1 1/2 x 2 3/8-inch rectangle. Then, cut three spikes along one edge as shown in the video below. Trim the base as well. Curl each spike and, using hot glue, attach them to the toilet paper base you created in the previous step.
- For the next step, if you have floral tape in the same color as the sepal, use it to cover the floral wire. If not, using OLFA scissors, cut 1/2-inch strips of the same gold crepe paper and follow the steps shown in the video below.

- Let’s make ghosts! 👻 Layer two sheets of a book page on top of each other. Trace a simple ghost shape (whatever style you prefer) onto the layers. Using an OLFA art knife with a curved blade, cut out the ghost shape and the eyes, keeping the two layers of paper together while you cut.


- Now, glue a floral wire between the two layers of the ghosts to adhere them together. Using the stamp pad, apply ink along the edges of the ghost on both sides to create a distressed effect. And there you have your ghost!


And your flower arrangement is ready!


Don’t forget to tag me @marciabel and @OLFA_craft in your finished project, we would love to see your spooky creation!
Happy Halloween!
Marcia

