
Easy Thanksgiving Sewing Project: Cute Felt Tissue Cases

Designer: Marcia Izabel Marchiori
YouTube: MarciaBel Vlog
Instagram: @marciabel
----------------------------------
Level: Beginner
Looking for a little handmade favor to make your Thanksgiving table extra special? These felt tissue cases are a sweet and simple way to add a personal touch to your holiday gathering. They’re easy to make, the materials are inexpensive, and the finished project is both cute and useful! Each case features an adorable little turkey made from ribbon, bringing a touch of Thanksgiving charm to your table and a little smile to your guests’ faces.

I love the idea of giving everyone a small handmade gift to take home, that they can enjoy long after the holiday is over. Each tissue case fits a travel-size pack of tissues perfectly, or you can fill it with individually folded tissues. They’re just the right size to tuck into a jacket pocket or purse, or to keep handy in the car.
This project is perfect for beginning sewers! I used my sewing machine for this project, but you can easily sew the cases by hand in just a few minutes, too.

So, gather your felt, ribbon, and a few basic supplies, and let’s make something special to share with the people around our Thanksgiving table! Tools & Supplies Needed
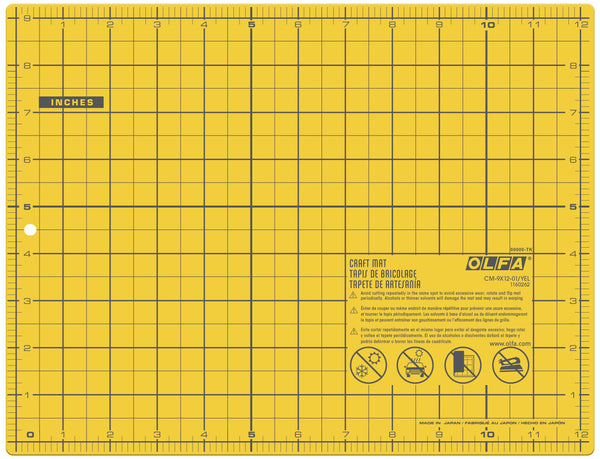
• OLFA CM-9x12-01/YEL Double-Sided Self-Healing Cutting Mat
• OLFA QR-1x12 1" x 12" Frosted Acrylic Ruler
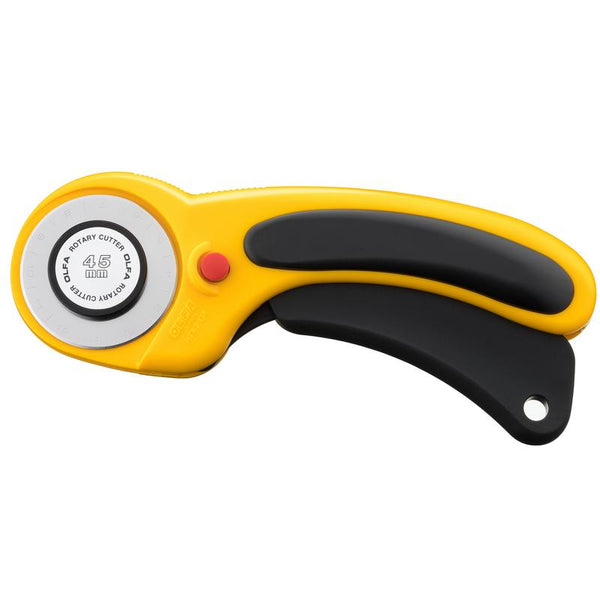
• OLFA 45mm RTY-2/DX Ergonomic Rotary Cutter, with regular blade
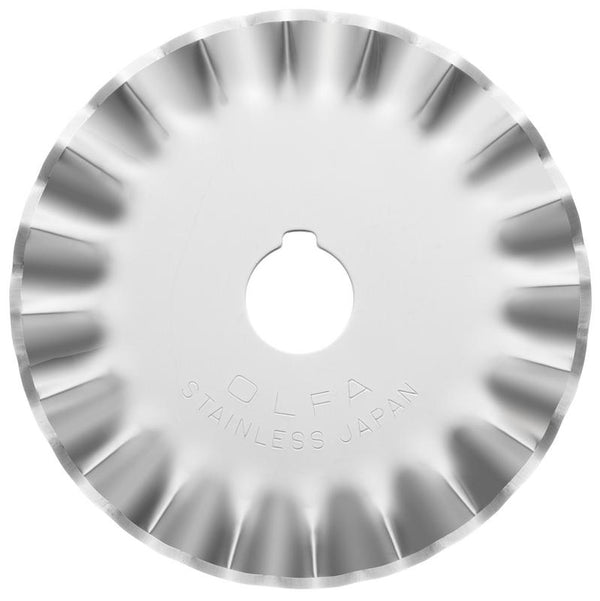
• OLFA RTY-2DX/MAG 45mm Ergonomic Rotary Cutter, with OLFA PIB45-1 Stainless Steel Pinking Blade
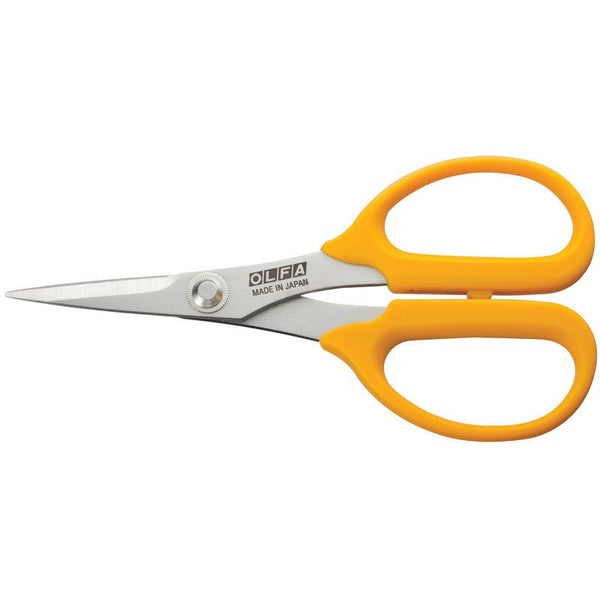
• OLFA 5-Inch SCS-4 Precision Appliqué Scissors
• Felt in autumn colors (you can use a variety of colors, such as orange, olive green, and brown). You’ll need a 6" x 7" piece for each case, plus a tiny orange scrap for each turkey beak.
• Optional, but recommended for embellishment: trim of your choice (lace used in this project: Riley Blake Designs Bee Cute Lace, Natural Assortment by Lori Holt of Bee in my Bonnet)
• 1/2" ribbon in orange, red, yellow, and brown
• Plastic googly eyes
• Paper tissue pack - one per case
• Hot glue gun
• Sewing pins
• Sewing options: a sewing machine with coordinating thread OR a needle and coordinating embroidery floss for hand sewing
• Printer and printable paper for tags
DOWNLOAD TEMPLATE here
Instructions
- Start by placing your felt on the OLFA cutting mat and, using your OLFA ruler and rotary cutter, cut a 6" x 7" rectangle.

- If you’re using lace, place it with pins and sew it lengthwise down the middle of the felt rectangle before assembling the case. Fold the ends of lace toward the back of the felt and stitch them in place for a neat finish.


- Fold the short ends of the felt toward the middle and pin both sides in place.
Tip: use your OLFA cutting mat as a guide, as your tissue case should measure approximately 6" x 3".

- Using your sewing machine and a straight stitch, sew along both edges. If you’re sewing by hand, a simple running stitch works just as well!
Important: Leave at least 1/3" of fabric along each edge so you can trim the sides with the OLFA pinking blade afterward.


- Trim both sides using your OLFA rotary cutter fitted with the pinking blade.

Let's Make the Turkey!
- Using OLFA scissors, cut five 3 1/2" strips of ribbon: one red, two orange, and two yellow.
- To make the turkey's body and head, cut four strips of brown ribbon measuring 2 1/2“, 3 1/2“, and 6 1/2“ long.

- Add a small dot of hot glue to one end of each ribbon strip, then fold the ribbon over so the ends meet, creating a loop.
- Fold and glue the 2 1/2" and 3 1/2" brown ribbon strips into loops, just as you did with the colored ribbons. Then, fold the 6 1/2" strip (the longest one), intertwining one end of the ribbon to create the turkey’s head, as shown in the video. Intertwine the other end to begin shaping the body. Finally, glue all three brown ribbon pieces together to complete the turkey’s body.
- Cut a small beak from orange felt and glue it onto the head, along with the googly eyes.
- Glue the red, orange, and yellow ribbon loops to the back of the turkey as shown below to complete its colorful tail.
- Still using hot glue gun, attach your finished turkey to the front of the felt tissue case.
- Place the tissue pack inside the case, or fill it with individually folded tissues.
- Print the tags (template here) and attach it to your finished tissue case, securing it with a tiny dot of glue behind the turkey.
 TIP: You can also use the tissue case as a place card on your Thanksgiving table! Simply use a blank tag to handwrite each guest's name and place it with their favor.

And that's it! This is a quick and easy project that you and your kids will love making together. The supplies are inexpensive, and the finished tissue cases are just so cute and practical for the colder months ahead. I hope you enjoy making them and sharing these little handmade favors with your Thanksgiving guests!


 I’d love to see your finished tissue cases! Tag me @marciabel and @OLFA_craft so we can admire your favors!
Happy Thanksgiving! 🧡
Marcia