Easy Rococo Trims, Ruffles and Carnations

Designer: Janelle Marie
Instagram: @Seams.come.true
Skill level: Intermediate
---------------------------
Read Janelle's Interview here.
This tutorial will take you through several ways of making historically-inspired trim and ruffles to add dimension and decoration to your sewing projects! We will be using the scallop rotary blade to prevent fraying.
Tools and Materials:
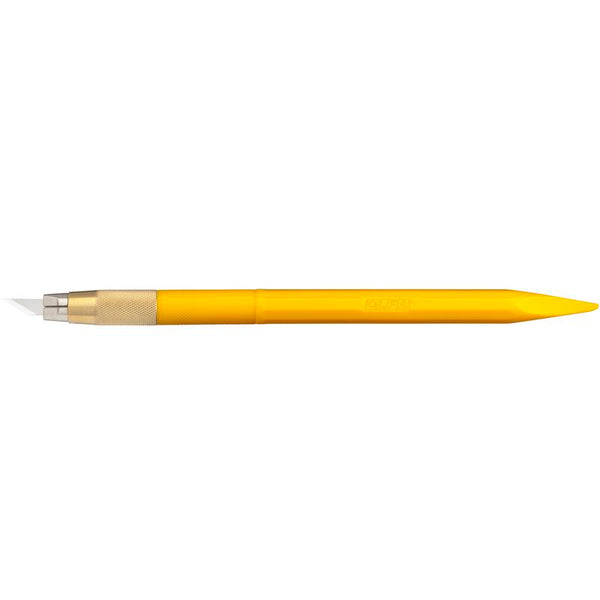
- OLFA AK-5 Designer Graphic Art Knife With 30 Replacement Blades
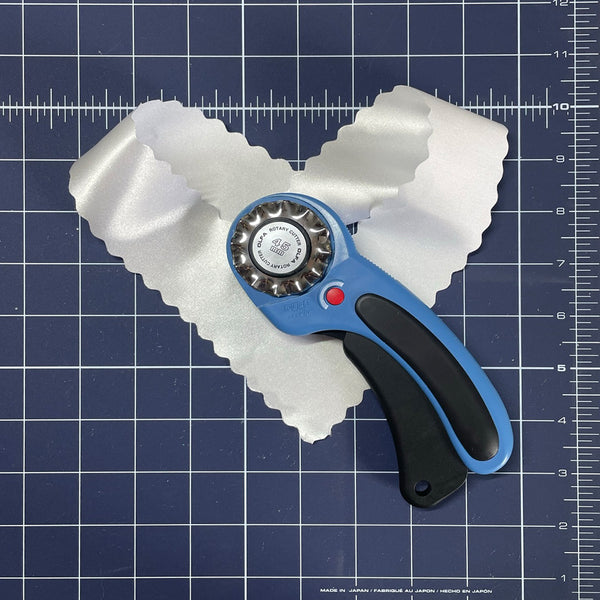
- OLFA 45mm RTY-2DX/PBL Ergonomic Rotary Cutter, Pacific Blue
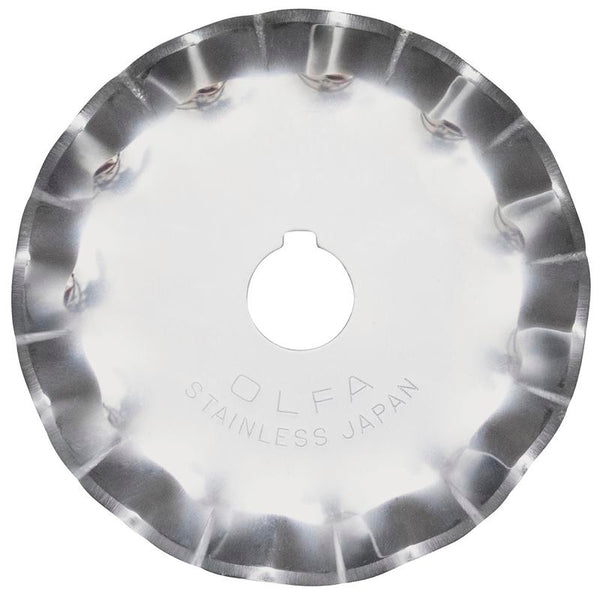
- OLFA SCB45-1 Stainless Steel Scallop Blade, 1pk
- OLFA RM-MG/NBL 24"X36 Double-Sided, Self-Healing Rotary Mat, Navy
- OLFA QR-1x12 1" X 12" Frosted Acrylic Ruler
- 1-3 yds tightly woven fabric (silk or taffeta is ideal, no linen or cotton as it will fray)
- Thread (complimentary color to the fabric)
- Sewing needles (two for double line wide trim)
- Thread cutter
- Iron and Ironing board
- Optional: Heat erasable pen
- Optional: Thread wax (helps strengthen thread and make gathering easier)
Instructions:
Style 1 - Single Line Narrow Trim
- Lay your fabric flat on your cutting mat. The length of your fabric strips will depend on how much trim you need. I'll be using a 1:2 gathering ratio for this example so:
- If you need 12 inches of ruffles, you will need to cut 24inches of fabric strips
- Because this is a narrow version, each strip will be 2 inches wide
- For 12 inches of trim, your final measurement of cut fabric will be 24 x 2 inches
- Using your rotary cutter, scalloped blade and 1 x 12” acrylic ruler as a guide, cut your desired length of fabric.
- Make sure the rounded design of the blade is pointing away from the center of your fabric strips
- If your fabric is not long enough to cut your trim in one piece, you can attach multiple sections together using a french seam to hide the joined raw edges, press well to make it blend together even more
- Take your cut strip of fabric and fold it in half long ways. You may choose to iron it to make the center line visible but I don’t usually find that necessary on such narrow strips.
- While the strip is still folded, take your needle and thread, knot the end and make loose whip stitches 6 inches down the folded edge. Pull your thread tight until those 6 inches of stitches measure 3 inches then backstitch to hold the gathers in place.
- Repeat this until you have reached the end of your strip, knot your thread and clip the excess.
- You can either open and attach the trim as is to your project or use your iron to press it open for a more period-appropriate look.
- Pin the trim to your project to check placement, size and length.
- Attach the trim to your project using tiny prick stitches hidden in the “gutter” or crease of your trim.
- If you are unhappy with the placement once sewn on, my favorite tool to remove the tiny stitches is the OLFA AK-5 Art Knife.
Style 2 - Double Line Wide Trim
- This is very similar to the narrow trim method except for two things: Measurements and gathering placement. For this example, I want my trim to be 4” wide and 12” long when attached so I'm going to cut each strip 5” wide to accommodate the gathering and slight “poof” I want in the center.
- Cut one 5” x 24” strip using your scalloped rotary blade, mat and ruler
- Measure 1" from edge and either mark or iron that line so it remains visible
- Repeat for other edge
- In the same way we did for the single narrow trim, whipstitch 6” of the folded edge but do not gather or back stitch yet
- With a second needle and thread, whipstitch the other folded edge until the lengths of the stitched portions match
- Pull both threads until the stitched sections measure 3”, backstitch
- Repeat until you get to the end of your fabric strip, tie off and trim excess thread
- Press flat with your iron if desired
- Pin your trim onto your project to check placement and length
- Use tiny prick stitches in the “gutters” of your trim to attach it. Sew both lines of gathers.
Style 3 – Gathered Ruffles
- These lay a little flatter than the previous two trims due to the type of stitching and are great to add to areas of your project that you want to lay a little more flatly. Begin by cutting your desired length of strips using a 1:4 gathering ratio. In this example, I cut mine 5”x24” to equal 6” of ruffle
- Before stitching the gathers, consider adding some decorative lace or other edge treatment to the un-gathered side of the ruffle
- Mark or iron to mark 1” from the edge. Make a single line of running stitches 1/8 - 1/2" apart depending on how tightly ruffled you want your strip to be
- Gather down to 6” and backstitch. Knot and trim off excess
- Iron flat if desired
- At this point you can attach your ruffle to your project as is (with a prick stitch) or layer with a narrow trim, beading or fabric florals for an extra luxe look
Style 4 – Carnations
- Cut one strip of fabric 24” x 1.5” using your scalloped rotary blade and mat (or you may use similarly sized ribbon)
- Make a single line of running stitches down the center of the strip
- Gather down to 6” and back stitch
- Sew the ends together with a simple whipstitch, knot and trim off excess
- You may attach your carnation as is or iron flat before attaching depending on which look you like better
Thank you for taking the time to read through this! I hope it is helpful on your own fabulously extra Rococo project! Please don’t hesitate to reach out to me for any questions


