Easy Peasy Cape – No pattern needed!

Designer: Mary Stanley
Instagram: @whatmommamakesig
-------------------------------------------------
Tools and Supplies Needed:
- OLFA RTY-2DX/MAG 45mm Ergonomic Rotary Cutter
- OLFA RM-MG 24" X 36" Green Double-Sided, Self-Healing Rotary Mat
- OLFA QR-6x24 6" X 24" Frosted Acrylic Ruler
- Approximately 1.75 yards of fabric if creating a child size or 2.25 yards for adult size– the longer you want it, the more fabric you will need but you can create the length/width to your own desire.
- ½” Bias tape or ribbon in coordinating color (optionally you can create your own bias tape) I used 10 yards of ribbon for mine because I wanted super long ties, but you could definitely get away with much less.
Halloween is next month, which means it’s time to start thinking about costume ideas! I’ve got 4 kids and each year it seems one (or multiple) costumes include one key item – a CAPE! Whether you’re creating a superhero, a villain, a Disney character, a classic witch, or even a Taylor Swift inspired look - a cape is such a great and super simple item to learn how to make! So let's get started!

First off, if your fabric comes folded, leave it folded with the selvedge edges touching. If your fabric is not currently folded, go ahead and do that now so that you have the selvedges touching and the fold facing you.

Next, we will cut a 22” wide strip from one of the short sides of the fabric if you are creating an adult sized hood, or 18” wide if creating a child size hood (this size works well for my 9 year olds, but you could create even smaller if you are creating for a younger child). This is so easy to do using your frosted ruler, cutting mat and rotary cutter! And since this portion will become your hood, so optionally you could create this from a different fabric as well.


From our smaller piece of fabric that we just cut, we will measure from the folded edge and cut the height of the fabric to 17” for the adult size or 14” for the child size (creating a rectangle with total measurements when unfolded of 22”x 34” for adult or 18”x28” for the child)


Now we will unfold this piece and hem one of the long edges. To do this, simply fold the edge up ½”, press it well, and then fold up another ½” press and sew with a ¼” seam allowance.
TIP: This will be the edge of the hood surrounding the face, so you can add fun trim here if you like, or also use a fancier stitch on your sewing machine if you’re looking for an added touch of charm.


Next, we will fold the hood back in half again with the right sides touching and the wrong sides facing out. Now we are going to pin the short side together that we did not hem. And then sew this up with a ½” seam allowance.

Now you can trim off ½ of your seam allowance (using your clear ruler and rotary cutter makes this super quick and very neat) and you can either serge or zigzag stitch that edge to enclose it.

Turning this hood right side out, you will have the hemmed edge along one side and the closed edge for the back.

Now we will move over to the larger piece of fabric for our cape and hem 3 of the raw edges (the 2 short edges and one of the longer edges). We will hem this the same way we did the hood edge, by folding the edge up ½”, press, and then fold up another ½” press and sew with a ¼” seam allowance.

Now we need to add 2 rows of gathering stiches (or 3 rows if you are working with a heavier/thicker fabric) along the top of the cape edge that is not hemmed. Your first one should be about ¼” from the edge and the second one should be between 3/8” and ½” from the raw edge.

Next, we will gather the cape to match up to the same size of our bottom raw edge of our hood. Pin that together and sew with a ½’ seam allowance.


Now you can trim back your seam allowance by half and then find the center of your cape and mark with a pin or clip. You will also find the center of your bias tape and mark with a clip as well so that you can align the center of each.


Now we will encase that raw edge from our hood and cape joining together inside the bias tape – sewing all along the open edges to also create the ties.

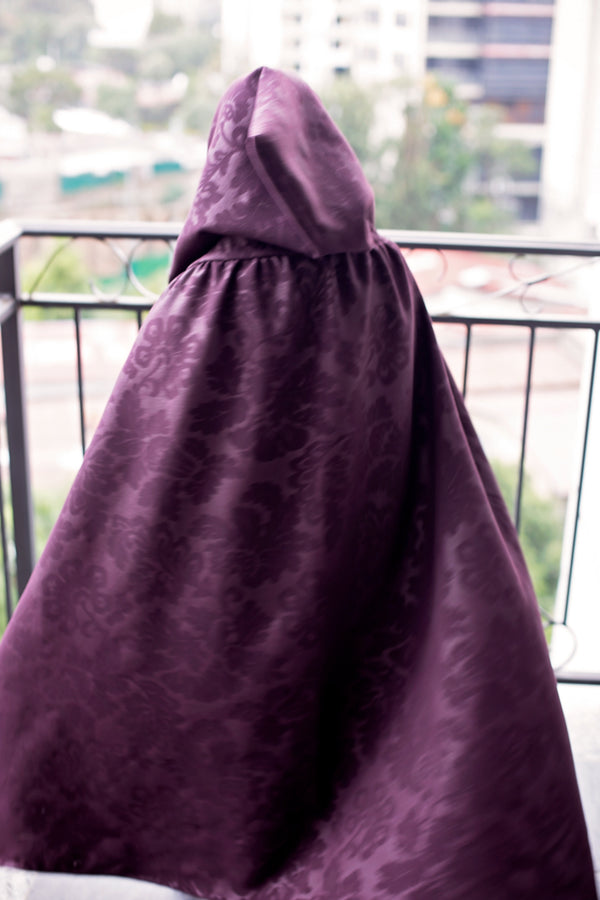
And Voila! You have now created your own custom cape for the costume of your little’s dreams! Bravo!


