Easy Handmade Halloween Paper Garland

Designer: Marcia Izabel Marchiori
YouTube: MarciaBel Vlog
Instagram: @marciabel
------------------------------
These spooky and cute garlands are super easy and fun to make, and they will help you decorate every room in your house in a minute!
So let’s start!
Tools & Supplies:
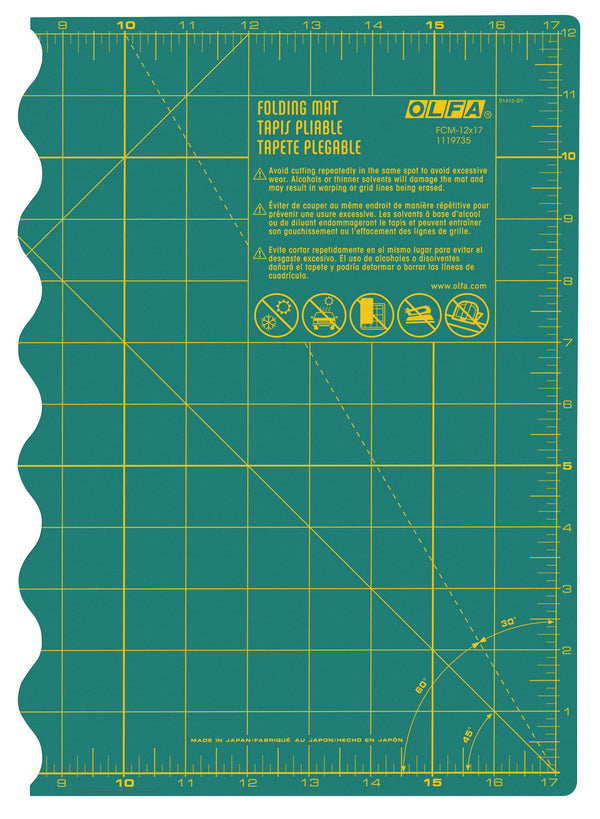
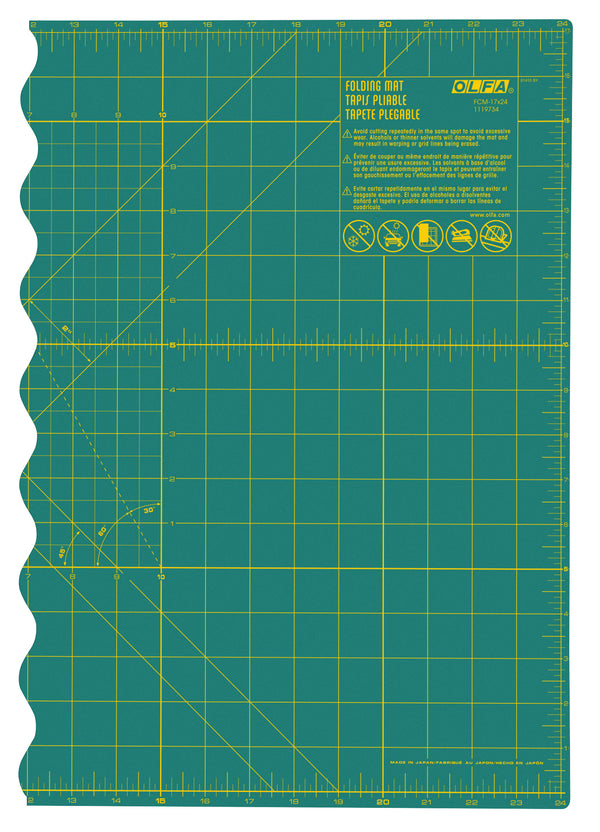
- OLFA FCM-12x17 Folding Cutting Mat 12" x 17" Folding Cutting Mat or OLFA FCM-17x24 17" X 24" Folding Cutting Mat
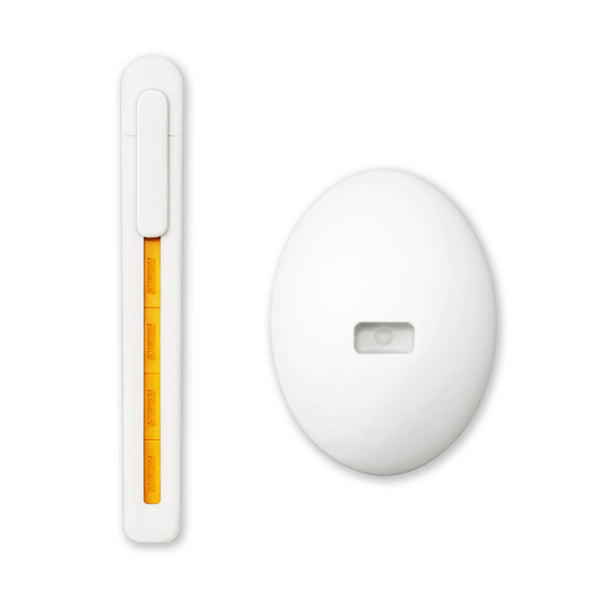
- OLFA ESK-1 Beginner Craft Knife With Stand
- OLFA QR-1x12 1" X 12" Frosted Acrylic Ruler (optional, but very helpful for cutting out the straight lines)
- Construction paper, assorted colors (I’ve chosen orange for the pumpkins, purple for the bats, white for the ghosts, black for the cats)
- Clear adhesive tape
- Pencil & eraser
Instructions:
Start by accordion folding paper into sections within the length of the chosen shape.
Then, with a pencil, trace the shape on the top piece, making sure it has the edges of both sides connected, as shown below.
Start cutting out the traced shape, with the OLFA ESK-1 Beginner Craft Knife. I always like to cut out the straight lines first, with the guiding of the OLFA QR-1x12 1" x 12" Frosted Acrylic Ruler, followed by cutting the curved lines.
This should be the result:
If you wish to make the garland longer, use the remaining folded paper, trace the shape from the pattern once more, and repeat all the steps above.
To put the separate pieces together, attach their edges with clear tape on their back (cut away any excess of tape).
Repeat the entire process with each of the provided shapes, using different colors of paper.
And it's as simple as that!
These garlands turned out so cute and easy to make, it’s such a fun way to spend the afternoon making handmade Halloween décor!
Please don’t forget to tag me @marciabel and @OLFA_craft on your finished projects, we would love to see your crafts!
Happy Halloween!
Marcia
All activities should be supervised by an adult.


