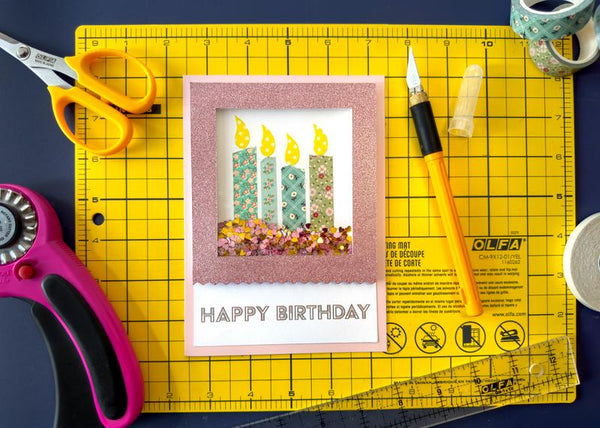
Easy DIY Happy Birthday Shaker Card

Designer: Marcia Izabel Marchiori
YouTube: MarciaBel Vlog
Instagram: @marciabel
---------------------------------------

Hello there! Ever find yourself needing a card that’s both quick to make and sure to impress? That’s where the shaker card shines! With just a few supplies, you can add a magical touch to your creation.

A shaker card features a clear window filled with fun, sparkly elements like: sequins, sprinkles, glitter in different shapes, confetti, tiny buttons, or even handmade paper cut with hole puncher with tiny shapes like hearts or stars. When the card is shaken, these fillers dance around, bringing joy to the recipient.

We’ll begin with a timeless favorite: the happy birthday card! It’s fun to make, delightful to receive, and easily adaptable for other occasions. Plus, you likely already have most of the supplies on hand.
Get ready to make someone smile—let’s get started!

Tools & Supplies Needed
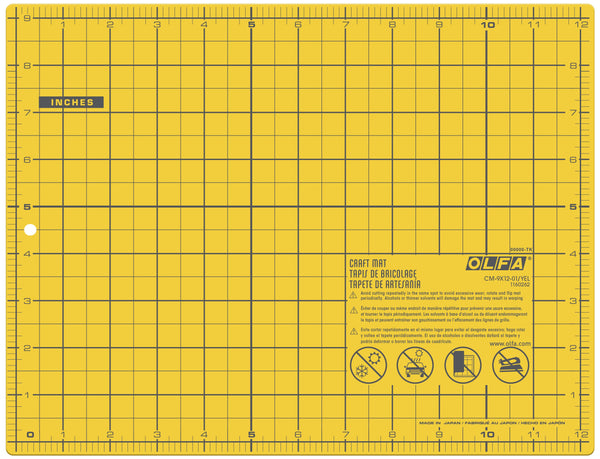
- OLFA CM-9x12-01/YEL Double-Sided Self-Healing Cutting Mat
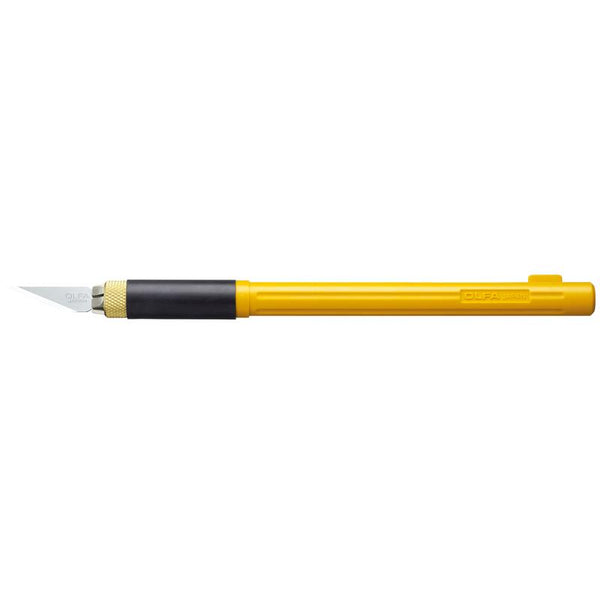
- OLFA AK-4 Cushion Grip Art Knife
- OLFA 5-Inch SCS-4 Precision Appliqué Scissors
- OLFA QR-1x12 1" x 12" Frosted Acrylic Ruler
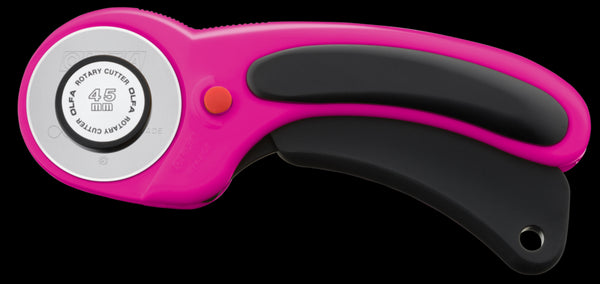
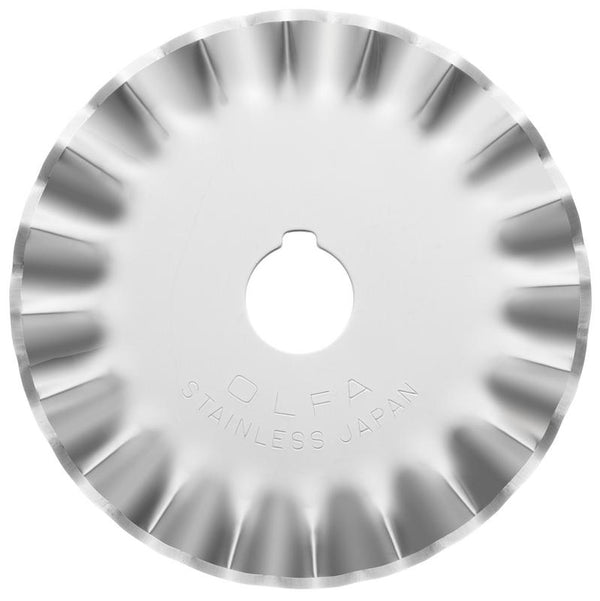
- OLFA RTY-2DX/MAG 45mm Ergonomic Rotary Cutter paired with PIB45-1 Stainless Steel Pinking Blade, 1pk
- Cardstock, letter size (in two matching colors - used: plain light pink and pink glitter)
- White cardstock, letter size - suitable for printing
- Washi Tapes (four assorted patterns with matching colors, and one yellow for candle flames. Used: Riley Blake Designs and Willow & Washi)
- Therm O Web iCraft 3D Foam Tape
- Thermo O Web double-sided 1/4” adhesive tape
- Filler elements (you can draw inspiration from the examples mentioned above)
- Piece of clear acetate or acrylic sheet (measuring at least 4 1/8 x 4 1/2 inches for each card)
- Printer
- FREE Template
- Optional: tweezers
Instructions:
- Print the templates here. Print template 1 on white cardstock and template 2 on pink glitter cardstock.
Note: Each template includes two cards, allowing you to make the most of your sheet. While printing the templates is optional, pthis step will make your life much easier. But, if you prefer, you can also measure each part of your card manually before cutting.

- Using OLFA art knife, ruler, and cutting mat, carefully cut out all of the templates, as well as a piece of acetate that is larger than the window on template 2.

- Create the base of your card by scoring and folding the remaining colored letter-size cardstock in half widthwise. Then, using your OLFA art knife, ruler, and cutting mat, cut a 5 x 7-inch rectangle, with the folded side positioned vertically on the left.


Here's what you have so far:

- Assembling the card: first, attach the acetate rectangle to the back of the glitter paper window using double-sided tape. Set aside.

- Using your OLFA rotary cutter paired with the pinking blade, trim the excess paper from the bottom edge of the glitter paper (the side that is slightly larger than the others).

- Now let’s make the candles! Using four different patterns of washi tape, hand-cut each piece in varying sizes. Apply them to the previously cut white cardstock, staying within the dashed lines of the template rectangle. Be sure to leave a blank space at the top for the yellow flames, which we’ll create in the next step.

- Grab a piece of yellow washi tape and lightly adhere the pre-cut flame template to it (the washi tape is forgiving when removing the template, so be sure to apply it lightly for easy removal after cutting out the flames). Then, using your OLFA appliqué scissors, cut out 4 flames and attach them to the card.


- Now, apply foam tape to the back of the glitter paper, placing it on top of the already adhered acetate.

IMPORTANT: Be sure to apply foam tape along all four edges of the window, making sure there are no gaps between the sides or corners. This is crucial for securing the filling in place inside the window.

- Remove the protective paper from the foam tape on three sides of the window, leaving the top side still covered. This will allow you to fill the card with sequins through the top.

- Adhere the glitter paper to the white cardstock:

- Slightly open the top of your card (the only side you haven’t adhered yet) and, using a scrap of paper to help, carefully pour the sequins inside through the opening at the top.
Tip: Before sealing the top completely, hold the card in place and give it a shake to see if the sequins move to your liking. This way, you can decide if you need to add a few more sequins before closing it up.

- Open the top of the card with your fingers and remove the remaining protective paper from the top foam tape (if it's too tight, use tweezers to help with this step). Once the backing is removed, press the window down onto the white cardstock, ensuring everything is sealed up properly.

- Finish assembling the card by adhering the white cardstock to the folded card base.


And your card is ready!

Don’t forget to tag me @marciabel and @OLFA_craft in your finished card, we would love to see your creation!
With love,
Marcia

