Easy Breezy Cotton Napkins

Jessica Lawson
-----
Skill level: Beginner
Summer is coming, and it’s bound to be full of outdoor meet ups! I’m getting my garden ready for meals with friends. While going through my collection of hostess supplies I noticed my cloth napkins were looking pretty sad. That’s right, I use cloth napkins, even for outside parties. Its an affordable, sustainable option to dress up the picnic table and you can make a whole set in less than an hour with no sewing!

Tools:
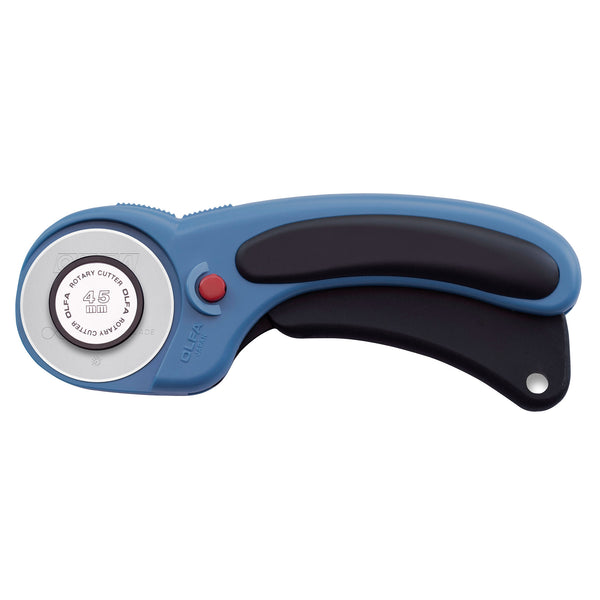
OLFA 45mm RTY-2/DX Ergonomic Rotary Cutter
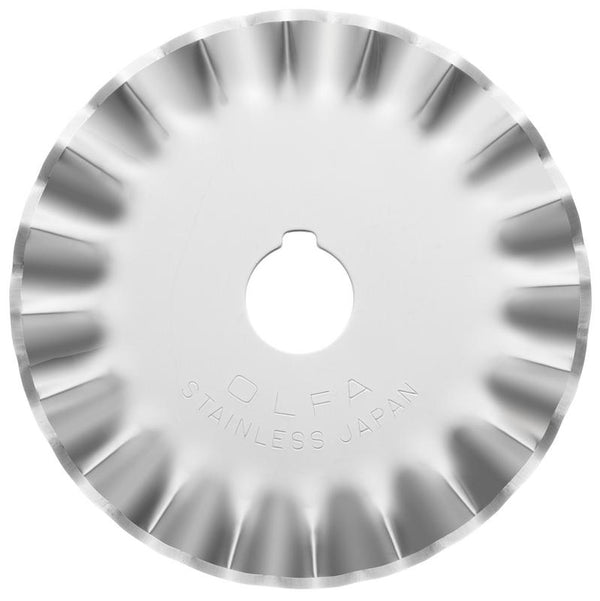
OLFA PIB45-1 Stainless Steel Pinking Blade
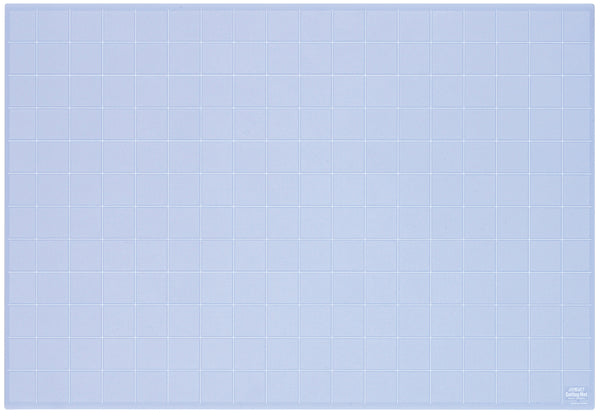
OLFA TCM-L 24" x 36" 3mm Translucent Double-Sided, Self-Healing Cutting Mat
OLFA QR-6x24 6" x 24" Frosted Acrylic Ruler

Fabric requirements: Cotton or Cotton blend quilting or garment weight
First decide on the size of your napkins, here are some common sizes used in the US.
|
Lunch |
20 x 20 Inches |
|
Dinner |
22 X 22 Inches |
|
Cocktail |
6 X 6 Inches |
Once you have the sizes picked out, you can work on the yardage needed for the fabric. For example, I’m making 22 X 22 inch Dinner napkins. My fabric is 45 inches wide, folded in half-length wise (selvage edges lined up). I want 12 napkins, I will need 4 yards. That’s rounded up a bit, I normally get an extra quarter yard or so to accommodate for shrinkage and mistakes.
Before you start, pre-wash and dry all of your fabric. This removes chemicals from the manufacturing process and pre-shrinks your fabric.
Cutting instructions:
1. Lay the fabric out on the table. Line up your selvage edge (that’s the white edge with the writing on it).


2. Line up your ruler and cut off the selvage edge. This edge is a tighter weave than the rest of your fabric, its got to go or your napkins will be a bit wonky after you wash them.


3. Measure out the width of the napkins and cut with your Stainless Steel Pinking Blade and ruler.

4. Cut the top edge with your Stainless Steel Pinking Blade and ruler, make sure everything is squared up!


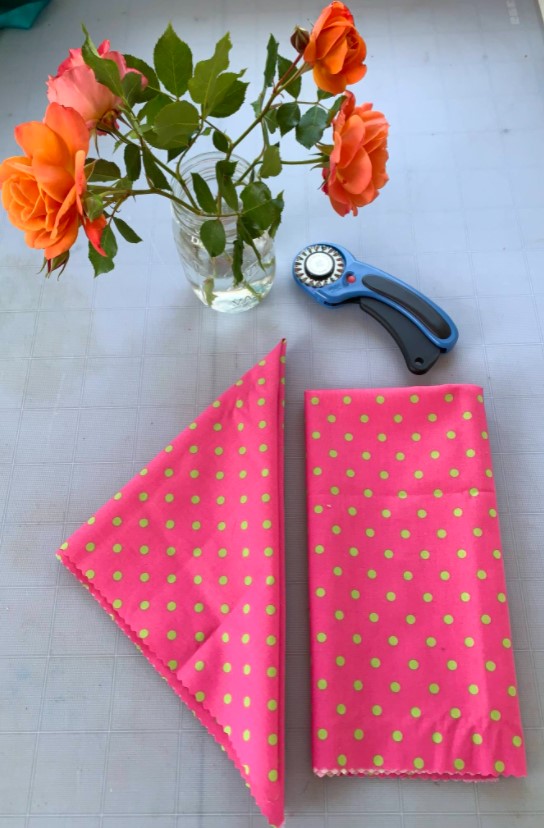
5. Now for one of my favorite tricks to get a perfect cut square -- take the top right corner of your pinked fabric, fold it down until it reaches the pinked left side. You want the fold to match up and look like a perfect triangle. Cut along the bottom edge for a perfect square!
Finishing instructions:
That’s it! You can stack cut these by stacking several layers of fabric on top of each other and cutting all at once — It’s a great time saver. With cotton or a cotton blend, these napkins may be machine washed and dried. The pinked edge will stop them from unraveling in the wash.
I hope you enjoyed my quick cloth napkin tutorial, be sure to tag @OLFA_Craft on Instagram to show off your work!