DIY Father’s Day Wallet Card with Photo and Gift Card Pockets

Designer: Marcia Izabel Marchiori
YouTube: MarciaBel Vlog
Instagram: @marciabel
----------------------------------
Level: Beginner
Creating handmade cards is one of my favorite ways to make someone feel special, and for Father’s Day I wanted to design something that feels both meaningful and practical. So in today’s tutorial, I’ll show you how to make this fun wallet-shaped greeting card, complete with real compartments inside to hold a photo of a very special family memory, a gift card, sweet notes, and anything else your heart desires.

To make the process simple and stress-free, I created ready-to-cut templates that make assembling everything much easier, while still giving you plenty of room to personalize the card with his favorite colors, patterns, and little details. It’s the perfect way to create something handmade that looks impressive without being difficult to make.

Whether you’re creating this for your dad, grandfather, husband, or someone special in your life, this card becomes a keepsake they will treasure.

Let’s start!

Tools & Supplies Needed
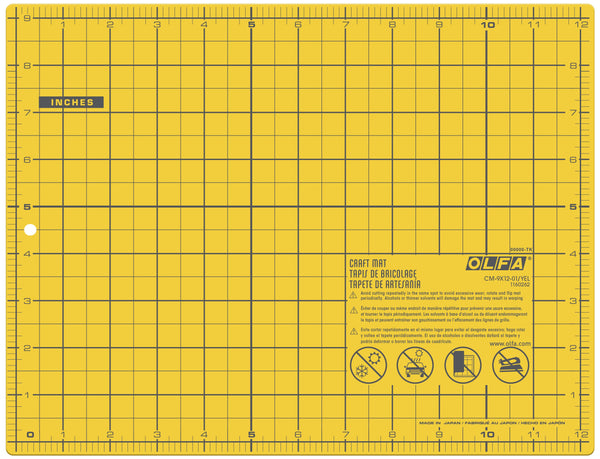
• OLFA CM-9x12-01/YEL Double-Sided Self-Healing Cutting Mat
• OLFA QR-1x12 1" x 12" Frosted Acrylic Ruler
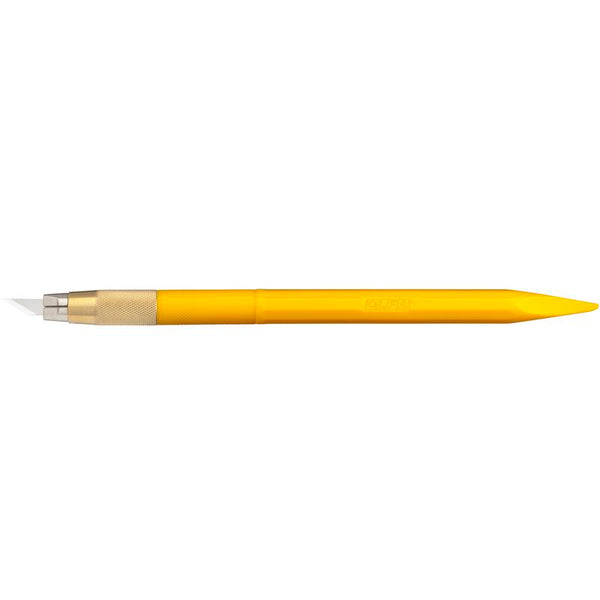
• OLFA AK-5 Designer Graphic Art Knife
• Clear Acetate
• 2x Patterned textured cardstock - letter size, suitable for printing (COLOR 1)
• 1x Coordinating colored cardstock - letter size, suitable for printing (COLOR 2)
• 1x Light colored thin cardstock for message insert - letter size (COLOR 3)
• Adhesive hook and loop dots (velcro)
• 1/4” double-sided adhesive tape
• 1x 3.5 x 2” photo
• Printer for templates
Instructions
- Print the templates to scale here.
For this project, I am using two colors of cardstock (and a white one for the message). For the exterior piece I chose a blue textured cardstock (indicated as COLOR 1). Just pay attention to this when printing the sheets, as they are indicated as COLOR 1, COLOR 2, and COLOR 3.
Note: The last sheet of the template is optional because it is blank (with no text). This way, you can also use the template for other occasions besides Father’s Day!
- Using your OLFA mat, ruler, and AK-5 art knife, cut all rectangles (PARTS 1 to 6 from templates) accordingly.

- These are the parts you should have:

- Still using your ruler and art knife, cut a 4 x 2 1/2 inch rectangle from the acetate.

- Now, let’s assemble the wallet: start with the outer part of the wallet (PART 1), leaving the wording “DAD” on the back.
Note: It is very important to pay attention to the text orientation so the wallet is not assembled upside down.
- Using the tapered side of the OLFA art knife, score a line 1/2 inch from one of the sides of PART 2 (flap).


- Place PART 2 (the flap) in the middle of the right side of PART 1, as shown below, securing it with a small piece of double-sided tape.

- Apply 1/4 inch double-sided tape to all four sides on the back of PART 3, and adhere it to the back of PART 1, leaving equal margins at the bottom and on both sides.


- Using the tapered side of your OLFA art knife, score the rectangle (PART 1 attached to PART 2) in the middle to create the wallet fold, as shown below.


- Apply double-sided tape in a "U" shape to the back of PARTS 5 and 6, as shown below.
Note: It is very important to pay attention to the text (“ happy father’s day”) orientation so the sleeve is not assembled upside down.

- Then adhere PART 6 to the left side of PART 3, followed by PART 5 on top of PART 6, forming the card sleeves, as shown below.


- Now let’s assemble the photo pocket: adhere the acetate to the back of PART 4:

- Attach PART 4 to the right side of PART 3 to form the pocket, leaving equal margins all around.


- Add Velcro to the flap, aligning it with the front.

- Using an OLFA mat, ruler, and art knife, cut an 8 1/2 x 3-inch rectangle out of white cardstock (for the message section). Score and fold it in half lengthwise.


Insert the photo, gift card (or any special memento you’d like) into the sleeves, write a beautiful message on PART 6, place it inside the wallet, and your card is ready!


I’d love to see your finished work! Tag me @marciabel and @OLFA_craft so we can admire your card.
Happy Father’s Day!
Marcia