Découpage Project: DIY Fabric Covered Flowerpot

Designer: Marcia Izabel Marchiori
YouTube: MarciaBel Vlog
Instagram: @marciabel
---------------------------------------
Level: Beginner

Welcome to this tutorial on creating beautiful plant pots covered with fabric using the découpage technique! In this easy-to-follow guide, I’ll show you how to transform ordinary terracotta pots into colorful decorative pieces that will bring vibrancy and charm to any space.
Not only is this project a fantastic way to add a touch of spring to your home decor, but it's also a wonderful idea for gifting plants and flowers to loved ones.
Let's get started!

Tools & Supplies Needed
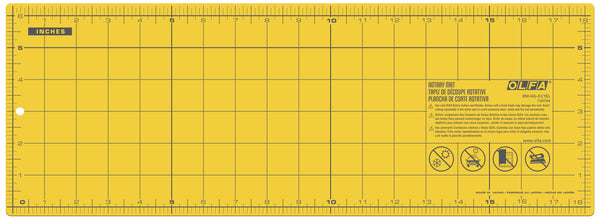
- OLFA RM-HG-01/YEL 6”X18” Double-Sided Self-Healing Rotary Mat, Yellow
- OLFA 5-Inch SCS-1 Serrated-Edge Stainless Steel Scissors
- OLFA 45mm RTY-2/C Quick-Change Rotary Cutter, Aqua
- OLFA QR-1x12 1" X 12" Frosted Acrylic Ruler
- Any suitable paper to trace the template
- Pencil
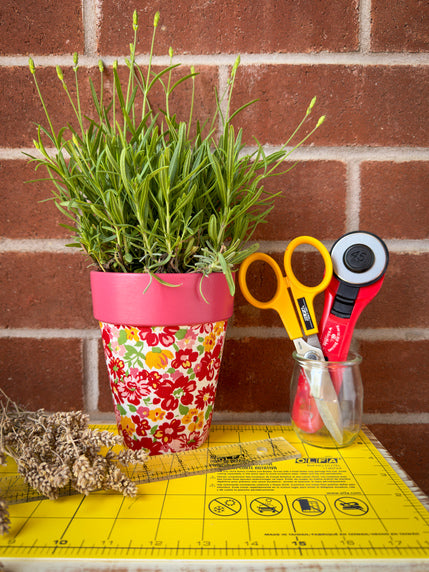
- Terracotta Pot
- Mod Podge
- Flat Paintbrush
- Patterned Fabric (Used: Riley Blake Designs Red Mildred C13070-RED)
- Acrylic Paint (matching colors with the fabric pattern)
Instructions:
- Place the pot on the paper that will serve as your template, and trace its top outline with a pencil while rotating it 360 degrees.

- Return the pot to its original position and repeat the process by tracing a line along the bottom while slowly rotating the pot 360 degrees.

- With OLFA ruler and pencil, trace a perpendicular line from the original position. Using OLFA rotary cutter and mat, carefully cut along the top and bottom of the template that you just traced.


- Now, precisely position your template aligned with the edge of the pot rim, and carefully wrap the template around the pot, marking the ends where the fabric will overlap, leaving an overlap of around 1/4 to 1/2 inch.


- Trace a perpendicular line at the end position you just marked, then cut the template with an OLFA rotary cutter.


- Begin preparing the pot by painting a bit of the inside and the entire outside of the rim on the top with the color of your choice using a flat paintbrush. You may need to apply a couple of coats depending on your desired look. Terracotta pots are quite absorbent, so the paint may soak in quickly. Let it dry thoroughly.


- Now, using the paper template (which you can save to make multiple decorated vases), your OLFA rotary cutter and mat, cut the fabric to size.

- Next, apply the fabric you just cut onto the pot: center the pot on top of the fabric, carefully aligning the fabric near the edge of the dried painted rim. Apply a generous layer of Mod Podge with a paintbrush, then press the fabric, pulling it tightly around the pot. Add more Mod Podge to either side until you've covered the entire pot. Be sure to pull the fabric tightly, using your finger to smooth out any wrinkles as you go.


- Once your pot is wrapped, flip it upside down. Then, using OLFA scissors, cut slits in the remaining fabric to make it easier to glue to the bottom. Finish this part, then let the entire piece dry completely.


- Finally, apply a coat of Mod Podge to the entire piece, including the rim and bottom. Let it dry until the glue becomes completely clear.

And your flower pot is ready! Here I paired it with lavender, but any flower will make it special!

Don’t forget to tag me @marciabel and @OLFA_craft in your finished project, we would love to see your creation!
With love,
Marcia