Cutting quarter-square triangles

To accommodate the seam allowance, quarter-square triangles squares are cut using the finished long side of your triangle + 1 ¼”. As example, for a 4” finished quarter-square triangle, cut the strip 5 ¼”, then subcut a 5 ¼” square.
It may be necessary to use a larger square ruler or the lines on your mat to cut the correct size quarter-square triangles for larger square measurements.
Tools that can be used for this:
OLFA RM-SG 18" X 24" Green Double-Sided, Self-Healing Rotary Mat
or
OLFA RM-MG 24" X 36" Green Double-Sided, Self-Healing Rotary Mat
OLFA Rotary Cutter
OLFA QR-6x24 6" X 24" Frosted Acrylic Ruler
OLFA QR-6x12 6" X 12" Frosted Acrylic Ruler
OLFA QR-6S 6 1/2" Square Frosted Acrylic Ruler
optional
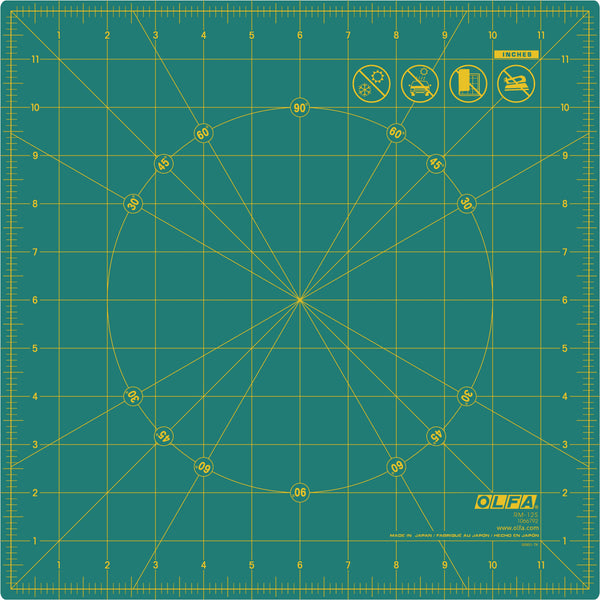
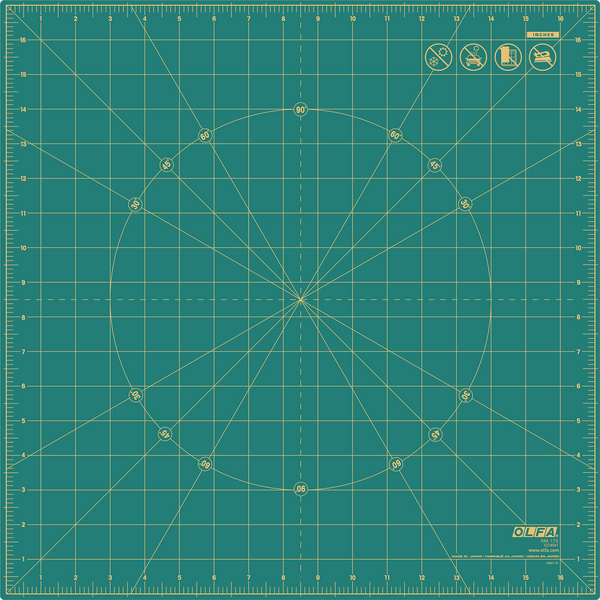
Rotating Self-Healing Mat (RM-12S) or (RM-17S)
- Square your fabric and cut a strip. See how to article here.
- Turn the strip horizontally on your cutting mat and square the end. See how to article here.
- Align the cut edge with the line of the number on your ruler for the necessary size of your square or rectangle. Cut along the edge of the ruler and then continue cutting as many squares as you need.
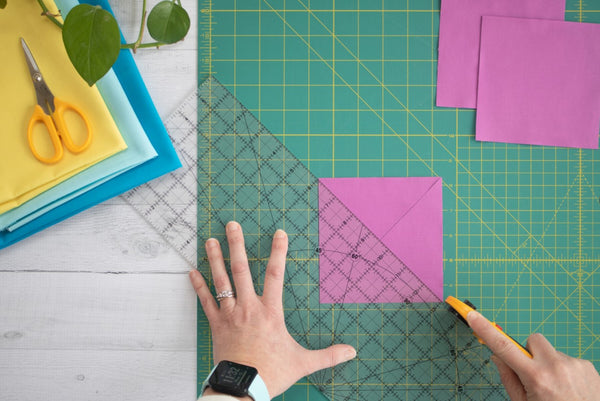
- Position your ruler diagonally on the square so the ruler edge is corner to corner.
- Align the 45° line on your ruler with the straight edge of the square. Check that the ruler’s edge meets at the corners.
- Cut the square in half.
- Without lifting the cut square, reposition your ruler diagonally on the opposite corner.
- Again, align the 45° line on your ruler with the straight edge of the square. Check that the ruler’s edge meets at the corners.
- Cut the square in half again yielding four quarter-square triangles.
- An OLFA Rotating Self-Healing Mat makes it easier to cut the square.