Cutting half-square triangles
Half-square triangles give dimension to quilt blocks and have many uses. You'll often find them as the points in star blocks and a necessary ingredient to Flying Geese blocks.
To accommodate the seam allowance, half-square triangles squares are cut using the finished short side of your triangle + 7/8”. As example, for a 4” finished half-square triangle, cut the strip 4 7/8”, then subcut a 4 7/8” square.
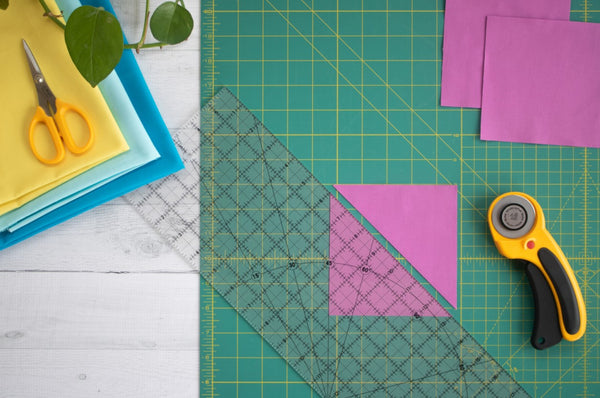
Tools used in this tutorial:
OLFA RM-SG 18" X 24" Green Double-Sided, Self-Healing Rotary Mat
OLFA QR-6x24 6" X 24" Frosted Acrylic Ruler
OLFA 45mm RTY-2/DX Ergonomic Rotary Cutter
Other tools that can be used:
OLFA QR-6S 6 1/2" Square Frosted Acrylic Ruler
OLFA QR-6x12 6" X 12" Frosted Acrylic Ruler
OLFA RM-12S 12" Rotating, Self-Healing Cutting Mat
OLFA RM-17S 17" Rotating, Self-Healing Cutting Mat
OLFA RM-MG 24" X 36" Green Double-Sided, Self-Healing Rotary Mat
- Square your fabric and cut a strip of fabric.
- Turn the strip horizontally on your cutting mat and square the end.
- Align the bottom cut edge with a horizontal line on the cutting mat, extending the selvage beyond a line on the mat.
- Align the cut edge with the line of the number on your ruler for the necessary size of your square or rectangle. Cut along the edge of the ruler and then continue cutting as many squares as you need. Keep in mind that each square will give you two half-square triangles. If you need ten half-square triangles you will need to cut five square.
- Position your ruler diagonally on the square so the ruler edge is corner to corner.
-
Align the 45° line on your ruler with the straight edge of the square. Check that the ruler’s edge meets at the corners.


