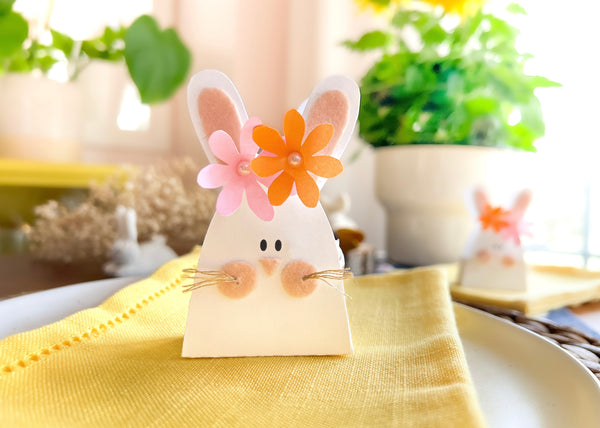
Cute Bunny-Shaped Chocolate Easter Box

Designer: Marcia Izabel Marchiori
YouTube: MarciaBel Vlog
Instagram: @marciabel
-------------------------------------------
Set an Easter table everyone will love!
It doesn’t matter if you're planning something huge or a small Easter meal at home: make these cute chocolate boxes and create a lovely Easter place setting!
Tools & Supplies Needed :
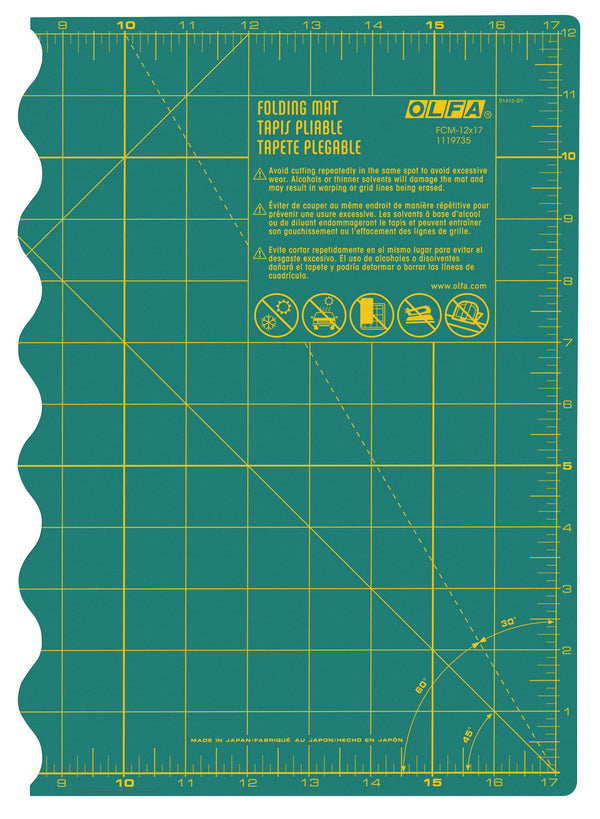
- OLFA FCM-12x17 12" X 17" Folding Cutting Mat
- OLFA QR-1x12 1" X 12" Frosted Acrylic Ruler
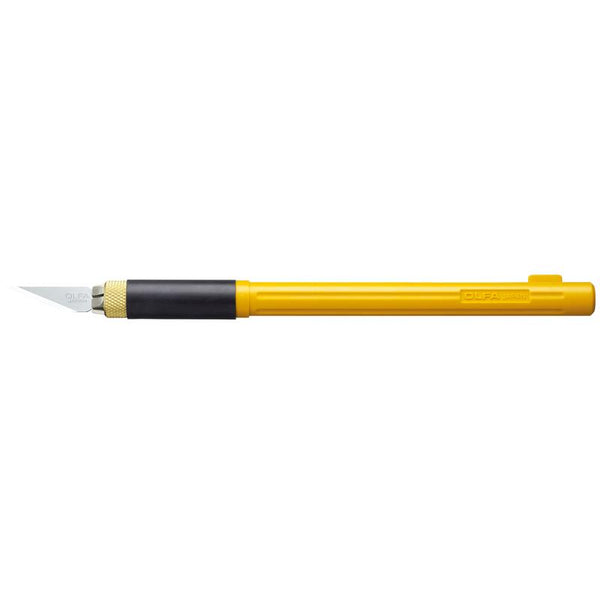
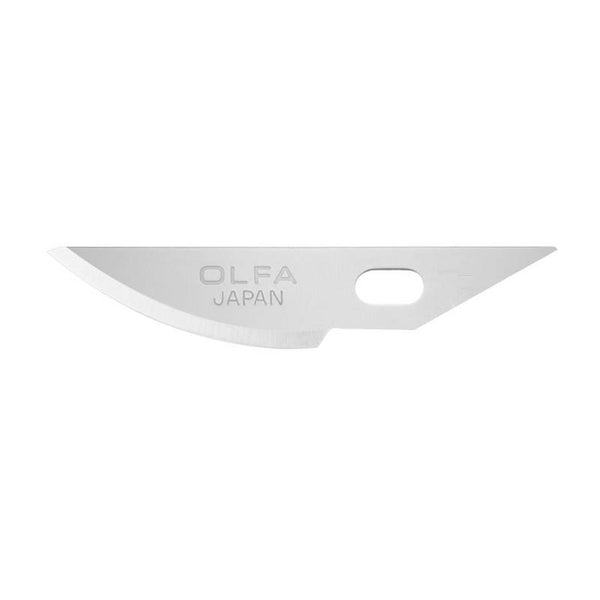
- OLFA AK-4 Cushion Grip Art Knife, paired with OLFA KB4-R/5 Curved Carving Art Blade, 5pk
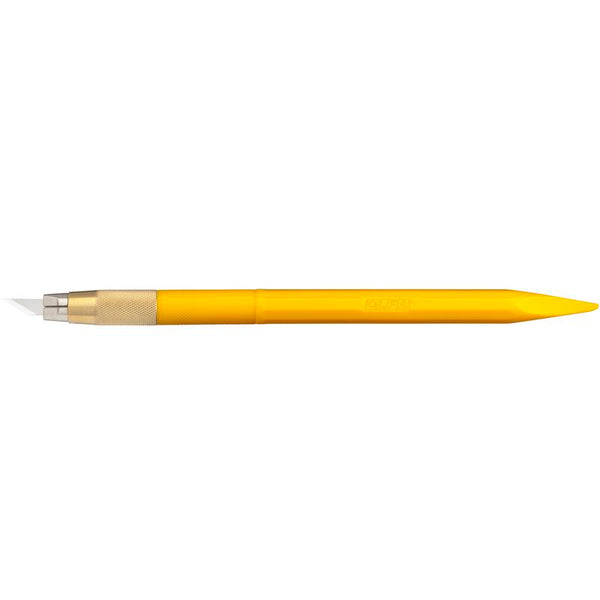
- OLFA AK-5 Designer Graphic Art Knife With 30 Replacement Blades (we’ll use the tapered base side of the handle, for scoring)
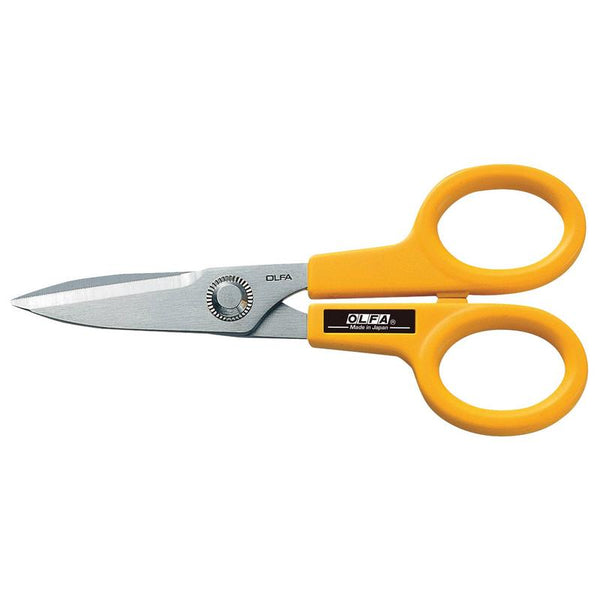
- OLFA 5-Inch SCS-1 Serrated-Edge Stainless Steel Scissors
- White (or any pastel color) cardstock
- One light pink and one orange 1 1/2” square lightweight paper (one set per bunny, for flowers. I used origami paper)
- Thermo O Web HeatnBond Lite Iron-On Adhesive (about 2” x 6”)
- Thermo O Web Heatnbond Fabric Fuse Liquid Adhesive
- Thermo O Web Zots Clear Adhesive Small Dots Roll or iCraft Easy-Tear 1/4" double sided tape
- 1/2” Mini pompoms
- Stick-on half pearls
- Scraps of light pink felt (about 2” x 6”)
- Toothbrush
- Light beige embroidery floss and needle (I used Aurifil floss 2325-2BU)
Instructions:
- Print template to scale directly to white cardstock. Gather all tools and materials.
- Using the OLFA ruler to guide straight lines, score the marked fold lines using the tapered base of the OLFA AK-5 Art Knife handle, then cut the printed bunny to shape using OLFA AK-4 Art Knife, paired with OLFA KB4-R/5 Curved Carving Art Blade, so you’ll have precise edges when freehand cutting the curves.
- Fold all the previously scored parts of the card. Apply double sided tape to the tabs, secure both sides together, keeping the tab inside the box.
- Cut 2” x 6” rectangles out of felt and interface, iron them together. Although we don’t plan on ironing the small pieces directly to the paper boxes (we’ll glue them to it), this technique is used when the felt shapes are too tiny, this way you avoid the felt from fraying.
With a pencil or pen, draw the templates on the interface paper (ears, nose and circles). With the AK-4 knife and curved blade or scissors, cut out all the shapes.
- Cut about 2” of embroidery floss, tie a knot in one of its ends. Then, with a needle, insert floss in the middle of the felt circle, to make the whiskers. Use a toothbrush to loose the strands.
- Using glue or double sided tape, attach all shapes to the bunny in the assembled box:
- Paper Flowers: Take one of the 1 1/2" squares and fold it in half and half again. Next, fold it half once more but this time fold along the diagonal to make a triangle.
- Sketch out the shape of a teardrop (or simply do it freehand) and cut the shape out of the top of the folded triangle to make the petals.
- To give the flower dimension cut along one of the folds. Use a glue dot or double sided tape to stick one of the petals on top of the other.
10. Adhere the stick-on half pearls to their centers, then position and attach the flowers to bunny’s ears using Zots or double sided tape. Glue a mini pompom to the back of the box to make the bunny tail.
- Decorate each box with crinkle cut paper and a chocolate truffle, and it’s ready!
These boxes make the cutest Easter table setting!
I hope you have lots of fun making this and don’t forget to tag me @marciabel and @OLFA_craft in your finished projects, we would love to see your piece of art.
Happy Easter!
Marcia


