Creating a Wrap Skirt

Designer: Marcia Spencer
Instagram:@keechiibstyle
--------------------------------------
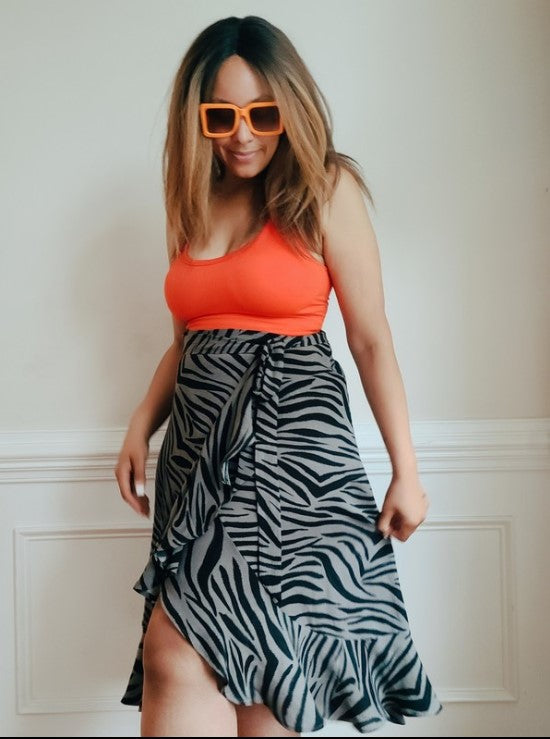
A wrap skirt is a classic summer piece. It's easy to wear and easy to create. It can be made in different fabrics from knits to denim.There are several different patterns out there to create the wrap skirt of your choice. For this tutorial I will be creating the frankie Wrap skirt by made label.
Materials and Tools Needed:
- 5 yards woven fabric
- FREE Frankie Wrap Skirt Pattern
- Loop turner
- Fabric Clips
- Sewing Gauge
- Fabric marking Pen
- Sewing machine
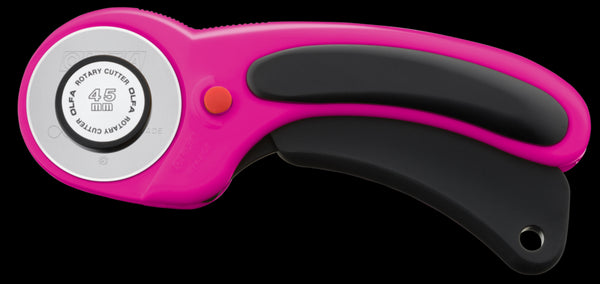
- OLFA RTY-2DX/MAG 45mm Ergonomic Rotary Cutter
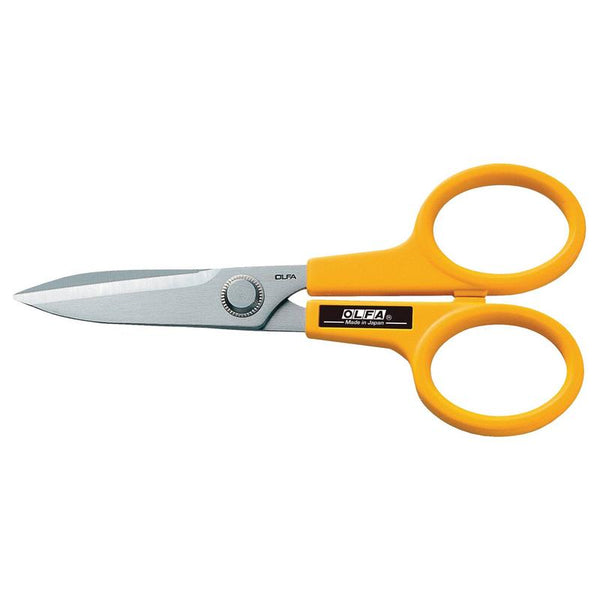
- OLFA 7-Inch SCS-2 Serrated-Edge Stainless Steel Scissors
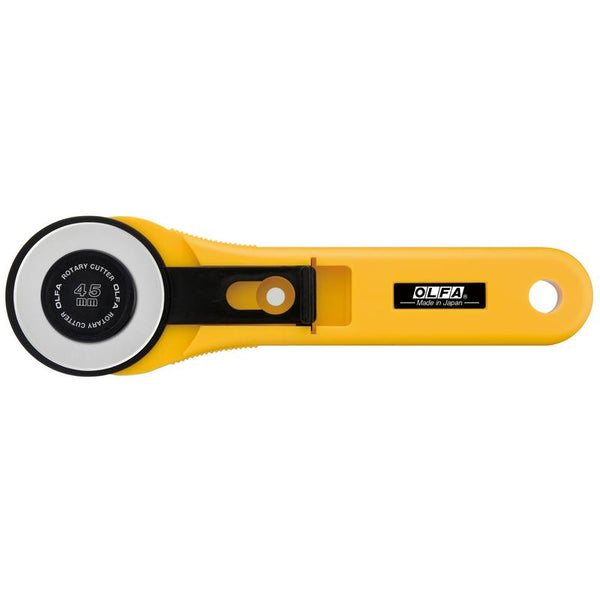
- OLFA 45mm RTY-2/G Straight Handle Rotary Cutter
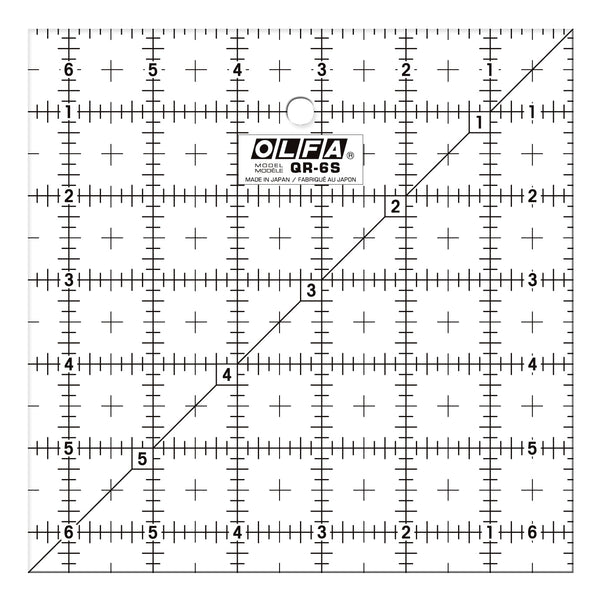
- OLFA QR-6S 6 1/2" Square Frosted Acrylic Ruler
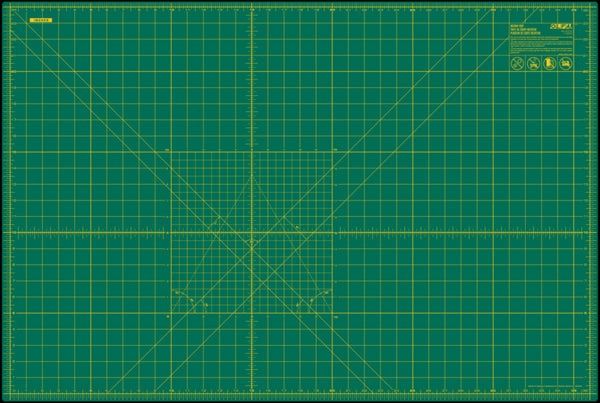
- OLFA RM-MG 24" X 36" Green Double-Sided, Self-Healing Rotary Mat
*Print and prepare your PDF pattern & cut out the pieces using your OLFA cutting tools and mat.
Cutting
- Using your OLFA Tools cut the fabric using your PDF pattern pieces.
- Using your OLFA tools cut - One waistband piece 10cm x 220cm and two waistband pieces 10cm x 73.5cm. *Waistband pattern pieces are not included in the pdf pattern
Sewing
French Seams
(*For this tutorial I will be creating french seams. You can finish your seams with serger, overlock or zig zag stitch if you prefer.)
- With wrong sides facing pin side panels of the skirt to the back panel of the skirt. Pin.
- Stitch ⅜ inch seam allowance.
- Trim seam allowance to ¼ inch.
- Press seam to on side.
- With right sides together fold seam enclosing ¼ seam. Press.
- On wrong side stitch ¼ inch from the folded edge.
- Complete on both sides.
Flounce
- Attach the four main flounce pieces together at the raw edges to create one continuous flounce.
*Use steps 4 through 8 to create the french seam.
- Next attach the top flounce to each end of the larger flounce method as done with previous pieces. Trim uneven edges.
- Then hem your flounce using either a rolled hem or turn under 1/4 “ twice. Press
- Mark the center points of your flounce and the bottom edge of your skirt.
- Starting from the center points pin or clip your flounce to the raw edge of your skirt through the full length of the skirts edge.Stitch. *Use steps 4 through 8 to create the french seam.
- Press up.
Waistband
- Join the two short waistband piece together with a french seam.
- With right sides together pin the longer waistband to the shorter waistband at the shortest edge.
*creating hole for ties*
- Using your gauge and fabric marker, mark every 2 cm along the shorter edge.
- ⅝ inch in from the edge, draw a line from the top edge to the first 2 cm interval mark. Starting at the 2nd 2 cm interval mark, draw a line to the third interval mark. Starting at the fourth interval mark, draw the line to the bottom edge.
- Stitch along the lines, skipping over the areas that do not have a line and backstitching at your interval marks. Press open.
*The opens create a finished hole for your ties when finished.
- With rights sides together line up the waistband hole at the side seam of the skirt.
- Matching the edges of the waistband and the skirt edge, using your gauge and fabric marker, measure out 2 ⅓ inchs on the waistband from where the skirt ends. Do this on both sides.
- With right sides together fold and press waistband in half lengthwise and pin or clip raw edges from mark to waistband ends
- Using your gauge and your OLFA ruler cut a 45 degree angle at both ends of the waistband.
- Stitch a ⅜ inch seam along the raw edges of the band starting at the mark and along the angled edges.
- Turn the waistband right side out using your loop turner. Press.
- Press ⅜ inch in on both sides of waistband opening.
- With right sides together, matching hole to skirt side seam pin or clip waistband to top edge of skirt at waist band opening.
- Stitch along pressed seam line.
- Press seam up. Secure inner band opening and stitch in the ditch or slip-stich it closed.
- To finish tie hole topstitch 1/8 inch around the edge of the whole through both sides.
Voila! Enjoy.
This pattern makes a beautiful wrap skirt with movement and easy wear. Great for the Spring and Summer.


