Create Your Own Crazy Quilt Greeting Card Set

Designer: Marcia Izabel Marchiori
YouTube: MarciaBel Vlog
Instagram: @marciabel
---------------------------------------

Let’s step into the world of handmade fun learning how to make a colorful Crazy Quilt Greeting Cards set! Using basically fabric, paper, and a couple of notions, you'll craft a set of three vibrant cards that are as unique as they are delightful. Guided by Lori Holt's 5" Quilt Papers, precision cutting becomes a breeze, allowing you to effortlessly assemble a patchwork of colors.
You'll create three distinct yet harmoniously matching cards, perfect for expressing gratitude or spreading cheer around. Plus, we'll add an extra touch of charm with a delicate paper flower accent, crafted from patterned cardstock.
Get ready to brighten someone's day – let's dive in and craft some spring magic together!

Tools & Supplies Needed
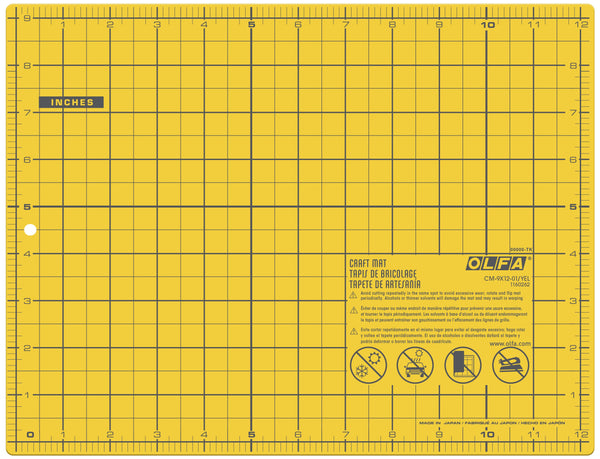
- OLFA CM-9x12-01/YEL Double-Sided Self-Healing Cutting Mat
- OLFA OLFA RTY-2C-RED Quick-Change 45mm Red Rotary Cutter Bee in my Bonet by Lori Holt
- OLFA AK-4 Cushion Grip Art Knife
- OLFA QR-6x12 6" x 12" Frosted Acrylic Ruler
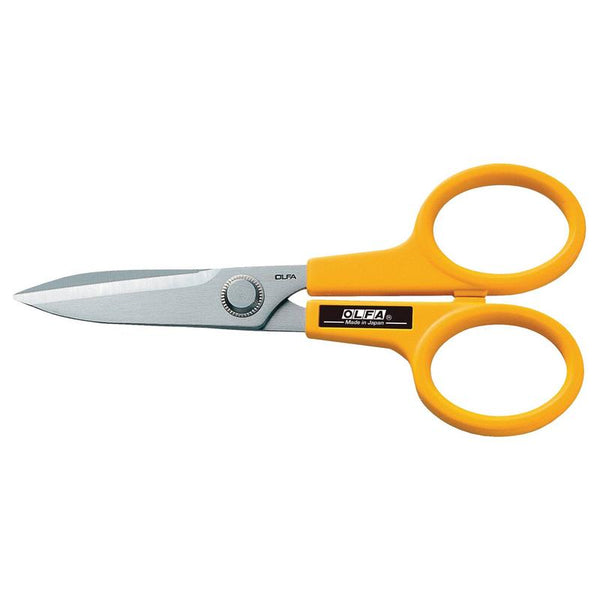
- OLFA 7-Inch SCS-2 Serrated-Edge Stainless Steel Scissors
- 5” Crazy Quilt Paper by Riley Blake Designs Lori Holt of Bee in my Bonnet
- Patterned Cardstock (Used: Riley Blake Designs Calico Crafting Paper by Lori Holt)
- White Cardstock for card (or any color of your preference)
- Decorative Buttons (Used: Riley Blake Designs Cute Little Sunshine Buttons)
- Thermo O Web HeatnBond Lite Iron-On Adhesive (5” square per card)
- Thermo O Web Pressing Paper
- Glue (white glue or hot glue gun)
- Sewing Machine (basic skills) & notions
- Pencil, eraser
- Iron and ironing mat
- Optional: embroidery floss for buttons
- Download Template
Fabric Requirements (all from Riley Blake Designs):
- 1st Set: Bee Basics Red Tiny Daisy (C6403-RED) / Daisy Mae (C13088-DAISY) / Songbird Marge (C13074-SONGBIRD)
- 2nd Set: Lettuce Suzanne (C13086-LETTUCE) / Melon Marje (C13074-MELON) / Denim Barn Dance (C12028-DENIM)
Instructions
Gather all tools and materials.
- Let’s begin by crafting the 3 quilt blocks! Cut 5-inch squares from three different fabrics for each set you'd like to create (as recommended in the supplies list above).

- Following the product instructions, place one piece of Quilt Paper (shiny side down) onto the right side of a 5-inch square of fabric. Repeat this process with the other two pieces of fabric.


- Using the OLFA rotary cutter and mat, carefully cut along the lines of the Quilt Paper in the following order: begin with the line marked "Cut First", then proceed to the line marked "Cut Second". Repeat this process for all three squares.

- Peel off the quilt paper, then stack all the pieces with the same number together. Mix the fabric prints before sewing them back together to ensure that each block has three unique fabric patterns.

- Now, let's move to the sewing machine: using a 1/4" seam allowance, stitch sections 2 and 3 together, and press the seams open. Next, sew section 1 onto the 2/3 section, and once again, press the seams open.

- Measure, and trace with a pencil, three 4 1/2-inch squares on the back of interfacing for each set of cards and cut them using an OLFA ruler and an art knife or rotary cutter. Then, iron the interfacing onto the back (wrong side) of the fabric, following the Therm O Web instructions for the best results.


- Using OLFA rotary cutter, mat, and acrylic ruler, trim the fabric with interfacing to a 4" square. Repeat this process for all three squares, then set them aside.


- Creating the card base: utilizing the OLFA art knife, acrylic ruler, and mat, cut a 5” x 10” rectangle. Score its length in the middle, then fold it, forming the base of your folded card. Repeat this process to obtain three pieces.

- To assemble the card, carefully remove the protective sheet from the interfacing. Then, open folded base, carefully center the quilt block onto the front of your card (interfacing down). Protect the card with pressing paper, then use the iron to press and attach it to the card.
Note: You can choose to place all quilt blocks with the same direction, or have fun rotating the pattern to create slightly different cards!

- Now, return to the sewing machine and sew all the way around the quilt block to the front of the note card. Important: ensure the note card is open so you don't accidentally sew it shut!
Notes:
- It's entirely your choice whether you want to sew the fabric on with a straight stitch, zig-zag, or any other decorative stitch you prefer (for this project, I used zig-zag).
- Keep in mind that the stitches will be visible on the inside of the card. If you prefer to cover them, you could cut a separate piece of cardstock, sew the quilt block onto it (using the same process explained above), then adhere it to the front of the folded card. However, in my case, I left the stitches visible inside, and they didn't bother me at all! ;-)


- Tags: With your OLFA art knife and ruler, cut a 1" x 2" rectangle to create a tag. Handwrite a sentiment word on the tag, or you can use this template with printed messages (see below). Set aside.

- Making the paper flower accent: Using patterned paper (for this project, Riley Blake Designs Calico Crafting Paper by Lori Holt), cut a 2 1/2-inch square from it. Fold the square in half, then fold it in half again. Trace a petal shape with a pencil on the folded paper square. Then, using OLFA scissors, carefully cut along the traced lines to create the petal shape. Gently unfold the paper, then using the handle of your art knife or a pencil, curl each petal outward to give it shape.
- Repeat the same process above with another patterned paper, this time choosing one with green tones.
- Next, glue both paper petals together at the center of the flower, ensuring that the green one is positioned underneath. Finish by adding a yellow button to the center. You can choose to pre-stitch the button or not; it's entirely up to you. Attach the tag and the flower to finish your card.
Below is a video demonstrating the entire process:
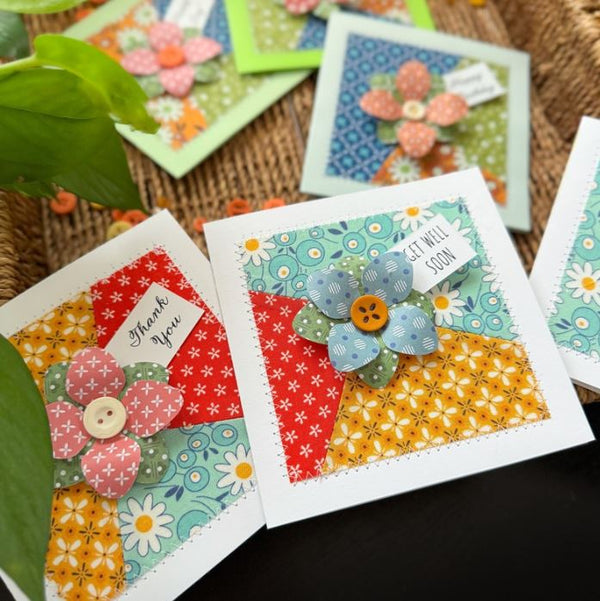
And voilà! Your charming greeting cards are now ready to spread joy and brighten someone's day!


Tip: When assembling the cards, consider gluing only the flower onto the front. This way, you can keep the cards stocked without tags and glue them according to the specific occasion you have in mind!
Here’s another version of this set of cards, with other fabrics and different - but matching - colors for the cardstock:

I hope you have lots of fun making these, and don’t forget to tag me @marciabel , @OLFA_craft and @rileyblakedesigns in your finished projects, we would love to see your cards!
Marcia