Create Festive Embroidered Paper Tags for Your Gifts

Designer: Marcia Izabel Marchiori
YouTube: MarciaBel Vlog
Instagram: @marciabel
---------------------------------------
Level: Beginner

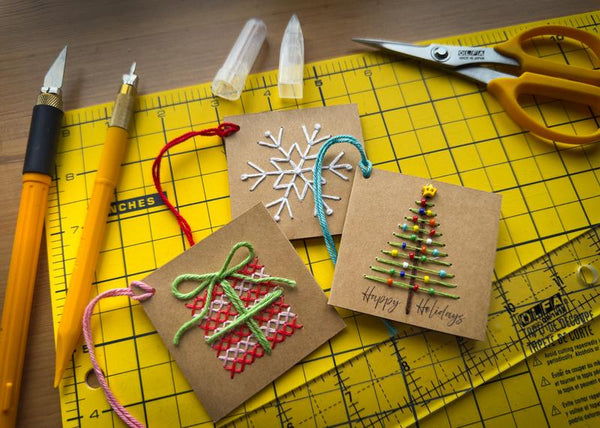
It’s that exciting time of the year again! The holidays are coming, and we start thinking about the gatherings, the love, and, of course, the joy of giving. To add a personal touch to your holiday gifts, why not start early with these easy embroidered paper tags?


These handmade tags are simple to make and add a special touch that’s sure to be cherished by anyone who receives them. Let’s get started on making your holiday gifts extra memorable!

Tools & Supplies Needed
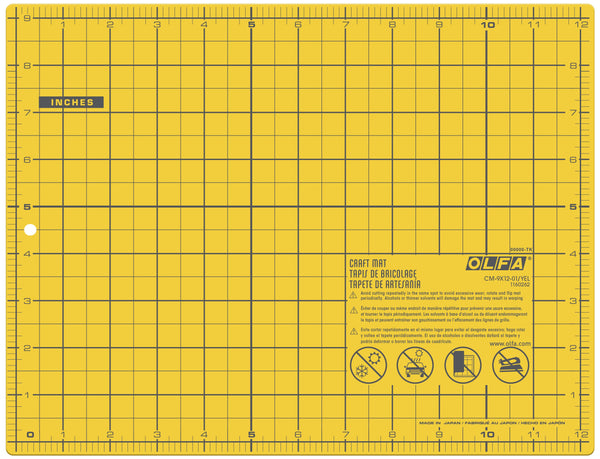
- OLFA CM-9x12-01/YEL Double-Sided Self-Healing Cutting Mat
- OLFA QR-1x12 1" x 12" Frosted Acrylic Ruler
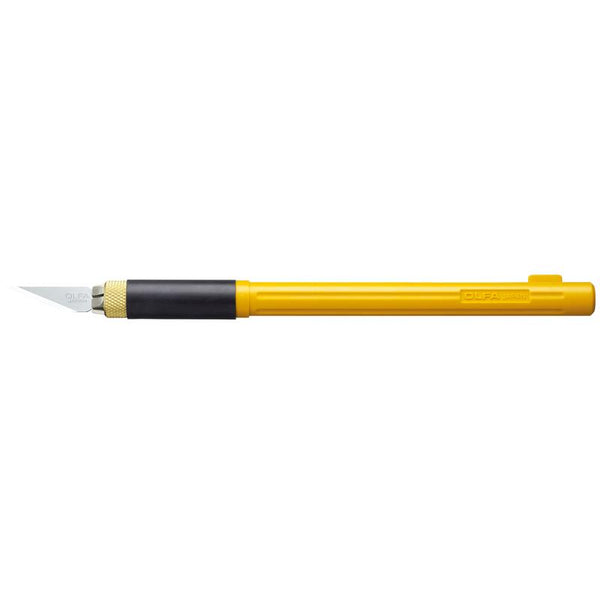
- OLFA AK-4 Cushion Grip Art Knife
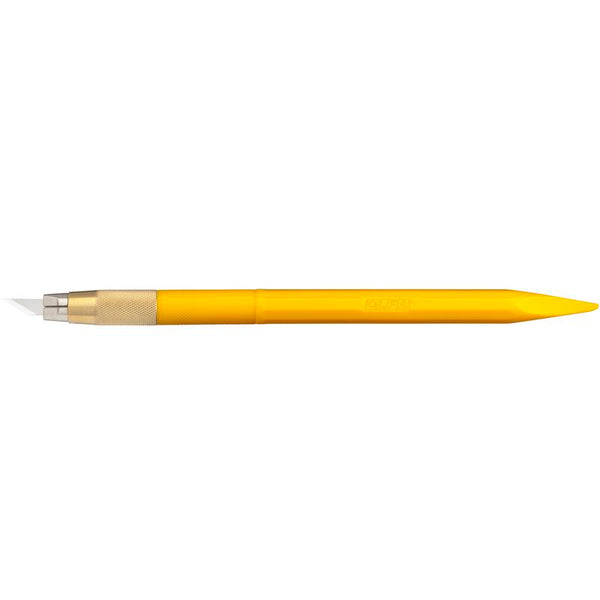
- OLFA AK-5 Designer Graphic Art Knife with 30 Replacement Blades
- OLFA 5-Inch SCS-4 Precision Appliqué Scissors
- Cardstock of your choice, letter size (used: kraft paper)
- Regular Tape
- 1/4” double-sided adhesive tape (used: Thermo O Web Tape Runner XL)
- Yarn and needle in colors of your choice (used: Riley Blake Designs Chunky Needles and Chunky Thread)
- Embroidery floss (used: Aurifil) and embroidery needle. Selected colors: brown and green for the tree, light pink and red for the gift, and white for the snowflake
- Beads and decorative stars (optional, for decoration)
- Piece of felt (for puncturing small holes as needed)
- Hole punch tool
- Printer
- FREE Template
Instructions:
-
Print the tag templates onto cardstock.
Using an OLFA ruler and cutting mat, align the ruler along the indicated red marks (every 2 1/2") on the template. With the tapered base of the OLFA AK-5 handle, gently score along these lines to make folding easier, then fold along the scored lines.

- With OLFA ruler, cutting mat, and the AK-4 art knife, carefully cut along the margins of each tag. Each rectangle should measure 7 1/2" x 2 1/2".


- Using the OLFA AK-5 art knife with the needle tip and a piece of felt underneath, work with the tag rectangle fully open. Carefully make punctures at each dot marked on the printed tags. To ensure consistent hole sizes, hold the AK-5 at a 90-degree angle for each puncture.

Now, it’s time to start embroidering the tags!
Here are a few important things to keep in mind for each motif:
- Refer to the stitching guide (sheet 2 of the templates) as you embroider each tag.
- Use four strands of floss for each motif.
- Always begin from the back of the paper, securing the tip of the thread with a small piece of regular tape (there’s no need to knot the ends; this will allow the floss to lay flat for a smoother finish). Then, using the needle and floss, carefully start embroidering the motif.
- Be gentle when pulling the floss to avoid ripping the paper.
TREE TAG
- Start by embroidering the tree trunk, passing the 4-strand thread through each puncture twice, as shown in the guide. Once you've completed the trunk, secure the end of the thread on the back of the paper with a small piece of tape.


- Now, begin sewing the green section of the tree, starting from the top. As indicated, bring the thread up from the back of the paper. For each stitched line, add bead as needed. Once finished, secure the thread tip on the back with a piece of tape.
- If you'd like, glue a decorative star to the top of each tree for an extra festive touch. Then, set the tag aside.


SNOWFLAKE TAG
- Following the same process as with the tree, embroider the snowflake using your chosen floss color. Refer to the numbered steps in the template guide to ensure accuracy as you stitch.


- Where indicated in the template guide, create a French knot as shown below. Once completed, secure the thread tip on the back of the tag with a piece of tape. Set the tag aside.
GIFT BOX TAG
- With the template as a guide, cross-stitch along each line, alternating between pink and red thread. Tip: To make the process easier, complete all lines of the same color first before switching to the next color. This way, you won’t need to change threads after each row.

- Using the needle, pass the yarn through the center of each side of the square, working toward the top of the square. Repeat this process twice, so you end up with two loose ends at the front, positioned at the top of the square. Finally, tie both ends into a bow.


With the stitching complete, it’s time for the final steps!
- Using double-sided tape, cover the back side of the design with the third section of the tag rectangle that you initially scored. This will hide the stitching on the back and give the tag a clean finish. Repeat this step for all the tags.


- With a hole punch tool, punch a hole in the upper left corner of each tag. Manually thread a piece of yarn through the hole to complete each one of your tags.
And just like that, your tags are ready for the holidays! Enjoy adding a handmade touch to your gifts this season.

Don’t forget to tag me @marciabel and @OLFA_craft in your finished tags, we would love to see your creation :-) Happy Holidays!
Marcia


